If you are the owner of a private house or conceived the construction of such, sooner or later the question will arise about the construction of the veranda. This inevitable fate of any owner of the suburban real estate, which wants to make its accommodation as spacious, comfortable and comfortable as possible. As you know, the verandas are open and closed. In the latter case, an extension can be used not only as a place to leisure in the warm season, but also as quite a functional room and a buffer zone between the residential premises and the street. In this article you will learn everything you need for the construction of an indoor veranda with your own hands.
What you need to know about the verandas
The initial purpose of any veranda is a separate place to relax in the fresh air in the immediate vicinity of the house. But human practicality has long turned these extensions into functional premises, aligning a pleasant with useful. The covered veranda and at all allows you to create an additional residential premises, significantly increasing the area of \u200b\u200bthe house. Of course, it will take it carefully to warm it up and equip all the necessary communications.
The veranda can not be considered as a separate structure. In fact, it is part of the house, which can be built simultaneously with a box or attach some time after passing the building into operation. In most cases, the veranda is adjacent to the facade or end side of the house, where the front door is located. The result is a kind of buffer zone, which must be passed to get inside. This state of affairs contributes to the best maintaining heat (saving on heating) and allows you to maintain cleanliness (all dirt from the street and shoes remain on the veranda.
Open verandas are deprived of the upper half of the walls, and the roof of such a building is attached on the beams. In the closed veranda free from the walls, the space is closed by windows, that is, they form a closed room. Before constructing, the project of the future veranda should be created. It is important that it harmonize with the house, and not turned out to be ridiculous "appendicitis", knocking out of the general stylistic context. It is possible to achieve consistency using the same materials that went to the construction of a residential building: timber, logs, brick, sip-panels, etc.
Properly selected veranda sizes also help concisely enter it into the exterior. The optimal length is considered to be 4-7 m, and the width can vary from 2.5 to 3.5 m. If the area is less, in such a veranda, it will be too closely even with a minimum of furniture, more - the design will look too cumbersome.
Documents and materials for the construction of indoor veranda
One of the "pitfalls" construction of the indoor veranda is the need to legitimize the extension. If in the future you want to sell a plot with a house, the relevant documentation will be required. Otherwise, you will have to pay a considerable fine and ultimately get the desired permissions, only more thorny.
To protect yourself from such a Volokate, first contact the project organization. There, according to the sketches of the future veranda prepared, the literate drawing of the construction will be a literate drawing. Having received a project and making an application for legalization, all district organizations responsible for building territories should be circumvented. It also needs to have a document confirming the ownership and the owner's passport. And only after agreeing with all instances you can begin construction. The final moment is re-registration of the renewed house after the completion of construction work.
In addition to the documentary aspect, there is financial - it is necessary to purchase and prepare building materials. At the same time, it is necessary to be guided by the principle of conformity in which we mentioned above. So, if the residential house is made of brick, then the veranda is desirable to build from the same material. There are exceptions, for example, massive log houses will look beautifully with small extensions from natural stone. You can also combine brick with foam blocks, a tree with siding.
Construction covered veranda
The most common version of self-construction is the covered frame veranda. Since the frame extension weighs very little, it does not need a powerful foundation for it, and therefore, tangible financial and labor costs.
First of all, you need to decide on the location of the veranda. The optimal option is the southern, southwest or western side of the house. In these cases, on the veranda will always be warm, but the direct sun rays penetrate inside will not be able, especially if you plant the trees in front of the windows. But no one forbids building a veranda on the northern or east side, if there is a more suitable playground or a wonderful look opens. However, with this location, the veranda is not so lit, it will protect the house from the attacks of cold northwestern winds.
With the help of the veranda, you can add or complete the architectural composition on the site. For example, if the house has an incorrect form and many protrusions, the construction of the "West" part of the facade will make it possible to create a full-fledged rectangular shape and make the house more efficient in the energy plan.
Foundation for indoor veranda
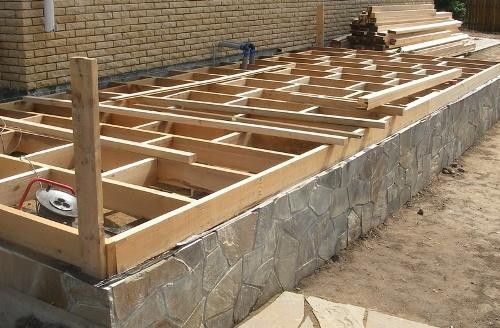
Since the veranda is a small extension, the foundation for it is not needed not so powerful as for a residential building. Most often, builders prefer a columnar or screw base, but in some cases a slab or ribbon foundation (soil characteristics, construction of heavy bricks veranda) are laid). Ideally, of course, the base of the veranda should be launched immediately during the construction of the house itself, but if the initial layout did not take into account this, it will have to do a separate foundation.
Due to the fact that the weight and operational conditions of the house and verandas are different, these two parts of one in essence will give a different shrinkage. If you connect a freshly founded base of veranda with an existing old foundation of a residential building, cracks will appear very soon in the walls, there will be drafts, skews and other troubles. For this reason, the foundations of each other are never associated, but leave a distance of 20-40 cm, especially if the site is on the bunch of ground.
For light frameworks, an ordinary columnar foundation is quite suitable. This is the cheapest and simple type of foundation, with the organization of which even the owner does not even have a similar practice. For the manufacture of columns, brick, concrete, boot concrete, wood or metal screw piles are used. In the articles " How to calculate the depth of the foundation», "Pillow for the foundation: technology of arrangement" and "Sand for foundation: Features of choice and use" You will find a lot of useful information.
Brief instruction on the Bookmark Foundation for the frame veranda:
- Prepare the site by removing the soil layer with a thickness of 25-30 cm (deurn) and aligning the surface.
- Make a breakdown of the foundation, indicating the location of all columns (at the points of crossing the walls and in places of high load). The maximum allowable distance between the columns is 2.4 m.
- On the perimeter of the future veranda, dig a trench, the depth of which is 40-60 cm, and the width is slightly more than the thickness of the post.
- Pour the bottom of the trench and pour 10-15 cm layer of sand. Square sand with water and thoroughly confuse.
- To put concrete pillars in the sand, coated with bitumen mastic for waterproofing, and joints with cement mortar.
- Fall off the remaining empties with sand, crushed stone or soil and thoroughly confuse.
- After drying the concrete, wake up the top ends of the columns by bitumen and glue the rubberoid segments. So you will create the foundation for mounting a wooden frame. If you put it on the "naked" concrete, he quickly soaked in moisture and starts to rot.
Circass for indoor veranda
Frame verandas are most common in self-construction, since they allow them to create a cozy and functional room as soon as possible and with minimal cost.
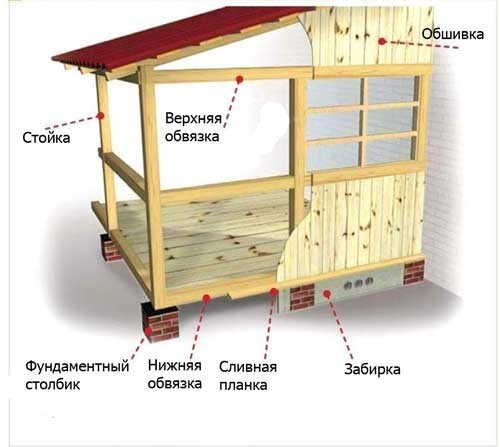
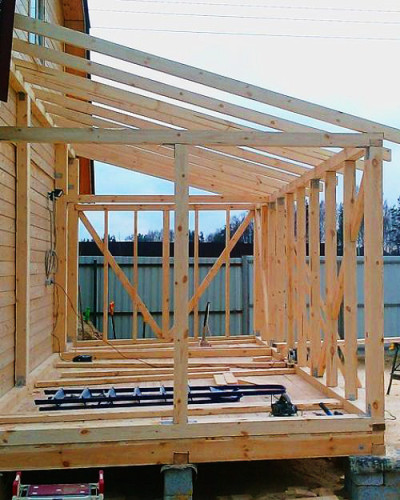
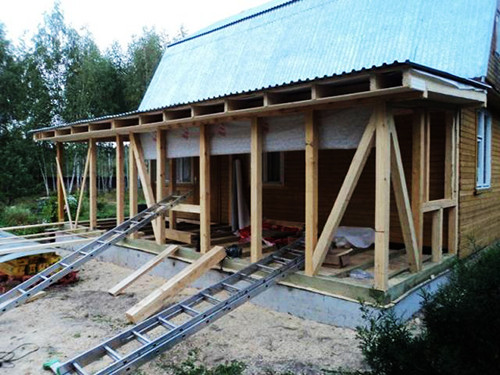
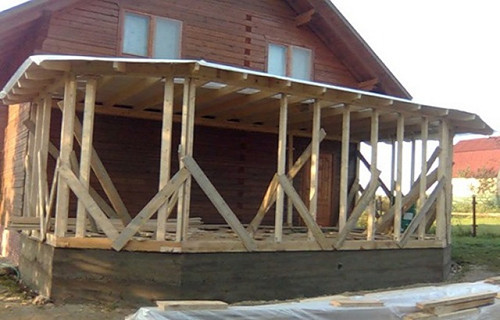
The frame design consists of lower strapping, vertical racks, upper strapping, trim (horizontal and vertical), roofs, windows and doors. To create strapping and vertical racks, use powerful bars with a cross section of at least 150x150 mm. Sometimes there are about 120 mm in diameter in diameter. First, the frame is fully assembled, and then coated with antiseptic and antipyen compositions. The first prevent rotting and damage by insect pests, the second is fire. Only when the protective compounds are completely absorbed and dried, you can begin to stem.
Frame assembly features:
- To attach the bars of the lower strapping to the base, that is, the basement columns are most often used by steel brackets (corners), as well as wood screws. Since one part of the veranda always adjoins the wall of a residential building, anchor bolts are used in these places for fastening.
- First of all, on the lower strapping, vertical bars are fixed, after which they strengthen them with horizontal plackets with a cross section of 120x120 mm, lifting them about 1 m from the floor level. The level may vary depending on the material that will go to the bottom of the veranda. For the attachment of bars, tapes for wood screws, screwing them at an angle.
- By installing horizontal strips, it is important not to get carried away and do not forget to leave a place for the door.
- The height of the frame should be such that the roof of the veranda can dock with the bottom edge of the roof of the house.
- In the process of assembling the frame, you constantly check the evenness of all angles, the horizontality and verticality of all elements. To do this, you will need a square and level.
- The framework of the frame is typically performed by tipped boards that are naked in a horizontal position. For vertical sheat, the lining is used, laying it closely and so that the inner comb is turned up. Non-publicated boards are also suitable - they must be attached to the brand, so that they can protect against oblique rain. The last option is unlikely to suit those who want to make a warm and cozy room from the veranda, since the surface will be leakage.
Recently, many owners have discovered new material for the sheaturing of frame veranda - polycarbonate. You can read about all its properties and detailed construction instructions in the article. "Polycarbonate veranda: photo, instruction on arrangement".
Roof for indoor veranda
When the frame is complete, you can proceed to the installation of the roof. Usually for the veranda make a single roof, one part of which is attached to the wall and its level coincides with the lower edge of the roof of the house, thus being continued. The bias of the roof depends on the climatic features of the region, wind load and coating material. In the article "How to make the roof of the veranda" You will find all the necessary information on this issue.
If briefly, then first to the upper cutting of the frame, it is necessary to attach an elementary rafter system with a crate, which alternately lay all the layers of roofing pie: vapor insulation, insulation, waterproofing, finish coating (tile, ondulin, etc.).
Finishing covered veranda
Since the frame of our veranda is made of wood, it should be carefully protected from premature destruction. The coating of the frame by antiseptics is not enough, so the external trim of the veranda should be carried out as hydrophobic materials as much as possible. If you plan to use the extension year-round as an additional residential premises, it is best to immediately take care of the insulation of the walls. To do this, as is known, it is better to outside that the dew point does not move inside the walls and did not provoke the appearance of dampness, mold, mushrooms and other household flora.
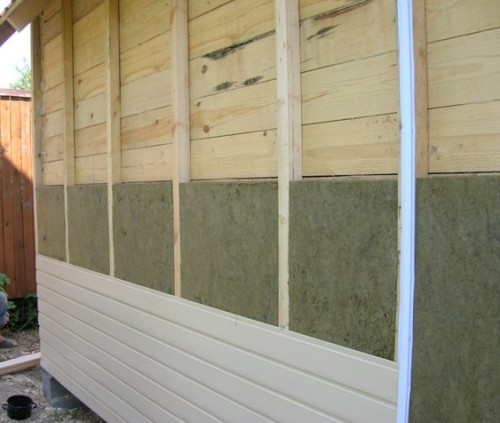
The cheapest and most popular insulation for the walls, the ceiling and roof is mineral wool. This universal material is convenient and easy to install, but requires careful protection against moisture, therefore it is better not to save on steam and waterproofing. If the Minvata wureswards, it will stop holding heat. At first, outside the veranda on the wooden casing is attached a vapor barrier membrane, then the insulation, the waterproofing film or another vapor insulation membrane and then the external finishing material. In the role of the latter, the lining, decorative facing brick, falsefall and other materials, good range in this market segment, benefits the option for every taste and wallet.
Useful advice: in the article "How to attach a veranda to the house" You will find a lot of useful associated information.
As you can see, attach an indoor veranda to the house is completely simple. The main snag consists in obtaining appropriate permits. As soon as the "paper question" is closed, it remains only to choose materials and follow the selected technology as accuracy.
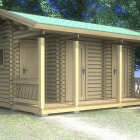
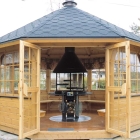
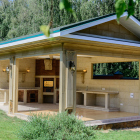
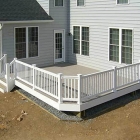
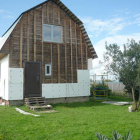
Covered verandas: Photo
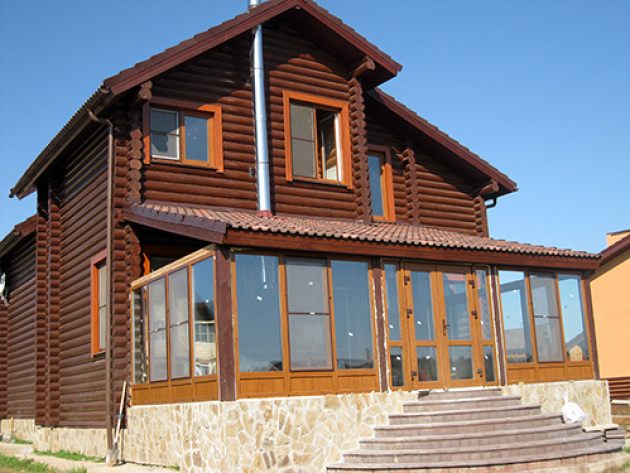
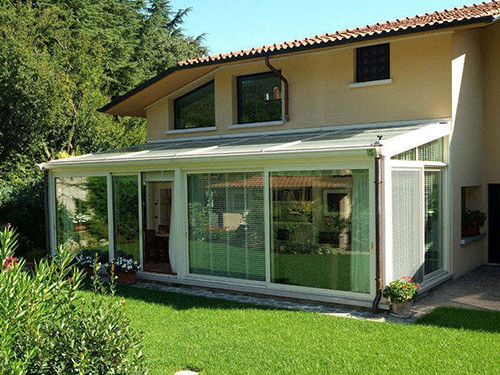
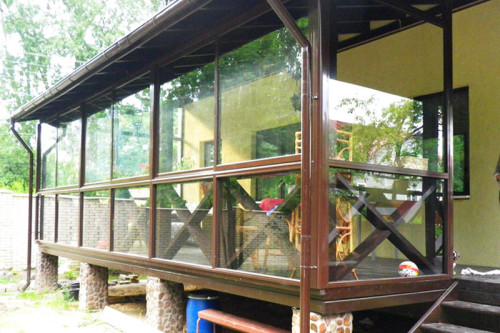
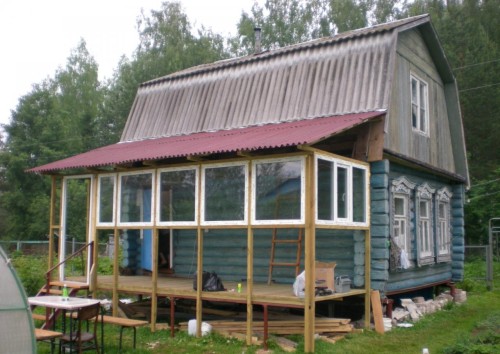
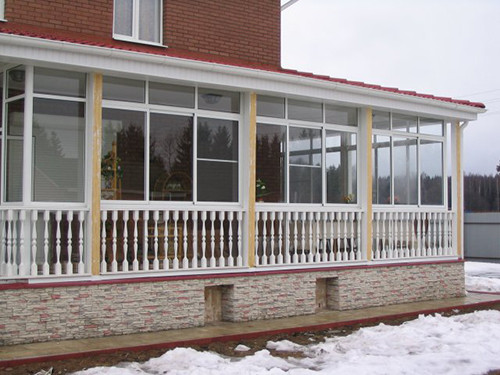
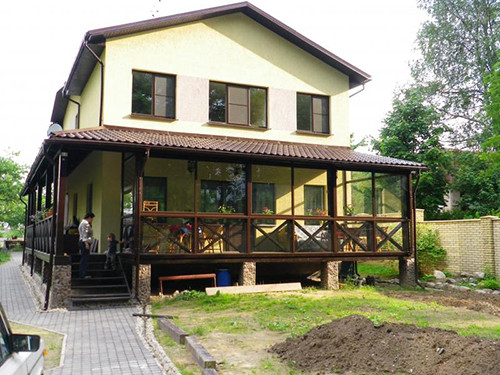
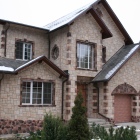
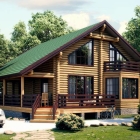
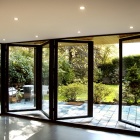
Finally, we suggest you admire the photos of the covered veranda attached to the house. Perhaps this selection will inspire you to create an original project for your own housing.


 Start a discussion ...