It took the time when the chests were an integral attribute in each Russian house. People kept values \u200b\u200bin them and expensive things. For travelers, this subject played the role of a suitcase. Today, such storage facilities are practical dressers, cabinets and safes. The chest fashion gradually began to revive designers that are in constant search for new solutions for the interior. Alone to make a chest of wood or cardboard simply. This does not need special skills or fixtures. Everything that will need is a desire, a little fantasy and a set of necessary tools.
Materials for making chest
In order not to complicate yourself with the search for suitable materials to create a chest, most often use arrays from different wood species. But besides this type of raw materials, you can also experiment with other materials, such as:
- cardboard. A decorative chest of dense cardboard filled with various accessories can be decorated with any chest or buffet;
- papier mache. From this mixture of paper and cardboard, you can cut a wonderful chest of different sizes. In the future, it can be painted with watercolor paints;
- polystyrene foam, or foam. In the conditions of a creative decor of the premises of the chest of foam can be attached even to the wall or ceiling;
- plywood, chipboard or MDF. Excellent option for creating a children's chest. It can store toys and clothing, as well as use for games;
- wood. On a wooden chest can be sitting, if you put it in the hallway. He can also serve as a creative tabby in the living room. Wooden chest from plywood is distinguished by high strength and durability. It is important when it is made to treat a tree with protective agents.
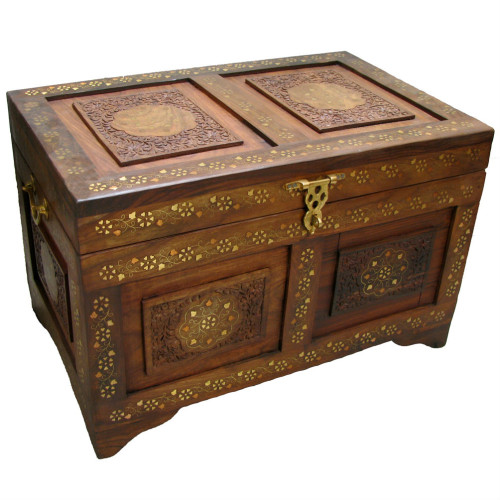
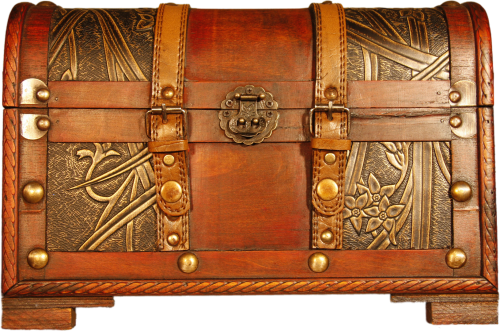
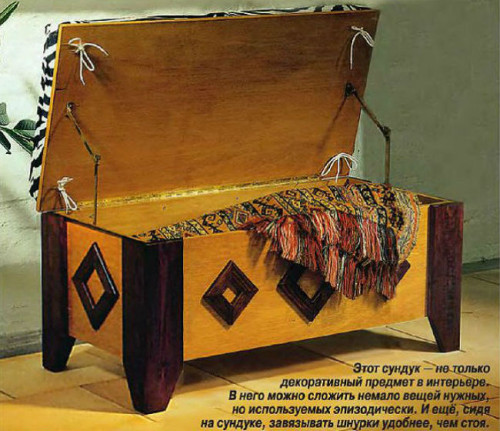
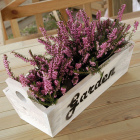
What does the original practical chest look like, you can see in the photo.
Chest-dresser do it yourself
Before you make a chest with your own hands, decide on the place of its location in the room. Then come up with a suitable drawing and set all the necessary product parameters.
To work, you will need:
- mounting loop (1.5x69 cm);
- foam litter (43x88x5 cm);
- lobzik;
- self-tapping screw;
- glue gun;
- screwdriver;
- hacksaw;
- clamp;
- sandpaper;
- dye.
Preparation of details
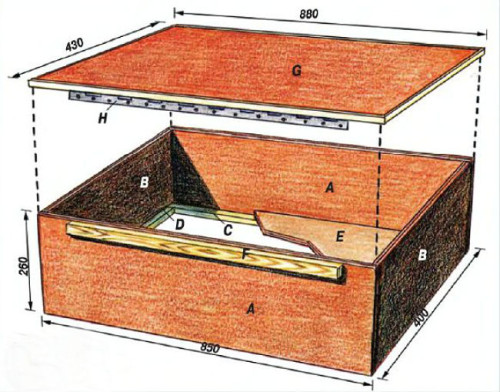
The details of the chest will be cut from plywood sheets with a thickness of 1.6 cm. Take a pencil and mark the dimensions of the parts below on the plywood. Use the drawing.
- A - front and rear panels - 26x85 cm.
- B - 2 side - 26x85 cm.
- E - bottom - 37x82 cm.
- G - cover - 42.2x87.2 cm.
- Support strips C and D. Sizes - 2 pcs. 1.5x1.5x82 cm and 2 pcs. 1.5x1.5x34cm, respectively.
- F - Fastener Rake from the board - 1.5x3,3x69.6 cm.
From the boards with a thickness of 1.5 cm. Make the leg feet.
- I - 1.5x9.2x35 cm - 4 pcs.
- J - 1.5x7.7x35 cm - 4 pcs.
As a decor, we propose to make a rhombic frame from the boards, cross section of 0.9x3,3sm.
- K - Length 13 cm - 12 pcs.
- L - Length - 10 cm - 8 pcs.
Manufacturing technology
Collect the desired set of tools and parts, you can start assembling the design of the chest. To begin with, we finish wooden elements with sandpaper and then follow the procedure for manufacturing:
- With the help of self-sufficiency, connect all four walls of the chest box. Diameter of screws - 0.35x5.3 cm.
- Supported slats C and D screw to the inside of the walls so that they are on the same level with the bottom edges of all sides. Later you need to install the bottom of the bottom.
- In the resulting body, lay the bottom and screw it with self-strains to the plars. Thus, it turns out the housing of the chest without a lid.
- Spread parts i and j to the corner. Turn the parts parts and dried during the day. Cover the legs with a mourn and varnish.
- Ready dried legs-corners take turns to attach with self-drawing to the corners of the box. Screw the screws from the inside of the box.
- Before mounting the cover, glue the fastening rail F to the rear wall of the box. And when the rail dries, attach the mounting loop on it.
- On the loop, we swell the cover of the chest and secure self-drawing.
- With the help of glue-guns, the details for decorating the chest can be built. Details K and L. Dry the resulting frames, cover the mourn and varnish. Their color must match the color of the legs of the chest. Rhombic overlays are glued to the exterior chest panel.
- If you plan to use the scenery as an additional seat, make a litter. For this, the existing segment of the foam rubber is covered with any cloth.
- Put the litter on the surface of the chest and everything is ready. You can use the chest at your discretion.
Wooden chest
A real wooden chest will become an excellent gift for any celebration. It can profitably decorate the restaurant or cafe room.
To work, you will need:
- wooden sheets of 2 cm thick;
- boards for skin sidewall and chest covers - 18 pcs.;
- pVA and self-tapping screws;
- lobzik;
- loops for fastening the cover - 6 pcs.;
- morid;
- wooden varnish;
- metal handles and locks for decoration;
Stages of manufacture
It is much easier to acquire already ready-made sterling sheets of suitable sizes so that you can only give them a logs.
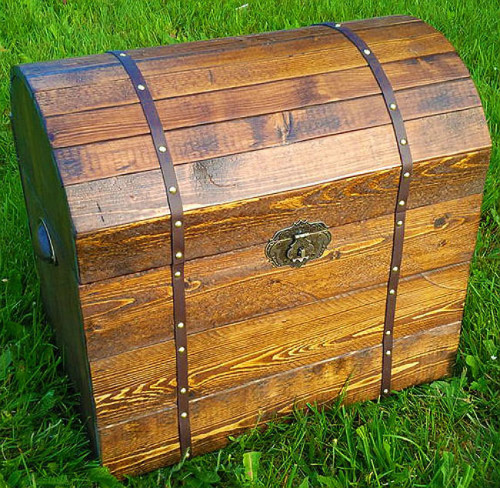
- Make framework. Cut out of one-piece Wood Floors The bottom of the chest of 40x50 cm. Two side racks cut down the radius, retreating from the edge of 10 cm.
- Screw the side surfaces to the bottom. They can be screwed with self-drawers or glue PVA.
- Then the resulting frame cover the boards. For the front and rear walls you will need 6 boards 15x50 cm. At the bottom and until the top attach 3 boards on each side. The fourth will be mounted on the size of 10x50 cm. Pay attention to the drawing.
- When these boards are in place, make the markup where it will be cut for the lid.
- Chest lid also hide the boards of the desired size.
- Cuts do, retreating 20 cm from the top of the chest. On the markup, cut the wood with a jigsaw. After that, process it with a mourn and varnish.
- Remove the chest lid and put it on six loops on the back side. With the front of the cover, attach a loop under the lock.
- For the decoration of the chest at its corners, attach metal corners. On the sides - handles. Nails come up to a frame of a chest leather stripes.
- Inside the chest, separate the velvet of red or cherry blossom.
Cardboard chest
Decorative cardboard chest just make in the presence of an ordinary cardboard box of suitable sizes.
To work, you will need:
- pencil;
- ruler;
- cardboard box;
- decorative stickers for decoration.
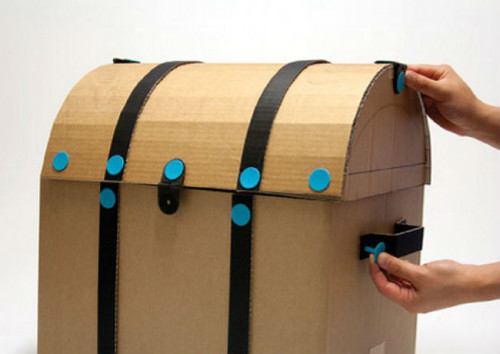
The first thing is pencil on the box spread out the sketch of the future chest. In a circle of the box - two lines for the cut, on the sides - half-circles for the chest cover. Cut the knife all more excess from the end of the bending and cut the top.
- From the cardboard sheet, make the lid corresponding to the width of the box. With the help of stationery locks or plastic nuts, connect the cover with the back of the chest. This is done so that the lid opens and disappear.
- In the front, too, connect the cover with the housing.
- Reduce the chest. Stick on the housing and the chest cover cardboard strips of dark color. They also strengthen their locks.
- On the sides on the housing of the chest attach the handles and the chest ready.
You can add both things and toys and other not too heavy objects into such a chest.
Chest for money
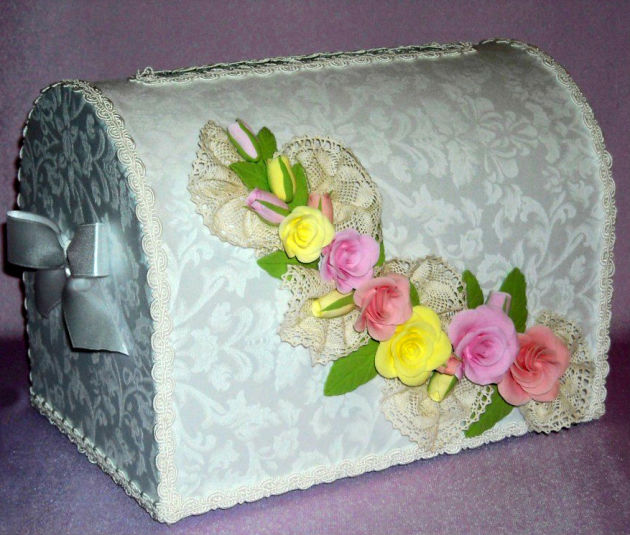
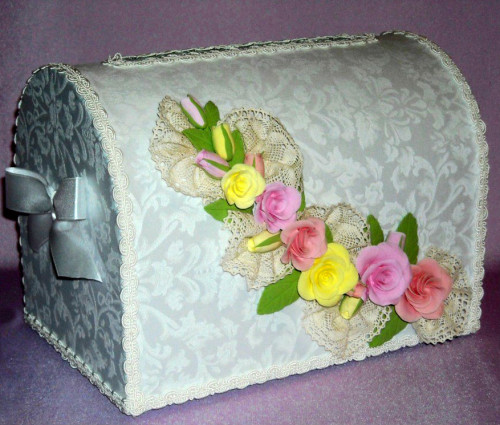
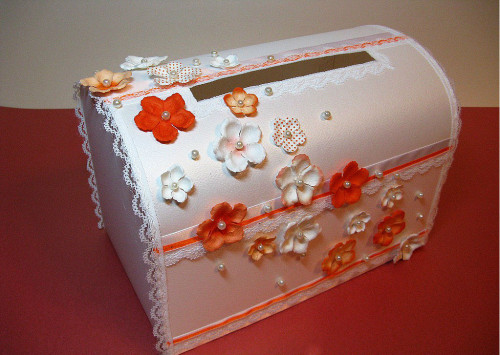
The monetary chest today is fashionable to use at wedding celebrations. According to many, the best gift for the wedding is money, which means it is necessary to come up with a safe storage place for such a gift. A homemade chest decorated in the style of the main wedding topic is well suited. Before you make a chest for money with your own hands, you need to take care of the materials.
To work, you will need:
- cardboard box of the desired size;
- penknife;
- glue;
- stationery Scotch;
- fittings and various materials for the chest decor.
Before you begin to create a product, create a drawing of a chest and take another extra box.
- So, expand the existing box in such a way that the rectangular bottom, and the back and the front walls were high.
- Then at the top on the front and rear walls neatly the needles do longitudinal grooves so as not to pierce cardboard. It is necessary to create a rounded roof of our chest.
- But now the second box is useful. From it cut out the side walls in size, suitable backbone width. Make such blanks 2 pieces. The tops of the side walls are round.
- You can start assembling the product. Scotch tape connect all the joints, the roof is lowered and also fasten the scotch. Side walls attach to the chest and fix it.
- Perch knife on the lid of the Lartz do the hole for money, its dimensions - 1x10 cm.
- When the chest is assembled, proceed to decorating it. Puck a beautiful cloth, wallpaper or paper.
- At its discretion, you can glue a different original accessories onto the surface of the chest.
Find out in detail how to make a chest with your own hands you can see on the video.



 Start a discussion ...