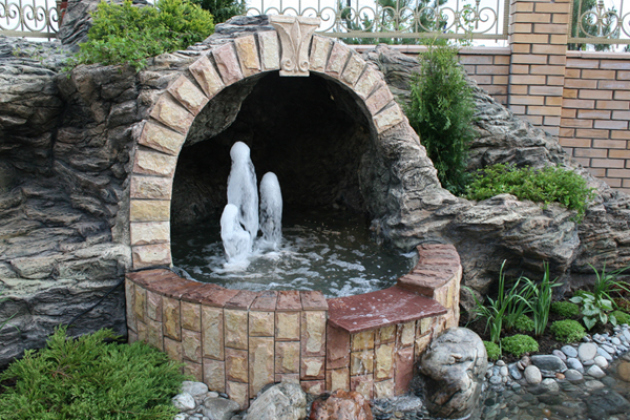
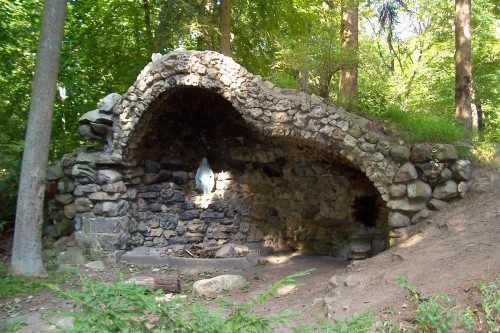
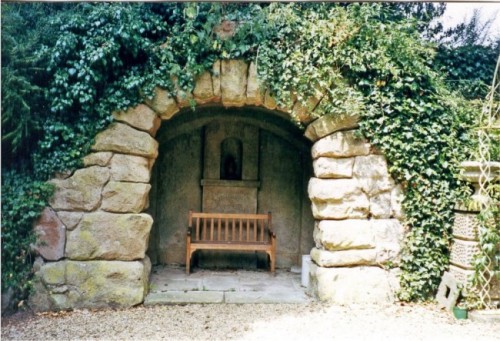
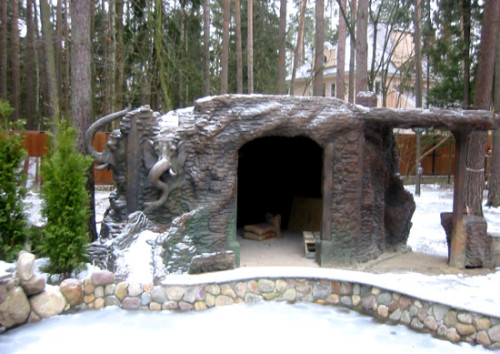
Cave or Grotto will be able to decorate the design of any garden or dacha. These are rather original and beautiful buildings. Their popularity has recently increased significantly. Caves (grotto) emit any size. Moreover, despite the fact that some stone slabs for their construction can be sufficiently heavy, the construction process itself is not so complicated as it may seem. Learn more about how to make the grotto with your own hands, let's tell further.
Grotto
Where to position the construction?
When choosing a place to build a grotto, first of all, attention should be paid to the owner's preferences. Nevertheless, there are some recommendations:
- So, for example, it is necessary to take into account that the view that will open out of it should allow to inspect the entire garden plot. The grotto himself on the site should immediately rush into the eyes. You can equip it in the place where you usually make a walk.
- If the grotto is planned to be used as a place for a comfortable solitude, it is best to place it in such a way that it opened the view of the entire garden, but he himself was in an inconsistent corner. So it will be known as little man as possible.
- Perhaps it is best to place your own cave or grotto on the slope near the reservoir. Only it should be high enough so that the entrance was comfortable. If there is no slope nearby, then the cave can be erected, for example, at the old wall of the brick. At the same time, for greater realistic, it is recommended to decompose the stones on both sides.
- Such a building should not be equipped on a flat surface. In addition, some problems when cleaning can create a cave located above the reservoir. Therefore, in these places, such buildings are also pretty rarely. It is best for this to choose some secluded and overgrown in the garden.
Stones for building
As for the materials, it is easiest to build a cave or grotto of sufficiently large wreckage of the rock. The more stones in the form of blocks, the more it will look natural. This will require material and for arranging jumpers. For this, quite strong stones are suitable, which will be convenient to overlap the entrance.
Foundation for Grott
The foundation is the basis of the construction, ensuring its safety, strength and reliability. Therefore, despite its big weight, he should no longer settle or crack. With the construction of the base for the cave, a sufficiently large amount of soil is usually digging, which will also be used in the future.
It is best to create a foundation by building a concrete platform, reinforced steel reinforcement. It is from the inside lined with polyvinyl chloride film or butylate. This film will be under strong pressure. Therefore, it needs to be put on top of a layer of soft sand and primer fabric. To protect the concrete foundation inside it is usually lined with even more dense film.
Next is equipped with a pool under the cave. Its depth should be at least 600-650 millimeters. On both sides of the pool, additional concrete plinth is required. If under the concrete lay a long lingering, then it is not necessary to further do the coating with a waterproof mixture.
Side walls
The back of the wall and the entrance to the future cave is erected along the edges of the reservoir of everything on several plinths. A lime solution is used to connect the rock of the rock. It is important that all the joints are not visible after completing the design. Do not forget that the side walls and the back of the future cave should be adjusted to the dug slope. If you need steps, they should be formed at the same time when walls will be erected. It is desirable to use large-size stones for this.
You can try inside the cave and on both sides of the entrance to make facing from flat cobblestones. They are applied to each other quite tightly, after which they are fastened with a lime solution. This is necessary in order to give the construction realistic appearance. After that, the bottom of the pool is lined with flat stones. Then it is better to provide several landing nests.
It is recommended to decompose the stones around the front of the pool before entering the cave. This is necessary to do if the whole structure has been erected on Earth. At the same time, the water will not rise above the level of the concrete shelf. In addition, the grotto or cave provides for the construction of the terrace. It is usually filled with stones or land. It depends on your desire.
After the cave walls are erected, you can install the overlap stone. It is best to put on a lime solution. To make the construction safer for children, the overlap stone is desirable to install on a steel plate.
Roof cave
The roof can be made in different ways, but one of the simplest will be the following:
- Initially, the cave space for a while is clogged with plastic bags with a compost. At the same time, from the upper bags to the stone slaughter, leave the distance of approximately 150 millimeters.
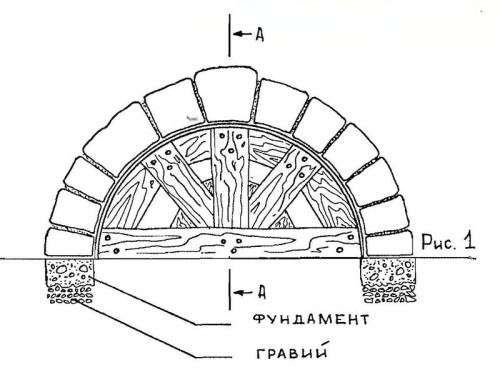
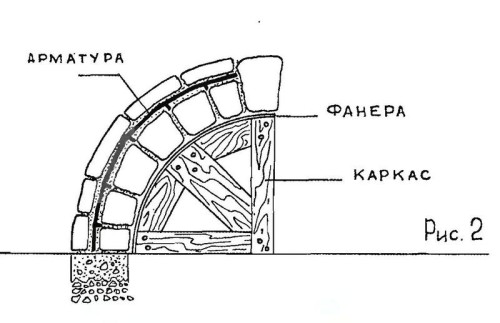
- From above, you need to put a polyethylene film, after which it is necessary to close it with thin stones, which in the end and will serve as the roof of the future cave.
- In order for the stones to close with each other, the concrete should be pouring on top of them, which should have a liquid consistency. Try during these works to fill in concrete all the corners and capture all the flat stones lying on the film. As a result, the roof will take the shape of a beautiful arch.
- Around the edges should be placed stones having a rough surface. It will make the roof of the construction more reliable.
- When concreteing is completed, the surface must be rinsed with water. Then align it and make it smooth.
- After the concrete finally hardens, the bags with the compost can be pulled out. Just do it need it very carefully. As a result, you will have a fully formed cave.
How to decorate the grotto
After completing all construction works, the grotto need to decorate. For this, it is most suitable for decorative plants, flowers with flowers, various garden figures and other small architectural forms.
The walls inside the cave can be made with a mosaic of stone or stained glass. The bottom is recommended to sprinkle with rubble, and at the entrance to put a wooden door. If the grotto is deep in the slope, then on the surface you can make an alpine slide or implement your own idea for the garden. At this stage, it is necessary to maximize its fantasy and creative thinking.
Grotto for aquarium do it yourself
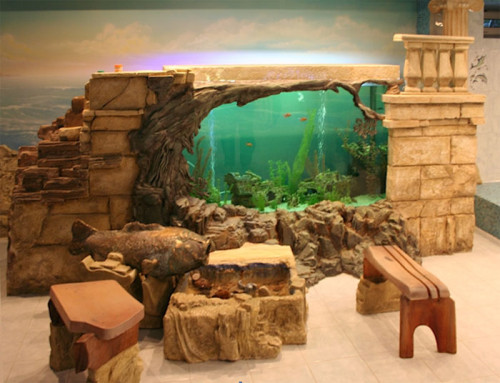
The grotto in the aquarium can serve not only with a wonderful decoration, but also the place of shelter of peaceful fish from predators. It is easy to make it yourself. And you can use various materials.
Grotto from cobblestone
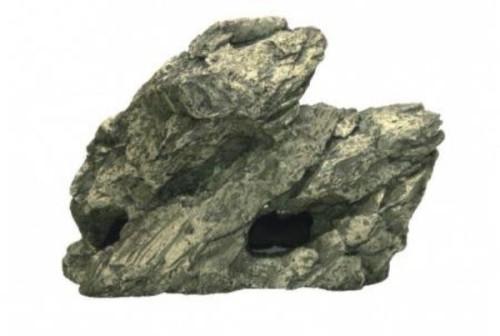
Most often, the grotto for aquarium is erected from a cobblestone. For this purpose, the soluble neutral stone is suitable. In order to make various holes in the stone, you will need some modern power tools. Undoubtedly, it will be a rather laborious job, but it is worth it. Finding into aquarium water, the cobblestone will quickly easily finish various greens. It will only benefit the appearance of your aquarium.
Important! Never place a stone grotto on the bottom. All design weight should be distributed evenly. For this, be sure to leave a substrate from aquarium soil.
Grotto from wood
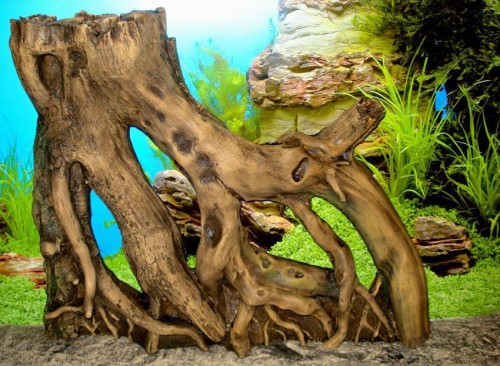
Wood can also be used as a material for the grotto. Many will seem that it is not rational, because it is known that the tree is rotting. But still there is a means to extend the life of this material. For this there is special processing.
In order to build a grotto from wood you need:
- Take a small pen.
- Cut in it the necessary holes.
- Now you should take a soldering lamp and leasing all the place where the material was processed by a drill. For this purpose, you can also use matches and lighter.
- Best of all the selected inner surfaces and the edges of the holes are to make smooth so that the fish can not damage their fins about them. Thanks to these works, it is also possible to make the grotto with your own hands more natural. It will remain to prepare it for immersion in the aquarium.
Grotto from stone
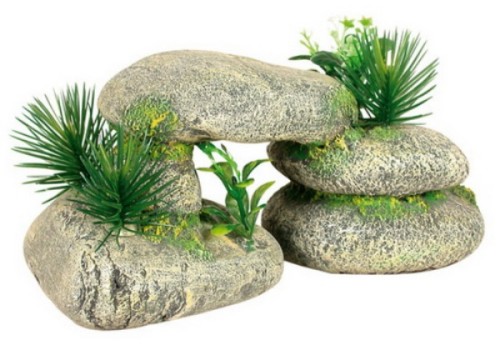
You can make a shelter for fish from stone. This requires some number of smooth stones, without sharp edges. They can have a flat or round shape.
Procedure for work:
- Choose a place to run construction.
- After that, we build a cave or pyramid from the stones.
- Stones should be put in such a way that they cannot move to a small jog. Pre-all the stones are recommended to boil.
- After that, you can upload the grotto. The photo of an exemplary result can be seen above.
Other buildings of grotto
Quite often, the shelter makes from corals that can get anyone today. Conventional souvenirs brought from a trip to Egypt, Turkey or Israel are suitable for this. Place the coral directly into the aquarium. From above it can be decorate with small shells.
A good shelter can turn out of bark pieces. From the old trees, the bark is removed by large pieces, which eventually begin to wrap in the tube. This form of material is just suitable for the arrangement of the grotto in the aquarium. Just before using the bore need to rinse, boil and disinfected. After that, it can be placed in aquarium.
In general, do not be afraid to show fantasy when decorating your aquarium. Then you will have a unique piece of nature at home. Sometimes, for example, the grotto of plastic pipes are made, which are first covered with adhesive substance, and then sprinkle with gravel or fine sand. Although this is a solution to an amateur, because It does not always look good. In addition, such grots can pollute water, and, therefore, harming the fish.
On a note! When shelter device for fish, remember that in nature there is no right geometric forms. Therefore, pieces of squiggle or bark at the bottom will look much better and naturally than smooth and smooth parts of the pipe.



 Start a discussion ...