Any housewife always monitors the beauty of his housing: houses, cottages or apartments. And nothing adorns so everything around as flowers, it is obvious. But the colors should also be stored somewhere, therefore, there are very relevant drawers for flowers. By the way, even a woman will cope with it, even a woman. But it is better to entrust the case to your men, and how to do everything right, we describe below.
general information
Before proceeding to the manufacture of various models of such devices, I want to deal with what they are used and what benefit from them.
Purpose boxes for flowers
A good owner knows what an important role for flowers is played by weather conditions, sunlight, so they care that their plants will at least sometimes enjoy the rays of the sun, "breathed" with fresh air. But that their transfer to the street, in the garden or under the window was simple, do not do without special boxes for flowers.
In such devices, flowers can safely stand on the street and enjoy fresh air, and in case of bad weather or cooling, they quickly and without any problems are cleaned into the house.
The advantages of flowers for flowers
Speaking of the benefits of such devices, first of all their simplicity of manufacture. Almost any material is suitable for creating street drawers for colors, it is:
- wood;
- plastic;
- plywood;
- metal;
- Chipboard.
You can choose almost any material that is on hand and put it in turn.
Well, as advantage it should be noted cheap. Of course, you can buy designer solutions in specialized stores, but if you make drawers for flowers with your own hands, you will be able to save well, and on originality it will almost not affect. She may even be even greater.
Universality Flower Boxes
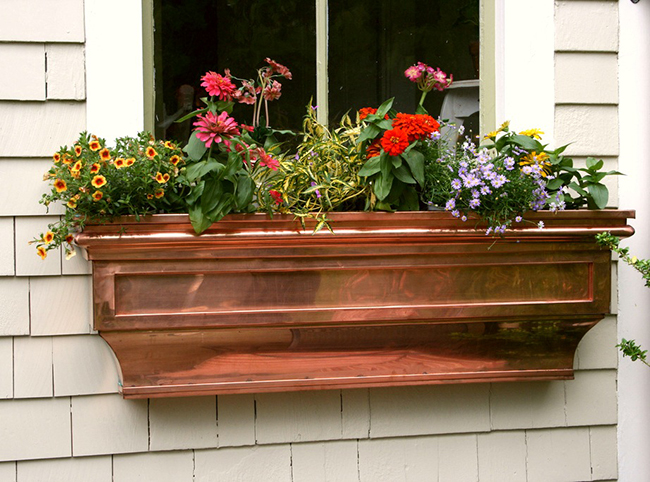
Finally, you can note the versatility of such products, because along with your practicality, they are also distinguished by quite attractive properties, ideally inscribed in any design. If you have a good work on the manufacture of color tanks, you can create a real work of art, which will not be proud of the courtyard in your private house.
Plastic and Wooden Flower Boxes
Now it's time to disassemble those wooden and plastic boxes that you can do at home. But first compare them.
What's better?
Almost every person who led to the goal of creating original floral boxes, sets itself the question of how to make their choice in favor of what materials.
Speaking about such adaptations made of plastic, a completely obvious advantage is the possibility of buying them in urban stores. You can buy a finished product, after which give him a little individuality, decorating those or other devices. You can always buy such a product, paint, repaint, paint it at your discretion and put into move.
But not everything is so good, because there are cons. About those in the following list:
- plastic products are deformed in the sun;
- such boxes can be heated and create a greenhouse effect for plants;
- have a low coefficient of resistance;
- have standard dimensions, are not always suitable for flower pots.
Due to the presence of these disadvantages, the plastic flower boxes are inferior wood, because their opponents are more durable, comfortable, versatile. The only thing - is that the wooden tools necessary to produce themselves. But it is not very much and it is a big problem.
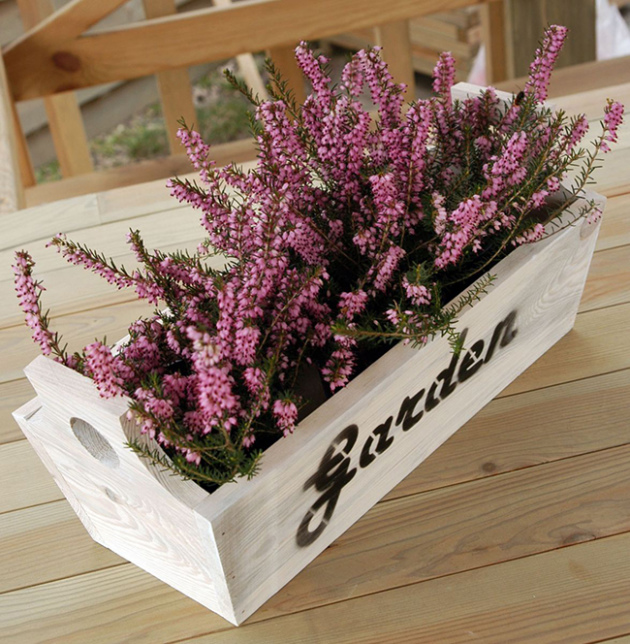
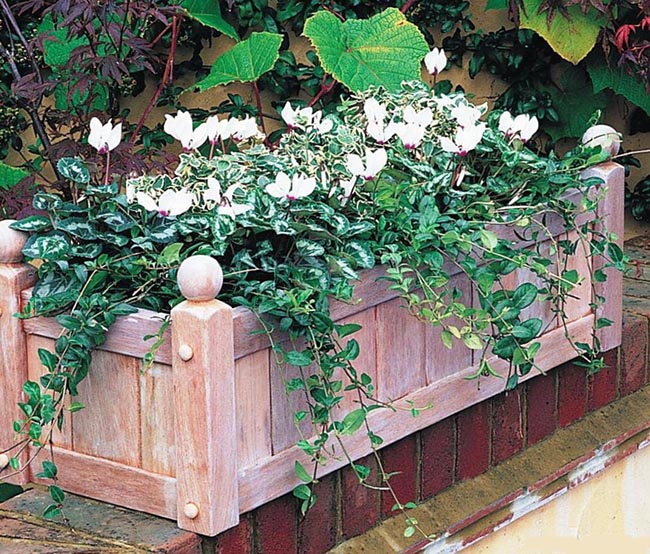
Wooden box for flowers
Based on the foregoing, we decided that the best solution is just a wooden device. Such a decision would be easy to use, easy to manufacture, and the designer's role will play a box in your garden, words to describe difficult.
We recommend that you prepare in advance all the necessary tools and accessories to later not to be distracted by the search for them. Here is a list of all necessary:
- paint on wood;
- corners of the metal;
- morid;
- pieces of foam;
- shards of ceramic;
- screwdriver;
- drills and drill;
- slats of wood;
- plywood, the thickness of which will be not less than 2 centimeters;
- wood glue;
- saw;
- ruler;
- roulette.
Check that all tools, it is possible to undertake the work. But be careful and strictly follow the instructions. Although some of his adjustments can also be made. Here is the plan of work:
- For starters, we offer you the dimensions for the average on the dimensions of the box. If you need more containers can proportionally increase the proposed rates.
- The first thing you need to cut it out two rectangles of wood. Their height should be 200 mm and a length of about, you can make a decision themselves. Watching how many pots of flowers will be installed inside.
- Next, make two identical rectangles with the same height, but a smaller length. They will serve as the side walls.
- Prepare wooden slats, which must be equal to the length adjustment of finished wooden planks (20 cm). Also do not forget about the bottom for the box.
- Using glue and wooden slats, you need to collect the box. From ready-formed faces of the future square box product and its corners are installed racks, smeared with glue. After that, they are fixed with screws or nails.
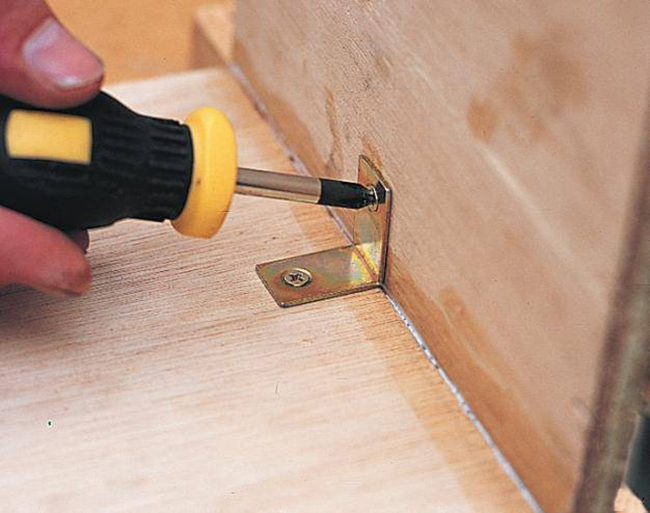
- Inside the box also requires fixing. With the holes made in the corners of the box using a drill and drill bit (inside). Further to these places established corners and secured with screws.
- Now you need to drill holes in the bottom drawer of your future. They will serve as drainage.
- The bottom is fixed along the same scheme as the walls of the box.
- When the boxes are assembled, at its bottom it is necessary to post the drainage system, which will include pieces of foam and tile.
- A shards are also placed on the bottom, which sprinkle on top of the sand layer. The sand should be coarse-grained, and its layer should fluctuate between 2-5 cm. Thanks to such a system, you can smooth out possible misses in the process of planting plants.
- Your box is ready and you can only decorate it. But here you have to decide how you want to see it.
Improvement plastic box
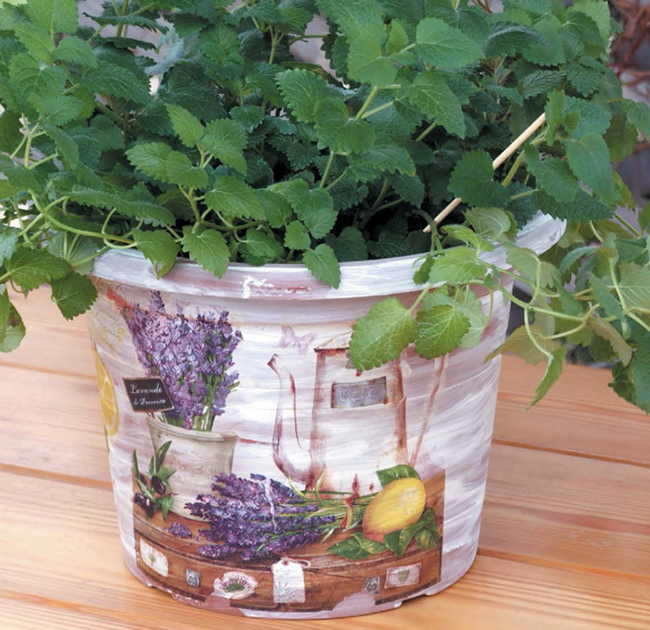
As we have said, plastic products are in abundance are sold in local stores, but this does not mean that they cannot be made unique, add a kind of highlight to their appearance.
Take care in advance about the presence of the following positions:
- brushes;
- plastic pot;
- acrylic soil;
- gun for gluing (suitable and conventional silicone sealant);
- facade lacquer type;
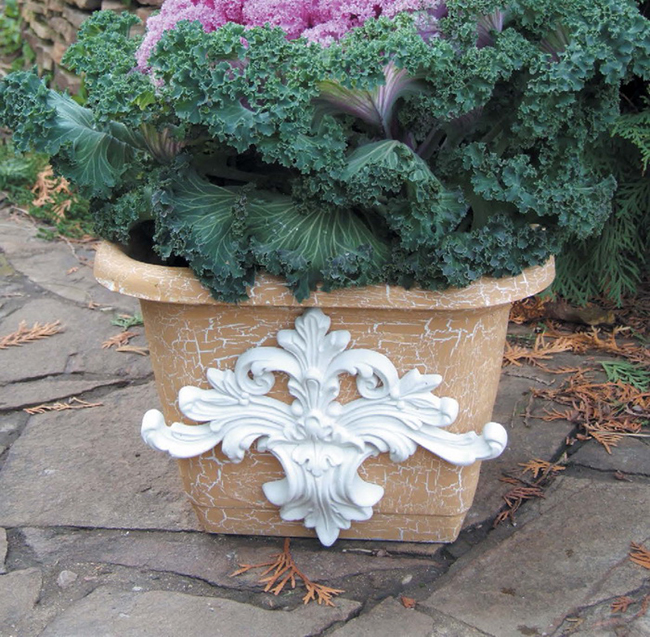
- special socket made of facade stucco;
- facade paints.
Getting Started:
- Take the pot and well open it with an acrylic type soil.
- Wait until the floral box is dry.
- Take the front paint of white color and use it for the painting of the box. Inside the box, too, it is necessary to paint, but there is enough layer in 4 cm measured from the top box.
- Wait for full paint drying.
- Take a means for the formation of crackers. Apply it on the box, then leave the product to dry again.
- The next layer of paint should be beige. After coating the paint fixture, you will notice that in a couple of minutes it will appear white cracks that pop up against the background of beige.
- After complete drying, the pot, it must be opened with a matte varnish.
- After drying the varnish, open the product with varnish twice.
- And at the final stage you can attach stucco to the side of the color drawer.
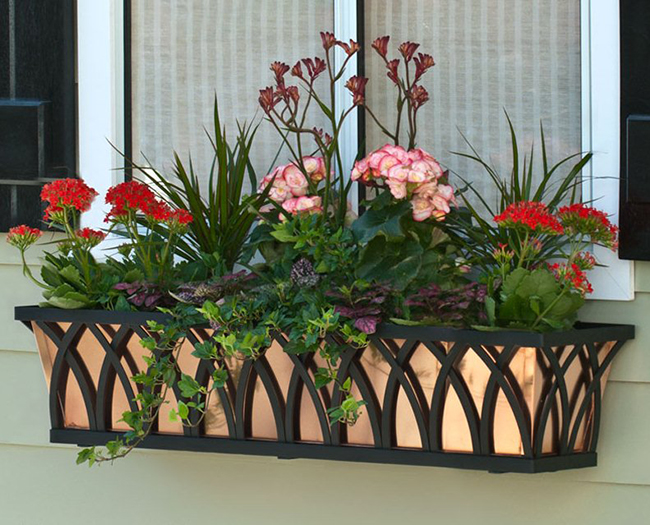
As a result, you will get quite original, albeit purchased, drawer for flowers. After reviewing the photo of such flowers for flowers, you will probably understand that this is a good option.
Non-standard floral boxes solutions
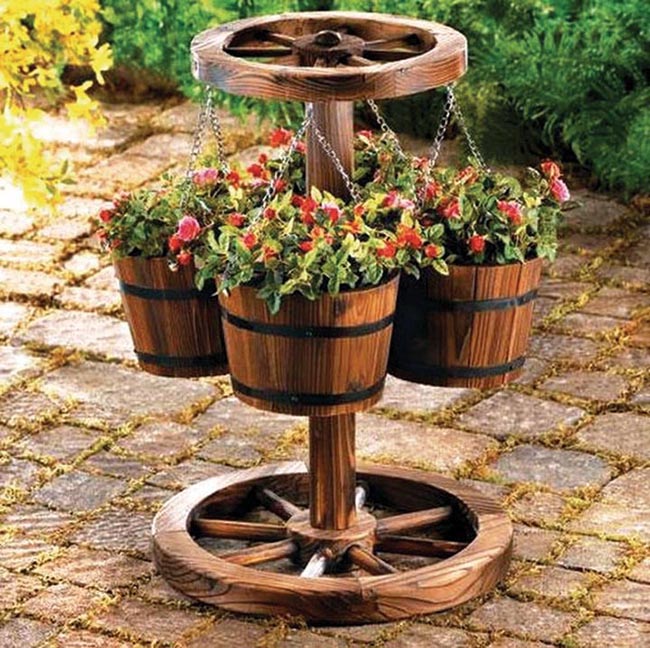
It is quite obvious that it is impossible to stop just two versions of floral tanks, and that there are many other solutions. Consider them all by the way, it is quite difficult, but we will pay attention to the most interesting, original and popular answers to the question of how to make a drawer for flowers.
After all, for most people, simple boxes may not come up on the courtyard concept, or due to the fact that they live in a private house, but in a small town apartment.
Suspension Flower Box
For lovers of total flower design of summer courtyards and land plots of private houses, the solution to stop on ordinary colors planted in the ground seems inappropriate. That is why such gardeners want to have flowers everywhere, even suspended on the walls of additional structures, attacks, etc. Here and accounted for a very convenient and relevant outboard flower box.
Someone may think that it is very difficult to make such a device, but it's not at all. Do not run to the market and buy suspended boxes for big money, because there is a great solution.
Here is a small secret, the solution that is on the surface, but not everyone is imagined to this. As a suspension container, you can always use any capacitance from paint, water, or an inconsolable box.
You might think that nothing good of this will come out, but believe me, seeing photos, you change your mind.
Prepare the necessary materials:
- lobzik or saw;
- facade paint (two colors: black and red);
- nails;
- hammer;
- plywood (fat);
- boat lacquer;
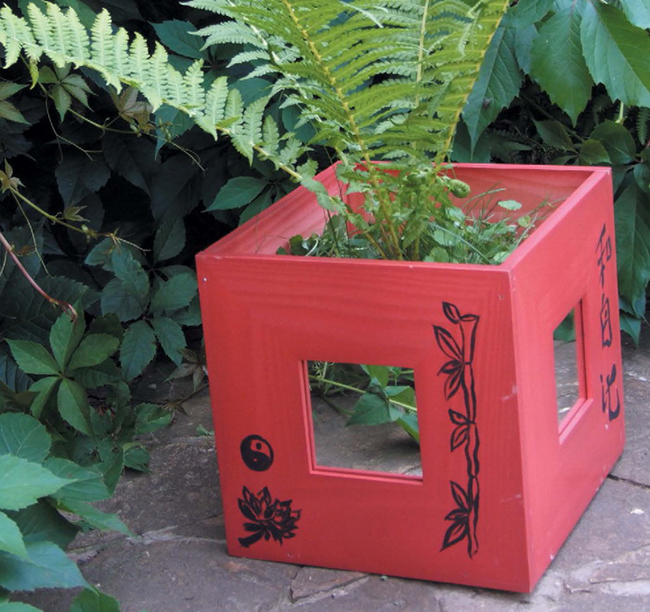
- mirrors in a wide type (4 pcs.).
By collected everything you need, you can safely take for work:
- Mirror frames must be painted in red, after which it is carefully dried.
- From the plywood taken, cut the square product, which will serve for the bottom for the drawer. His sizes choose, pushing out of the sizes of the mirrors.
- With the help of a hammer and nails, approach the mirrors around the perimeter. Note that the mirrors should look out.
- When the mirrors are securely fixed on the bottom, their side walls need to be knitted with nails with each other.
- Red mirrors can be decorated with black paint and brushes. Drawings You can choose any, but we recommend you oriental topics, as it will look more concise for any garden or even a balcony where the drawer will hang.
- Open the product with a boat varnish to securely protect it and give a more elegant appearance.
- Find any incommary rope or strap, and with their help, create a fastening for hanging the product.
Old-stool box
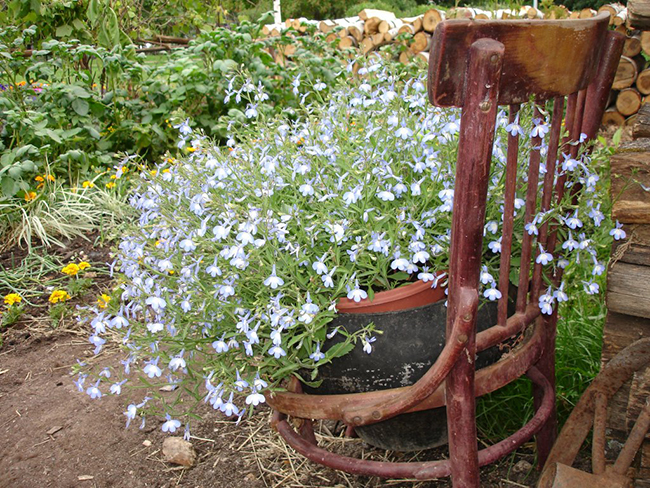
Another good option is ideal for holiday yard. Surely we all have in the country are old chairs. Those most Soviet chairs that had long we'll probably never use that always creak and look very shabby. They hardly need us badly, but that they look pretty vintage, no doubt.
Therefore, here is a great solution:
- Take the old Soviet wooden chair.
- Remove its soft seat, if it is provided for in the design.
- Using a jigsaw or hand saw cut in the stool smooth bore which is slightly larger than the diameter of the flower pot installed in the chair in the future.
- Glue around the diameter of the rubber pad of the chair, which will securely hold the pot.
- Insert into the hole in the stool pot of flowers.
So you get a very original and unique in its own way a box for flowers.
Balcony flower boxes
Many people prefer to install on balconies and loggias of the apartments boxes with flowers, so for them we have also taken their place in the article.
Types of flower boxes
First you need to understand the varieties of flower boxes on the balcony. They are as follows:
- floor;
- wall;
- on the holders.
Furthermore, by itself, such boxes may be made of different materials and have different color, design, size.
Requirements to the box for flowers
You should know that the boxes that are installed on the balconies, have certain requirements that must be met. Here are the main ones:
- thermal conductivity;
- strength;
- fixings;
- ensuring access of oxygen to the roots;
- colors are not strongly attracted to the sun's rays, which can nakalivat box on hot days.
Installation box for flowers with holder
If ordinary boxes, you can just put on the floor of the balcony, or hang from the walls, the boxes with a holder - a more serious design.
First and foremost, precisely because it can be dangerous to people if insecure attachment. Yourself can imagine what the consequences might be from falling from a height of several floors, 1-2 pound or even more heavy boxes. Therefore we recommend not to make the holders themselves.
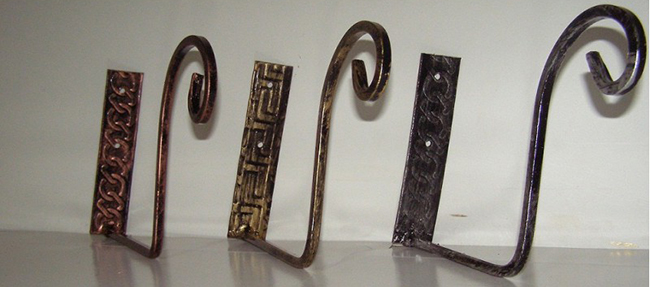
Such products are sold in abundance in specialized stores, and are, incidentally, quite inexpensive. Therefore, you can always go and pick the excellent forged holder, which eventually will be installed on your balcony.
Here is how the installation procedure:
- Decide with the type of holder.
- If you caught the simplest type, you can simply throw it on the edge of the balcony, then fasten to the inside of the balcony, putting any materials under the fastening, like rubber or wood.
- Following that the mount is maintained securely, a box with flowers can be installed in the holder.
- Perhaps you will get a more serious design that can withstand heavy loads, but requires a more thorough installation.
- It is not necessary to do without tools and fixtures with bolts. Prepare them in advance.
- Often such products also drop through the balcony partition, after which they are fastened with bolts. Clean the product and mark the pencil or marker of the place where you need to drill holes for future mounting.
- Remove the product and make holes.
- After that, you can install the mount and fix it with bolts and nuts.
- At the end of the work, check the fastening reliability and in case of successful verification, set the boxes with flowers.
Boxes for colors outside the window
It so happened that some people have a balcony, and set the flower pots on the windowsill, there is also no possibility. It does not matter, since the boxes can always be fixed outside the window.
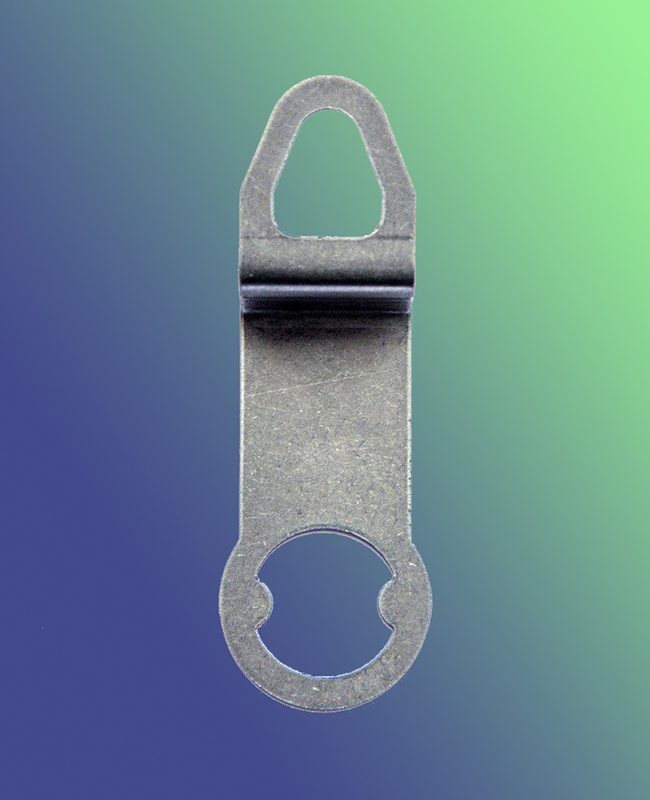
To do this, you will need to add to the finished floral boxes, securing special metal fixtures on them, allowing you to hang the box for the hook, and in our case - for a dowel hat. Such attachments you can easily find in any construction store.
As for the installation of the boxes, it will be performed as follows:
- Drill two holes outside the window at the required level and delete from each other. Distance from each other will depend on the size of the drawer with flowers.
- The holes need to install a dowelle, and then close the remaining slits using a cement solution.
- Encode the box and mark the level on which it will be in its bottom (the following items are needed if your flower boxes will have a fairly large weight, and you want to insure it from falling).
- Remove the flower box.
- Prepare two M-shaped metal parts that will need to secure as a drawer supports.
- Do 1-2 holes in the same remote distance from each other (again, in size from the box).
- Secure G-shaped Details.
- Install the box in your place and securely secure on the loop.
Ready. So quickly you can create submool boxes with flowers, even if you do not have a balcony.
Flower boxes
We looked at a lot of options, but if you did not find it ideal for yourself, and want to see more fresh ideas, we have prepared an excellent video for you. Look at it and proceed to work.





 Start a discussion ...