Skillful use at the local territory of various girlfriends allows not only to save funds, but also to show individual taste and fantasy when creating street furniture. Such unique exterior models for the garden will become an excellent item for the pride of the owners and admiration.
The arrangement of any modern housing is a very expensive and complex process. The choice of furniture can be a difficult task if the owners wish to bring individual tastes to life with all fashionable design solutions. However, if you skillfully treat natural materials, you can independently equip the territory of the house with the most modest budget.
Today, you can find almost any elements of the decor both interior and exterior. In particular, street furniture can be purchased at the finished form among various companies specializing in its production (for example, "Adanate") with a wide range for every taste. If you have a desire to construct a table, chairs or a shop, then such companies offer individual materials for assembly so that everyone can embody his fantasies into life.
Types of street furniture
To date, there are several basic types of materials that are most commonly used to create a garden, household and receiving setting:
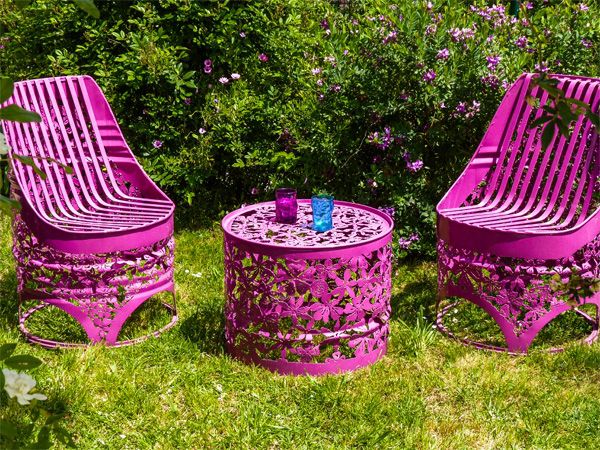
- Street furniture made of plastic and metal. Such materials have several advantages, primarily in the ease of assembly - for ready-made elements from plastic, as well as in strength and durability - for metal structures. Mainly, thick pipes made of steel or duralumin, which are combined with nuts, bolts or weld with each other, are used for the manufacture of metal furniture. To flexing individual parts, it is recommended to fill the pipe with sand and put in its ends of the plug, and then heat the metal with a solder lamp in the required place, holding the pipe in the vice. Also from iron rods can create wicker elements.
- Wicker outdoor furniture. Perhaps the sophisticated and exquisite models of the exterior can be considered parts woven from natural materials. The most common is the vine and rattan, and the cherry branches are distinguished by their support and ease of processing. To create such furniture at home, it is recommended to first adapt to the method of weaving and train skills on simple elements, such as a seat or countertop.
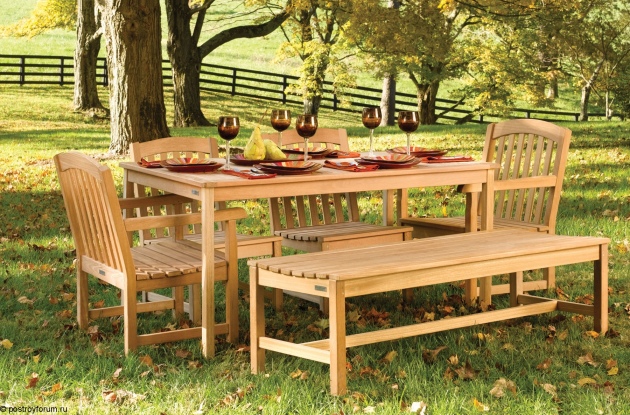
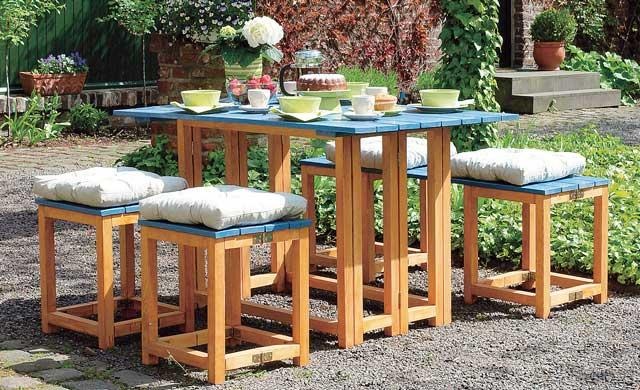
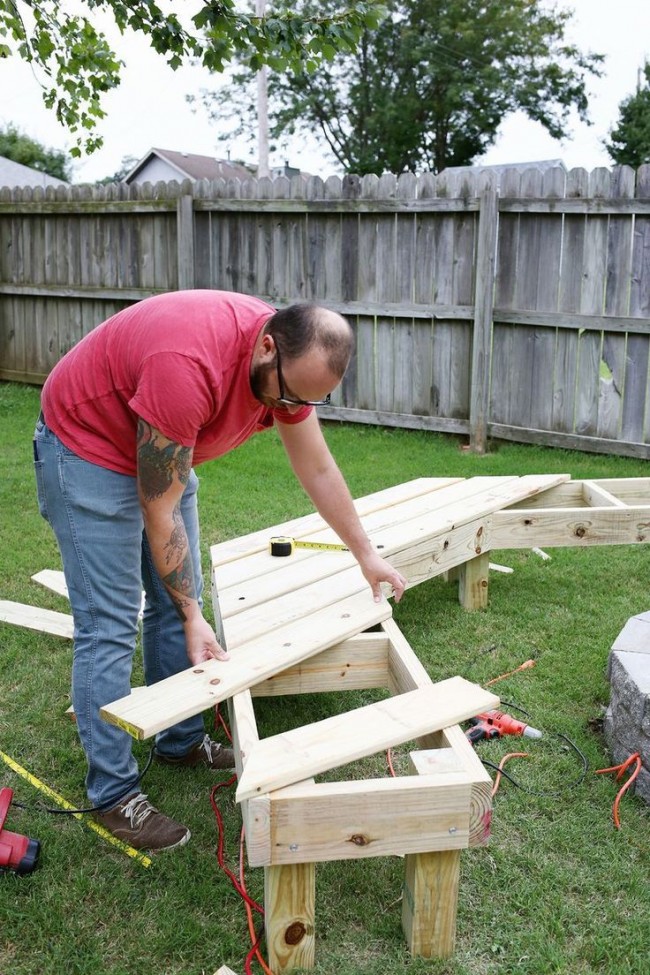
- Wooden outdoor furniture. The most wear-resistant and popular in view of the environmentally friendly material is wood. In addition to many positive properties, such a material in the manufacture of furniture does not require special skills or the use of special tools. There are several ways to manufacture wooden furniture depending on the type of material - it is easiest to work with ready-made boards and bars. It is not recommended to choose wood coniferous trees for furniture, since the resin can stand out even after their cut, so such a material must be pre-processing.
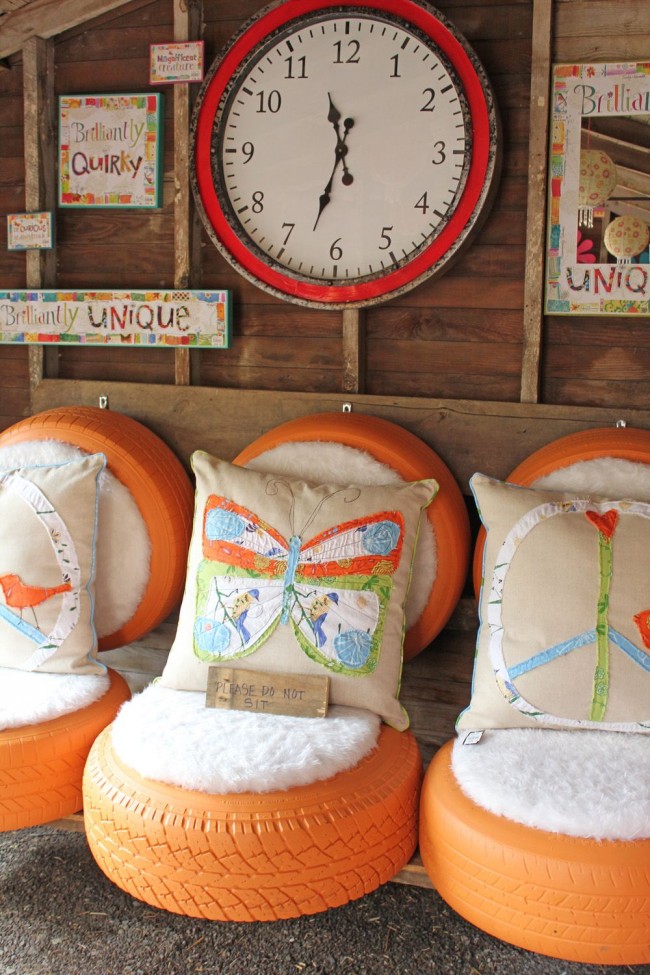
- Street furniture from automotive tires. Such material is strong enough for the manufacture of furniture for the garden, from which you can make suspended swings for children. Also from tires you can make comfortable chairs, first cleaning them and painted in a bright color.
Street Furniture from wood do it yourself
Despite the fact that the assembly of wooden furniture is considered the easiest way, such a process is quite time consuming, therefore it is necessary to carefully prepare before the immediate assembly of structures:
- Determine the type of setting items, their number, design, dimensions, location and decor.
- Choose a suitable breeding of wood (ash, cedar, maple, birch, nut, pine).
- Prepare the main material for carrying structures in sufficient amounts, taking into account waste, laminated or polished chipboard or MDF for parts and other auxiliary tools (screwdriver, plans, construction stapler, drill, screwdriver, drills, hammer, roulette, pencil, sewer, bolts, screws, screws , glue, nails, screws).
- Think up the decor of the items and prepare the material for it, as well as the upholstery of the furniture (leather, leatherette, fabric, foam rubber, polyurethane foam).
- Make the necessary measurements and create a detailed drawing of products or use ready.
- Cut the items, trying not to damage the edges and spaces of sleep, and also make marking for fasteners.
- At the final stage, the assembly is directly performed and, if necessary, the upholstery and decoration of furniture.
Street wooden furniture perfectly fits into any design of the house territory and is the most environmentally friendly, durable and durable. The most popular elements from the tree that can be collected independently are the table and comfortable chairs or a bench for the garden. Such furniture will be particularly relevant for picnics during the warm period of the year.
Step-by-step construction of wood
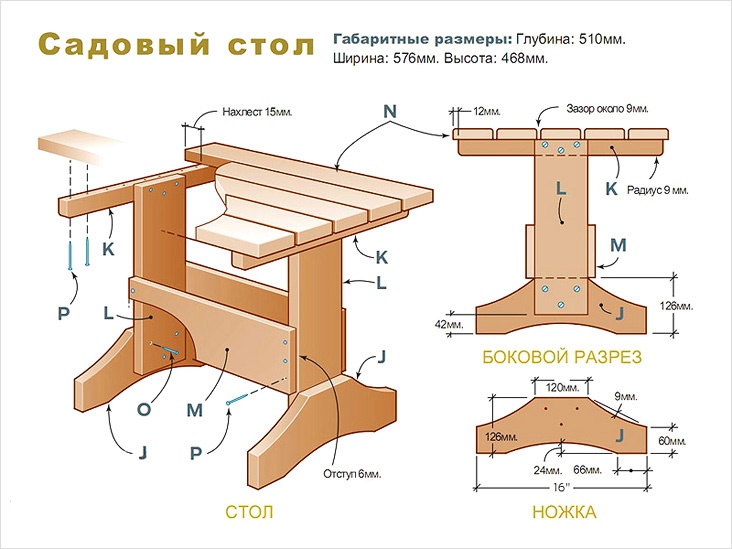
List of parts required for assembling the country table on the template of the shown schema:
- Board 61 * 51 * 9.5 cm;
- Leg 53 * 42 * 13 cm;
- Support 53 * 40.5 * 13 cm;
- Plank 53 * 49 * 4 cm;
- Transverse bar 44.5 * 13 * 7 cm;
- Screws of 4 and 5 cm.
Wooden table phased assembly algorithm:
- Preparation of desk elements. Lobzik cut all the necessary parts, and then, using 3 screws on each, attach the legs to their supports.
- Fastening planks. Make the necessary holes and attach all vertical strips to the legs.
- Assembling table tops. Firmly secure the clamp boards to facilitate its assembly and install the struts between them 1 cm thick, then attach them to the board.
- Installing countertops. Attach the worktop to its base.
- Collect the headsets with coarse sandpaper, thoroughly wipe the table from sawdust and cover it with a lacquer at least three layers to provide high-quality protection against moisture. Leave the furniture to dry the minimum one day.
Step-by-step making of wood chair
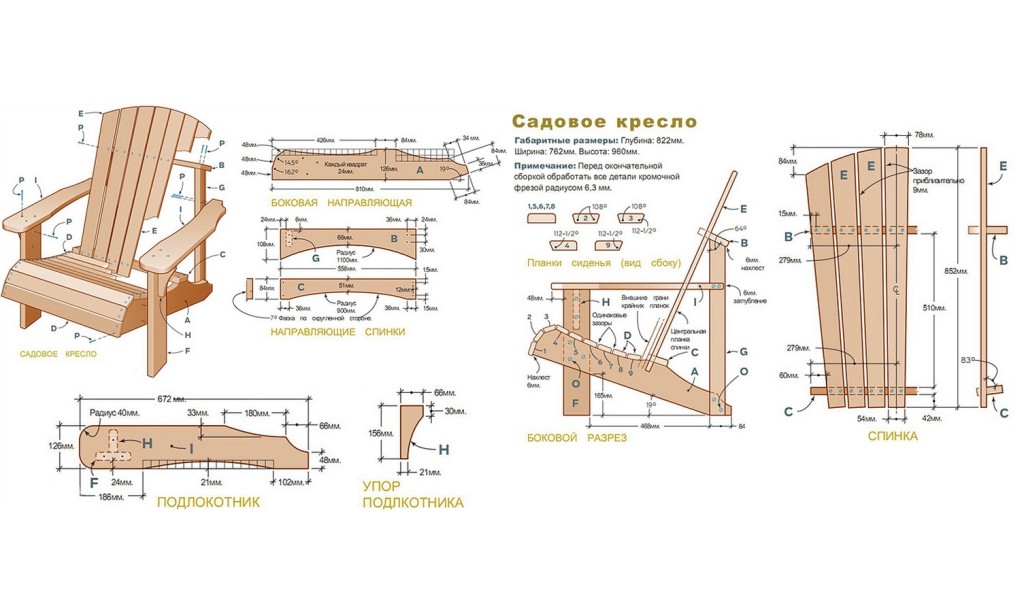
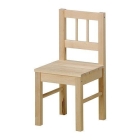
The list of parts required for the assembly of a country chair on the template of the presented scheme:
- Lateral part 86 * 53 * 13 cm;
- Detail under the seat 59 * 25 * 6 cm;
- Detail for the back of 90 * 20 * 8 cm;
- Rear part (top) 59 * 28 * 11 cm;
- Back item (bottom) 59 * 28 * 9 cm;
- Rear leg 73 * 53 * 7 cm;
- Support for armrest 53 * 16.5 * 7 cm;
- Armrest 71 * 53 * 13 cm;
- Frontal leg 53 * 52 * 11 cm.
Algorithm of phased assembly of a wooden chair:
- Preparation of elements for the seat. On the template for the side part, cut the necessary shape with the jigsaw, and then carefully seize. Similarly, cut the rear boards and give the required bends with a hacksaw to create the needed tilt back. The upper part should be rectangular, and the lower - with a slant cut at an angle of 7 degrees. Parts for the seats can be performed with a bevel on one or more sides. For slanting cuts, it is recommended to use a planer or use a table with a cutting machine.
- The seat assembly begins with screwing the rear bottom to the side. For each end of the details should be used on a screw. The seat shape must be square, and for each end of both side boards, you must attach an additional screw.
- Fastening the rails. When screwing the back to the seat, it is recommended to use a wooden block with a thickness of about 3 cm for struts, and then attach the remaining rails. To give the curved shape, the seat should not accurately measure the gap between parts, but to attach them evenly.
- Fastening the front legs. Prepare the front legs on the template of the required size and draw on their inner side to the lower edge of the sideboard. From the inside of the side details, connect the legs to the seat.
- Attaching the rear legs. To give the desired tilt back, the rear legs should be slightly narrowing up. For their clipping, a tape sawing machine or a logsik is most often used. The edges of the plates should be altered. The upper end of the legs must be cut off at an angle of 60-65 degrees. Bashed legs better by clips to the side parts, and then make the grooves and tighten them with screws.
- Fastening the back. To the upper ends of the rear legs, you must join the upper back detail and put a chair on the back.
- The location of the other parts on the back. A wooden block with a thickness of approximately 10 cm should be put under the top rear part for the formation of space for long parts for the back. In the rear parts it should be noted the middle. In the center it is necessary to attach the central part for the back, and then both extremes. The distance between the other parts of the back should be equal.
- Preparation of elements for armrests. According to harvested templates, cut armrests and support for them. The supports are better to attach clamps to frontal legs and attach them to self-draws.
- Fastening armrests. Attach the element to the front and rear legs.
Step-by-step manufacture of wood benches
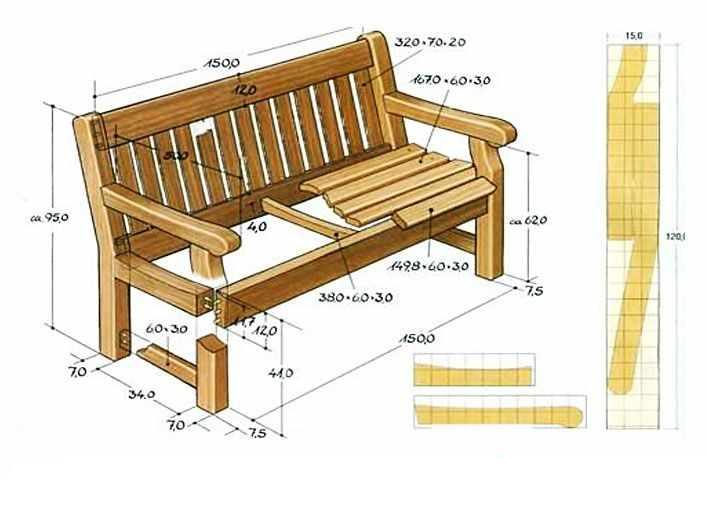
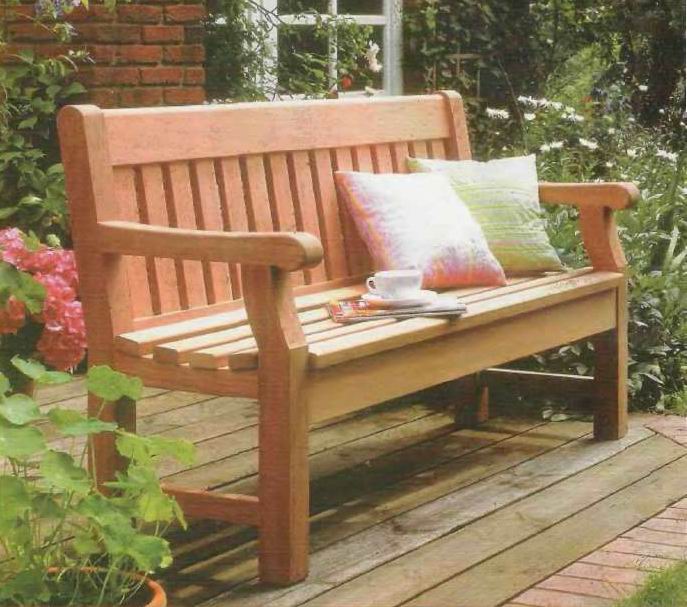
The list of required tools for assembling an English bench on the template of the shown scheme:
- Circular Saw;
- Grinding machine;
- Milling machine;
- Electric drill;
- Electrolake.
Phased assembly algorithm for a wooden bench with a back:
- Prepare templates for the main elements of a bench of dense plywood or fiberboard.
- The profile of the bench should be applied to the material under the templates for the exact location of all elements in the depth and height of the seat.
- According to the harvested patterns, the exact contours of all elements on the pre-tunned wood blanks are fired.
- Figure and shaped elements cut out a belt saw from wood, and a thicker electrolovka.
- All items should be treated with grinding rough texture No. 50.
- Wooden bar for support for the part for the seat and other concave items should be carefully treated with a grinding machine for grinding.
- In all the ends of the vertical connections, it is necessary to make marking with carpentry flights and make the grooves under the sewage, fixing the electric drill on the drilling rack.
- Shaft opposite places to drill opposite groove markers installed in the grooves already made in the legs of the bench.
- It is necessary to place a line in the center in the inner edge of the vertical connections of the back of the backrest with a joiner, after setting it to half the thickness of the part itself, and then similarly make grooves for the waders.
- Carefully round all the edges of the parts before connecting all vertical parts of the back with their connections, and then pour the polyurethane glue into the backs of the backs and install the wrenches that all elements should be placed.
- After connecting vertical parts with slats, the back should be temporarily made on the clamps.
- Similarly, connect the lateral details of the bench and cover the backs, side parts and frontal vertical connection with clamps.
- Put the details for the seats on the bars for the support and check out, and then make grooves for tapes on the bars.
- Seat elements are better attached to bars for support with long screws with a hidden head.
- Before starting the decoration, wood should be cleaned from the glue appeared on the surface.
- When you cover the details of the lacquer, it is recommended to unscrew.
Rattan Street Furniture
The most durable and most convenient material for self-assembling of wicker furniture for the cottage is artificial technological, the use of which is described in detail in the next video lesson:
Any street furniture is made from special materials that should serve not more than one year, but special rules will help to increase the shelf life. You can significantly increase the service life using covers for outdoor furniture that protect it from precipitation, wind, sunlight and insects. Such awnts and covers should be made of special materials with moisture-proof, refractory properties and protection functions from ultraviolet and mechanical damage.
Garden furniture is not recommended to cover for long-term storage with a simple polyethylene film, which does not let the air contribute to the development of the fungus and creates a favorable medium for rotting the material. For storage of street furniture in a cold period, it is better to use materials from natural tissue with water-repellent impregnation. It is also recommended to cover outdoled furniture and in the warm season from dust, precipitation and sun, especially if you are not going to use it for a long time.








 Start a discussion ...