Those who are familiar with the arrangement of their house "from scratch" know that this is very expensive pleasure, ranging from interior decoration, ending with the purchase of furniture. And even such, it would seem a minor trifle as a chair can "fly to a penny". One qualitatively made, but a completely ordinary chair is worth a decent money, but they need to at least three. And what to do when the guests come to celebrate the housewarming? The experience of building chairs with their own hands will help you not only save family budget funds, but will allow you to create your original designs that will comply with the nature of the interior and your preferences. In this article we will tell you how to make a chair from a tree.
Choosing materials
For the manufacture of the chair, almost any wood is suitable, but it is best to start with the cheapest, for example, pine. Later, when you master the basic skills of turning turning tools, you can "swallow" on oak, tick, cherry or other elite breed.
When choosing sawn timber for the future chair, it is necessary to take into account the fuel of wood, its color, durability and other characteristics. So, the oak is very solid, and over time, its color becomes darker, and the darker the oak product, the more noble and beautiful it is considered.
Morilka is a special substance for wood processing, which has coloring properties. It does not overlap the texture, but it makes the surface on tone darker, allowing you to create the effect of an expensive breed. Thus, from pine in a couple of hours you can make the same cherry or merbau.
Whatever wood you choose, remember that this is a material that reacts to temperature differences, humidity, microclimate of the room. To extend the life of the chair, all its elements should be treated with anti-corrosion compounds to eliminate the risk of damage by insect parasites. After buying lumber, it is impossible to immediately start work - you need to give them time to "get used to" to the atmosphere in the room. Leave wood for several days in the room where work will happen, and when acclimatization is over, you can start creating blanks.
For the manufacture of the chair, you will need conventional turning tools:
- hacksaw or electrolybiz;
- grinding machine or sandpaper of various grainability;
- drill and drill set;
- self-tapping screw;
- screwdriver;
- hammer;
- morilka (if necessary);
- varnish or paint for finishing product processing.
A little about the finish finish of the chair. If you want to save a beautiful wood texture, cover it with a transparent (or tinted) varnish. If you plan to use a chair on the street, for example, in the garden or on an open veranda, it is better to cover the alkyd varnish of PF-170 or yacht varnish - these tools will protect wood from burnout under the sun and humidity. For "home" chairs, use a special furniture lacquer. Nitro varnishes will quickly dry, but the caustic smell is isolated, so it is better to work with them on the balcony or in a well-ventilated room.
Tree stool
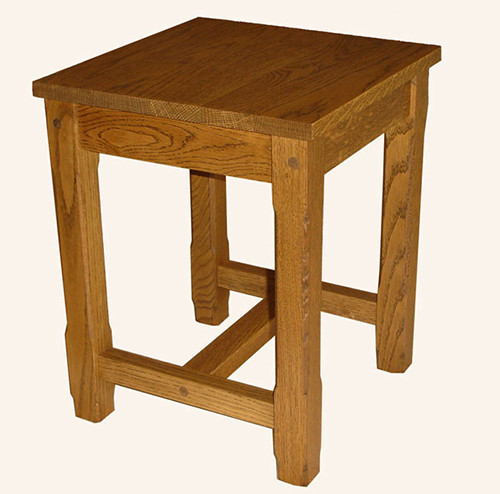
Newbies in the world of creating furniture are better to start with something easier, for example, with a tobuch. This is an elementary design, the manufacture of which will give an idea of \u200b\u200bthe main subtleties of working with wood. If you decide to do a pine chair, prepare for the fact that with grinding you will have to tinker, especially if there is no grinders. Alternatively, the beech can be used - it is pretty inexpensive, has a beautiful texture and easy to handle.
Materials for Tabevet
For the tool, you will need to make 4 brus with a square cross section of 40 mm, 8 brucks 40x20 mm for a crossbar and a square seat with a side of 350 mm. For the seat, you can use a furniture shield or thick fane. Of course, you can knock it off from the boards, but a one-piece surface looks more aesthetic.
We offer to make a classic stool designed for an adult middle growth. The height of the legs will be 42 cm, and they will be bonded by crossbars with a length of 21 cm. Before sprinkling the extra part, carefully check the smoother of the intended line and comply with the dimensions. Contrary to the famous proverb, it needs to be done not seven times, but at least a couple.
Grinding Tabevet
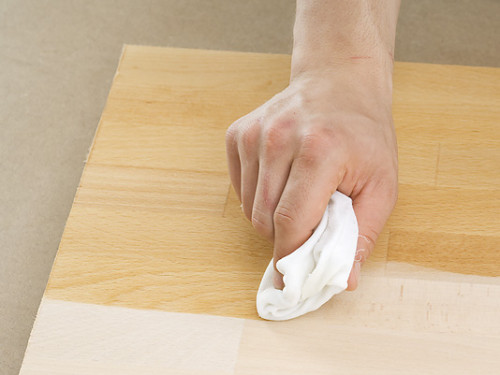
When the workpieces are cut, the silhouette of the future toaster begins to be paid out, but it is still very early to collect it. At first it is necessary to carefully stick all parts of the structure so that in the future does not plant yourself in the future. If the surface is very coarse, use emery paper No. 4. When the bitches are more smoothed, and the surface will become rough, wipe it with a wet rifle - water raises small short fibers, after which they can be removed by sandpaper №2.
"Raising" woodpaths need until the surface becomes perfectly smooth, with each time reducing the name of the sandpaper. In this regard, the electric grinding machine helps a lot.
Tubrete's assembly
Finally, you can proceed to the support of the toaster. How to do it, understandable at an intuitive level, but still there are its subtleties.
How to collect stool with your own hands:
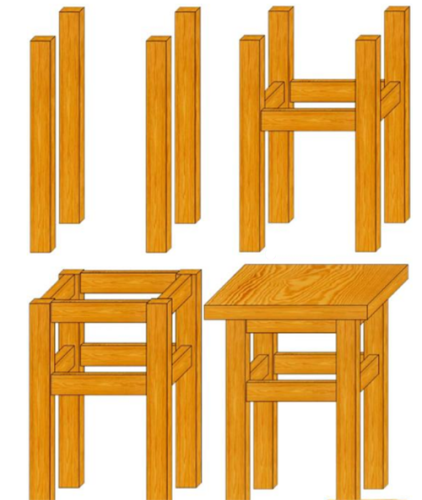
- First, make a marking with a simple pencil, collecting on the floor or on the table two identical parts - a pair of legs with two crossbars between them.
- One crossbar is located at the top of the legs with the ends of the legs, the second is slightly lower (approximately 15-20 cm) and serves to enhance the stiffness of the structure. To save timber and time, you can not attach the upper crossbars - quite enough and 4 pieces down. They do not play a decisive role, and serve more for aesthetics, hiding all the attachments.
- Because the crossbars are twice as thin with the legs, place them strictly in the center.
- Attach ELROWN elements or wood screws.
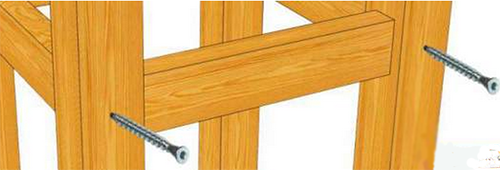
- To hide the fasteners, use decorative linings in tone wood.
- It remains only to take the surface and cover it with varnish. If you want to toned the stool by the verse, it should be done before applying varnish. Conducting a varnish chair (verses) should be discharged to avoid inclusions or stains.
Useful advice: Before painting, make holes for future fasteners and do not fully screw the screws into them. When you paint the item, you can bind the thread to this screw and hang the leg or crossbar in the air. Otherwise, you will have to wait until the upper part is dry, then turn the element and paint it from below, and this is fraught with the above-mentioned spots and divorces.
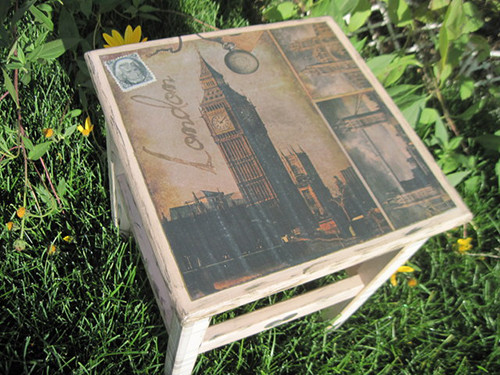
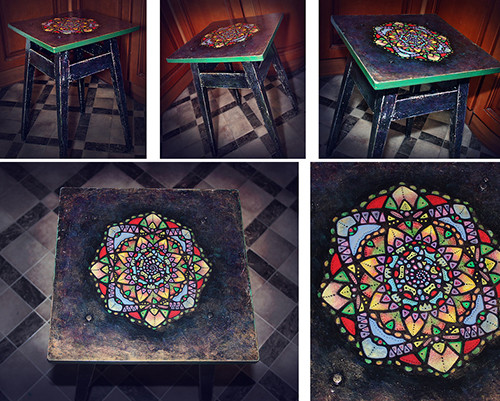
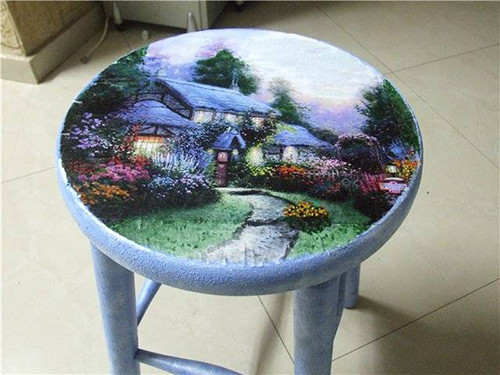
If you feel craving for creativity or want to attract children to the creation of an original interior for a family "nest", before turning the lacquer, the chair can be painted. Use acrylic paints or ordinary gouache for this. Decoupage technique is also very popular, which will create a beautiful drawing even without artistic abilities.
Chair with back
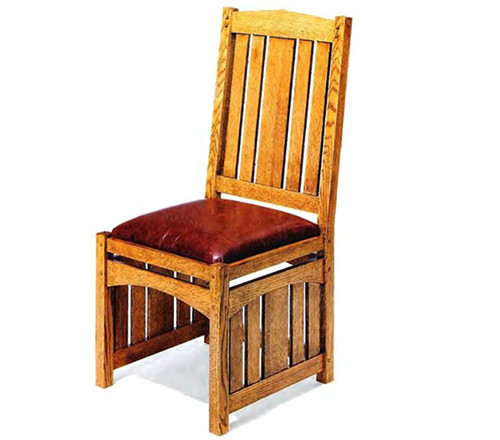
If you have successfully coped with the manufacture of stools, we propose to make a "full" chair from the tree with your own hands. For such a product, it is already possible to choose wood more and oak or walnut, for example. In addition to sawn timber, screws, joinery, the above-described tools and cutter are needed. If there is no possibility to work on the machine, use a set of chisels and a hammer. For toning, you can use the same veil.
Below is a table with a description of the number and size of the parts necessary for the manufacture of the chair with the back. At first glance, it seems that their too much (especially, to compare with a stool), but this chair will be very convenient and will serve for many decades.
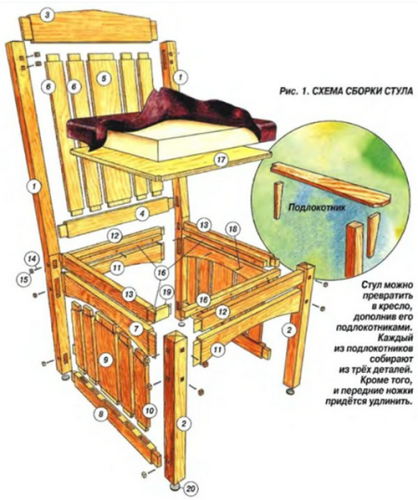
To facilitate your task, we have prepared a visual follow-up plan with numbered items. In the future, to create your own exclusive furniture, you will have to make a drawing of a chair from a tree alone.
Progress:
- Start drinking always follows from the legs, whatever the chair you do. Cut two parts with a thickness of 38 mm, a width of 75 mm and a height of 1075 mm.
- Measure and find the attachment points of horizontal jumpers.
- Make two front legs - they will be shorter than the rear. Height 420 cm (like a tobuck).
- Treat parts with grinding machine.
- Make markup and select the cutter (chisels) grooves for docking legs and jumpers. Top ends cut down in such a way that the low pyramid is obtained.
- Make 2 horizontal and 5 vertical jumpers with a length of 475 mm - the back of them will consist.
- Make grooves in horizontal elements.
- Form the spikes in detail No. 3 4, 5 and 6.
- Top up the top of the element No. 3 from the middle to the edges.
- Make a black backrest assembly (without glue), sewing the paz-spike compound.
- If everything is done correctly, disassemble the back, wake all the fastening points with jointed glue, collect back and tighten the clamps.
- The most difficult thing is to make side inserts. One of them includes the upper arched part 7, the lower crossbar No. 8, 5 of the RECEX No. 9 and 10.
- Drink the blanks for these elements and for arched jumpers №11.
- Since all arched elements of the same sizes to facilitate the task, you can make a template from MDF.
- Stick all the details.
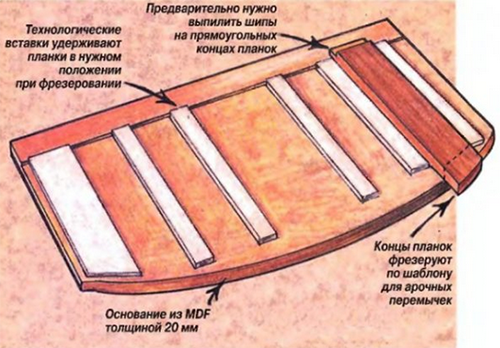
- Check and select the grooves on the arched elements - spikes of planks №9 and 10 will be inserted into them.
- By template, draw the rounding to get 4 identical parts.
- Take the spikes in the planks number 9 and 10.
- In the upper ends, put markup and cut them out, sewing the mill flush. To make spikes on tops, first use the cylindrical cutter for a fold.
- On all arched parts and elements No. 12 and 13 cut the spikes on the USS.
- Make a rough side insert assembly.
- Clamp connections and secure clamps.
- After drying the glue, reinforcing the fastening points with screws.
- Close the holes under the fasteners with decorative plugs.
- Planks №16 are designed to support the seat. Screw them with screws to the crossages No. 18, drill in advance the nests.
- It remains to collect all the blanks together. First, to the back leg, glue the elements No. 11, 12 and 19.
- Turn over and insert the spikes in the groove of the second long leg. Fix the clamps and screw the screws.
- Stick to the finished back side elements of the kings and side inserts.
- Glue the arched jumper and the front side of the tsargi with legs.
- Put the resulting design on the sidewall spikes.
- Install clamps, but do not tighten to the end - first check the rectangle of the structure. To do this, use the carbon, put a chair on the floor and simply inspect it from all sides, going out a couple of steps. If everything is smooth, tighten the clamps and screw the screws.
- Spend the final grinding, stroking possible irregularities and sharp corners.
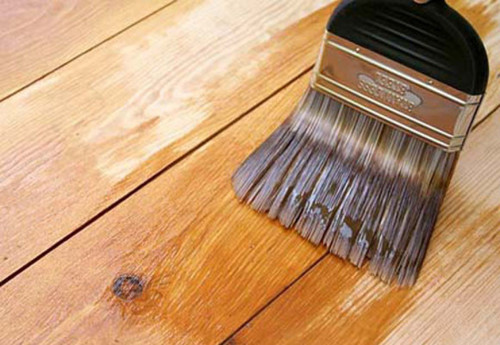
- Cover the product by Morilka and varnish. When using polyurethane varnish, apply it in 2-3 layers. New layer apply only after complete drying of the previous one!
- Cover the seat with soft skin or dermatin. First, come to the seat thick layer of furniture foam rubber, and after its upholstery, screw the seat to №16.
It is recommended to attach felt or rubber overlays to the bottom of the legs, so as not to damage the floor covering.
The manufacture of chairs from a tree is a very interesting and creative process, which over time can grow into a useful hobby. Having learned to make elementary designs, you can diversify the process by adding your parts by applying wood carving tools and combining various materials. Making wooden furniture can each, and you can start with a conventional kitchen stool!
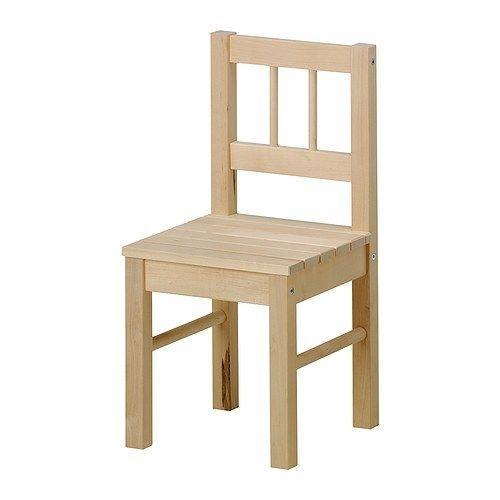
Tree chairs: Photo
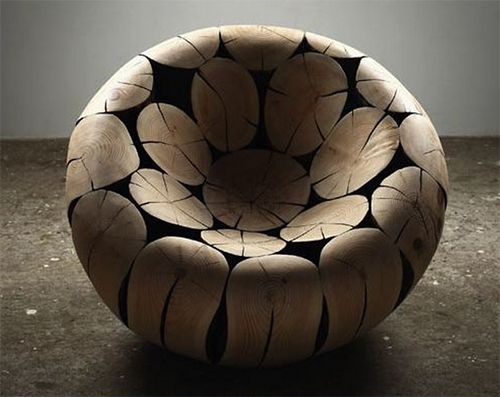
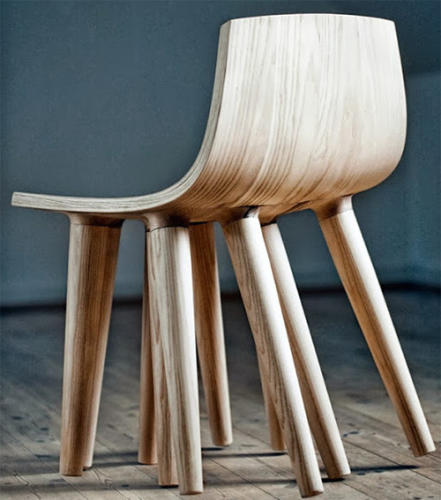
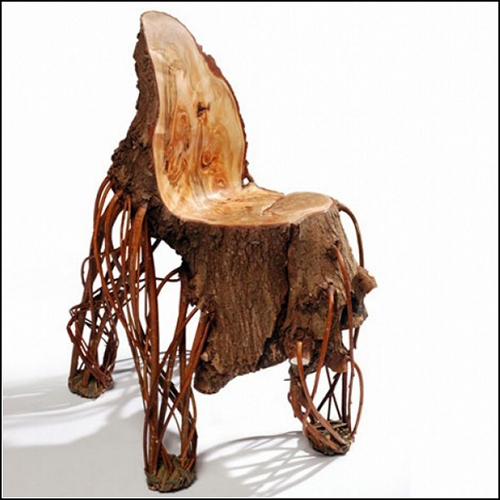
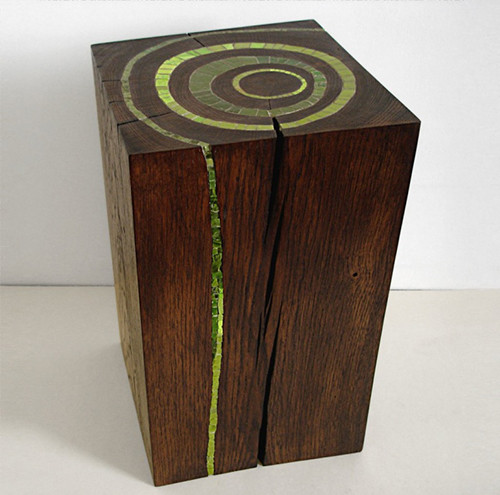
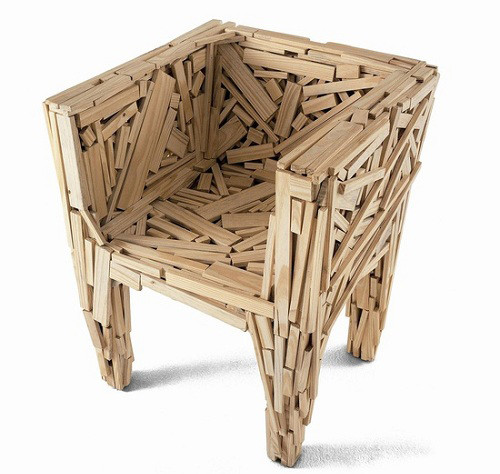
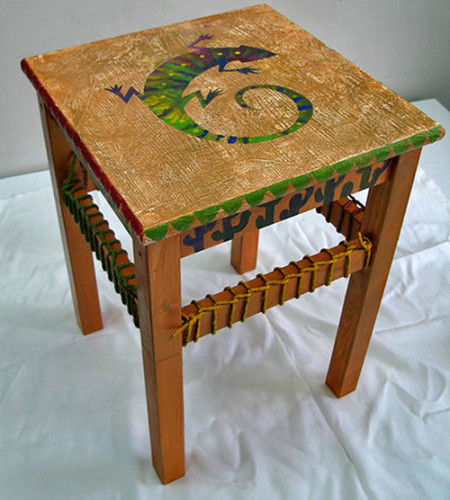
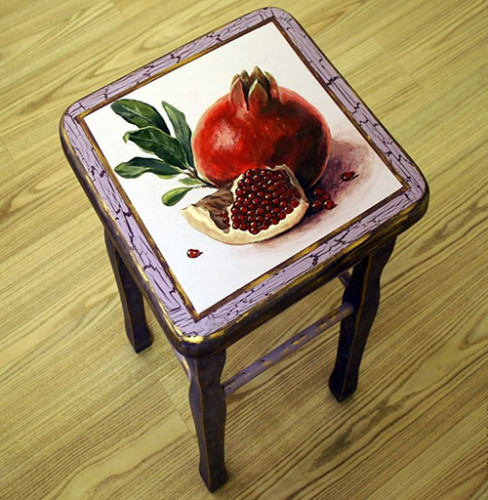
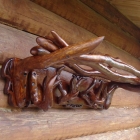
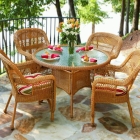
What do you imagine when hear the phrase "tree chair"? Conventional stool or bulky roughly processed design? We have prepared a photofection of original wooden chairs that will significantly expand your idea about this object of furniture.









 Start a discussion ...