In each private house there must be a mailbox, but the options offered in stores are not pleased with the originality or beauty. If you want to get a beautiful mailbox, but are not ready to pay for this pleasure a round sum, why not make it with your own hands? In this article we will tell you everything you need to know about mailing mailboxes.
General characteristics
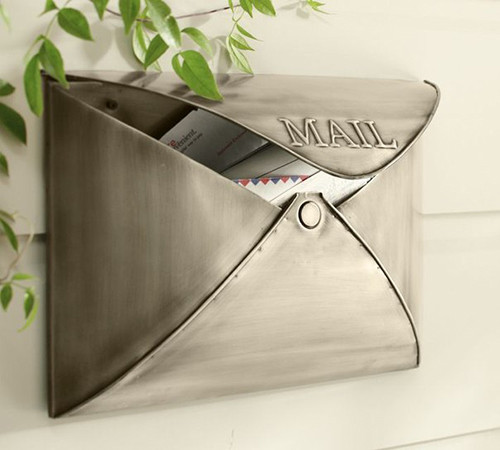
The mailbox at the house can serve not only the place to collect correspondence, but also be a spectacular addition of landscape design. To do this, it is necessary to install and thoroughly pick up its size, shape and design. As for the dimensions, many believe that a small box for letters will be quite enough. And what if the parcel comes you, or will you think to write down gardening magazines? In such a box, they will not fit. Too big designs look bulky and inappropriate, and "to learn" the mail of them is inconvenient. It is necessary to find the "golden middle" and make a box that would be able to presses A4 format or a little more.
The material for the manufacture of the mailbox can be anything, the main thing is that the design does not miss moisture, otherwise the mail wet. Metal (steel or aluminum) boxes are mainly sold in stores, but their aesthetics, to put it mildly, lame - ordinary rectangular boxes with a slot. If you have experience working with sheet metal, a welding machine or you know how to quive, then you can make a mailbox from metal yourself.
Useful advice: If you make a mailbox from sheet steel, then after assembly, cover it with anti-corrosion paint so that he does not start rust.
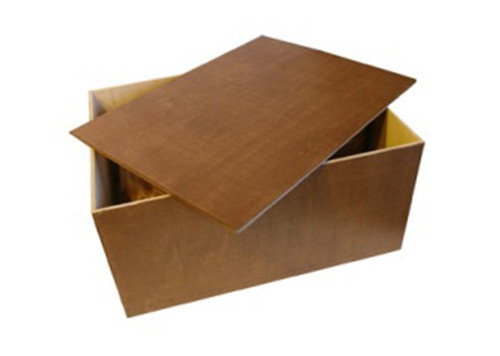
For others, the option is suitable from the tree, more precisely, from plywood. It is easy to handle, it is inexpensive and will make it possible to build a strong and reliable box. For the mailbox, it is better to choose moisture-resistant Faneru - so it will last longer. If there was no such thing, you can use the usual one, only after the assembly do not forget to cover the construction of weather-resistant varnish. The same applies to boxes from boards or other sawn timber.
You can also easily make a plastic box for mail. To do this, you will need plexiglas and special polymer glue for it. You can experiment in this plan with a small thickness polycarbonate. However, prepare for the fact that it is quite difficult to glue plexiglas or polycarbonate, so you have to be patient. All joints and cracks after the assembly must be labeled with silicone sealant.
Mailbox design
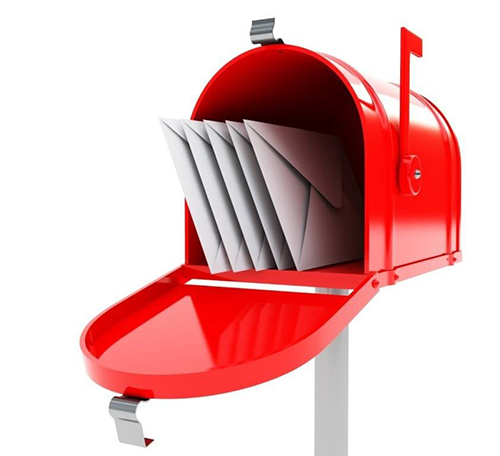
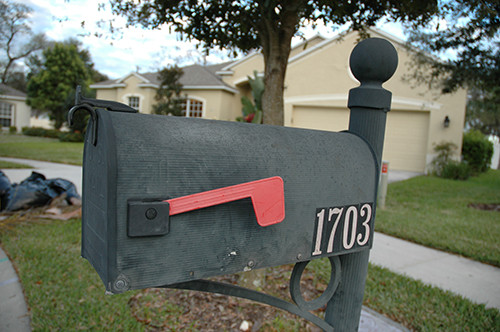
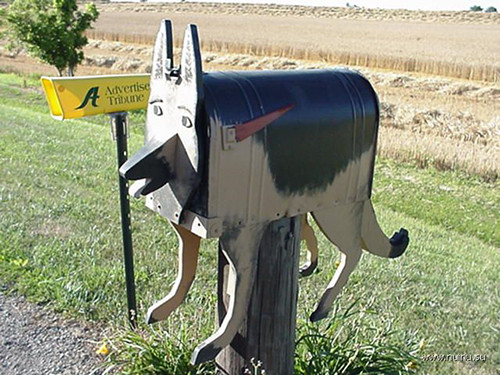
So, with the practical side of the question, we figured out, but what about aestheticism? For those who do not want to sacrifice beauty for the benefit of comfort, we suggest to consider several interesting options. So, you can install a neat box in a traditional American style: a box on a long leg with a capped cap and a red flag.
Be that as it may, the material and location of the box will be conjugate with the style. The design can be installed separately as an American mailbox, attach to the fence or home yourself. Most often, the box is placed at the entrance to the site, having swallowing it to the gate. When you clearly imagine where the box will be located and from which it is made, you can go to the store for materials and start work.
Simple mailbox
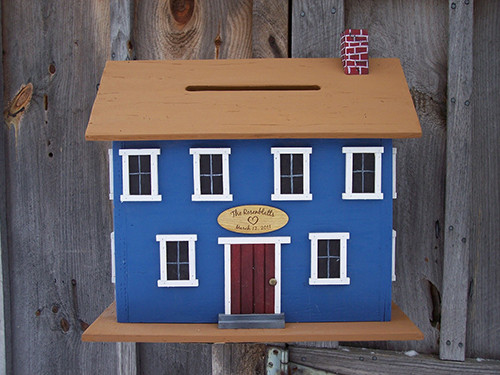
We suggest you consider step-by-step instructions for creating a simple and functional mailbox with your own hands. You can consider this option as a finite, and you can slightly sting and add your original parts. For example, decorate the outer walls with painting, decoupage, stick the carved wooden figures or tile - options mass. The material was decided to choose a tree, because any newbie will easily learn with it.
What tools and materials you need:
- wooden bars;
- plywood (flag-resistant);
- weatherproof varnish or paint;
- self-tapping screw;
- small lock;
- drill;
- wooden hacksaw;
- pencil.
How to make a mailbox with your own hands:
- Cut the framework details from a wooden bar or a regular mounting rail. The cheapest wood is suitable, such as spruce or pine. To make a roomy, but small box, you will need to sprinkle a rack with a length of 30 cm. In order for the frame to be reliable and durable, the rack thickness should be about 1 cm, and the width is 2 cm.
- Plywood will be needed to cover the frame. Take two pieces of 30x25 cm in size - it will be the facade and the rear wall. The two elements of the size of 30x6 cm will go to create sidewalls, and two at 25x6 cm - for the top and bottom of the box.
- Walk through all the details of the design with emery paper, paying special attention to the corners and side faces. If you have a little sharpen, the box will look much careful.
- Soak all parts of antiseptic composition for wood. It will protect the material from premature rotting and damage insect pests.
- If you want to make the imitation of the dear wood, cover the details of the veil - the more layers of the veil, the darker the color of the tree.
- Connect 4 guide rails, screw the rear wall, sidewalls and bottom of the future drawer. Use small wood screws and a screwdriver.
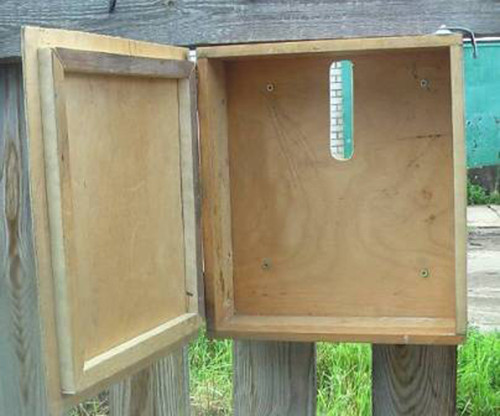
- It remains only to make the facade part with the lock and arrange the top with the slot for correspondence. Without a special tool, make a neat slot in a narrow top panel will be quite problematic, so we propose to use an alternative option. Use not a monolithic panel of 6 cm wide, and two thinner details of 2.5 cm wide. When you attach them from above, the center will remain a smooth slot of 1 cm wide - this is enough to cover a chubby envelope or newspaper.
- With the design of the front panel, also problems may arise, but they are completely solved. It must be done by the type of door that you will open to get mail. To one of the sidewalls it is necessary to fasten the loops and hang the door on them. The loops can be used the smallest (for furniture). At the door of the mailbox, attach the response hinges under the mounted castle. Castle type Define yourself - you can choose the usual on the key or more complex model with the code.
Important moment: Since the slot is upstairs, it is important to prevent moisture from entering it (rain and snow), so make a small canopy over the box or place it under the porch canopy. The simplest protection can be made of sheet steel, screwing it over a pair of loops over a box. There is another way out - make a slot on the facade panel, but in this case it is advisable to build a small canopy.
It remains only to decorate the box by any selected way and hang it at the entrance to the house. Thus, with minimal financial and temporal costs, you can make a convenient and reliable mailbox.
Of course, you can always come up with something more complicated, but for this you will need more skills and the availability of special tools. The method of its installation will depend on the design, sizes and complexity of the design. If you attach a box to the gate, then for the installation you should prepare several holes in the back of the box and gates. Use bolts and nuts for fixing. To hang a box for a fence from a professional flooring or wooden boards, you can use conventional aluminum clamps. In the back panel, do two holes on the same level, thread through them the clamp and fasten it on the horizontal beams of the fence. Set the mailbox on a concrete or brick wall a little more complicated. To do this, you will need small anchor bolts.
Complex mailbox
If you want to make a more original design and are not afraid of difficulties, we suggest using the instruction set out below. For the manufacture of such a box, you can use pine, but it is better to choose more durable and durable wood, for example, oak or nut. Of course, to get a beautiful and even mailbox, you must have at least initial locksmith skills and have appropriate equipment at hand. The main material in this case is chosen oak board with a thickness of 12 mm.
To work, you will need the following tools and materials:
- wooden panel for the rear wall (a) 115x395 mm;
- front wall panel (B) 115x270 mm;
- two sidewalls (c) 100x345 mm;
- internal front wall panel (D) 80x115;
- bottom (e) 95x115 mm;
- door;
- lock;
- screws with a secret head 2.5 with a length of 12 mm;
- brass screws 5x40 mm;
- decorative washers;
- hooks;
- sandpaper;
- carpentry glue;
- antiseptic for wood;
- weatherproof varnish.
From the tools you will need a jigsaw (better electric), hacksaw, screwdriver or screwdriver and clamps.
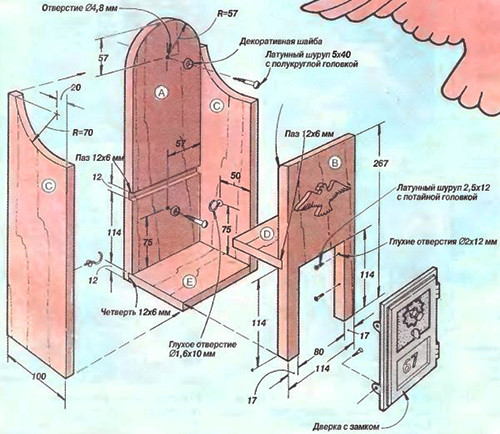
In the image below you can see a detailed plan for assembling a box for correspondence on which all parts are visible and the way they are docking. First of all, draw a lumber with a simple pencil and cut the details of the required sizes. All elements are treated with sandpaper, thoroughly sticking the corners and end parts. Be sure to impregnate wooden parts with an antiseptic agent before assembly.
How to assemble a beautiful mailbox with your own hands:
- When all the details are filled, round the top of the rear wall of the future drawer on the radius of 57 mm.
- The top of the front wall sharply on the radius of 10 mm.
- Make marking with a simple pencil and cut out on the front element the opening of 80x114 mm in order to put the door with the lock there.
- Fold and pull together two sidewalls of the future drawer. To do this, you can use the painting scotch.
- Make markup on the upper ends and cut them on the radius of 70 mm.
- Clean the sleepers with sandpaper and remove the greasy tape.
- Choose a quarter of 6 mm deep along the bottom end of the rear wall - there will be a bottom end. If your disposal does not have a manual millingrer, use the plane.
- From the top of the rear wall of the box, step 114 mm, make the markup and cut the grooves on the back and the front wall with a size of 6x12 mm for the inner shelf.
- Make a rough assembly of design without using carpent gland. Inspect the box for the discrepancy of parts, if noticed irregularities, pon the elements.
- Make markup and drill holes for dowels and for hooks.
- Collect the mailbox, sinking all the details of the joinery glue. First glue the rear wall with the sidewalls, insert the bottom and the inner shelf. Squeeze the design with two clamps, and then glue the facade wall.
- On the facade of our mailbox there is an eagle, but in your case it may be something else, for example, a dog, a cat or, say, flower. Using the jigsaw, drink any figurine from the tree and stick it to the front panel. The thickness of the figure should be about 6 mm. It is best to make it from the wood of the same breed that was used to build a box.

- Carefully furnish the housing with emery paper with small grainability to remove small irregularities and disguise wood defects.
- Attach the door in the opening, make marking and drill holes for fastening. Set the door to the sideline, soak the outer and the inner surface of the blazer of the verse. When it dries, apply a layer of weatherproof varnish (for greater reliability, it is recommended to apply lacquer in 2 layers, waiting for the complete drying of each).
- Screw the door and install the mailbox at its permanent place.
Even if the product does not quite like that you expected, the natural beauty of the wood will make it very elegant and original.
The art of creating mailboxes has long been rearranged in a separate direction of design. If you want to experience your strength in this interesting business, surprise your neighbors or just spend time with the benefit, make the mailbox with your own hands.



 Start a discussion ...