The veranda is an additional room, which is the outer part of the residential building. Often it is confused with a terrace. To understand what these two buildings differ from each other, you need to figure out their features. The terrace take it to read the open space attached directly to the house, which has a canopy and railing on its perimeter. The skeletal veranda, on the contrary, is built as a full part of the house. In fact, it is an extra room. This room can be built from different material - brick, slag block or wood, it all depends on the preferences of the homeowner.
How to choose a seat for the veranda
Most often, the veranda is used in the warm period of the year. The design of the room does not represent a special difficulty, so you can build it on your own without referring to the specialists. The most optimal choice in architecturally will build a veranda in the same style as the house. Since the veranda is essentially the continuation of the most residential building, the contrast in architectural styles will look inhaver.
The veranda will give the opportunity to expand the useful area of \u200b\u200bthe house. Since this room is often not heated, in winter it may well assume the function of the hallway.
The construction of the veranda frame begins with a careful selection of space for the construction of the structure. This room can be located both on the one hand, and from two, forming a M-shaped form. To decide on which side it is better to build a veranda, it should be noted that with the south there will always be more light and heat. On the western side in the evening the sun will shine, which will deliver inconvenience in the house.
Important! The construction of the veranda around the house will be an illogical solution, since one or two will be used from all sides. The rest of the room is unlikely to be operated.
Preparatory work
Before starting the construction of a frame veranda with their own hands, it is necessary to align the site selected for its construction:
- From the top layer, remove the soil, removing approximately 15 cm.
- After that, the boundaries of the future structure should be placed - horizontally and vertical.
- It is very important to take dimensions with maximum accuracy.
- Next, in the necessary places, we set the pegs along the axes and perform the pickup.
How to build a frame veranda:step by step guide
After you have decided on the construction site, it is necessary to develop a construction project, given all the subtleties. It is also important to determine the materials, since this will depend on the process of building a veranda. In this example, we will look at how to build an extension of a frame-type tree.
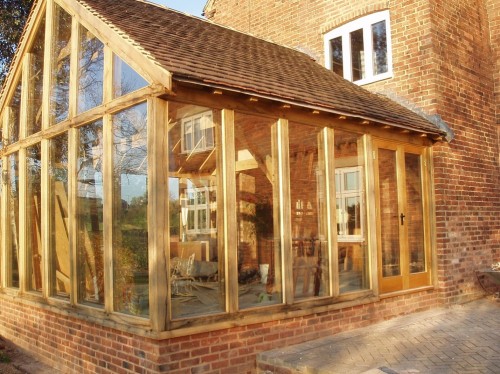
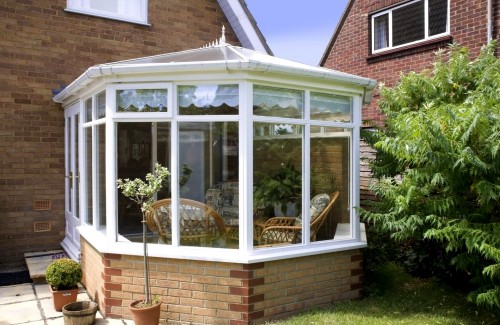
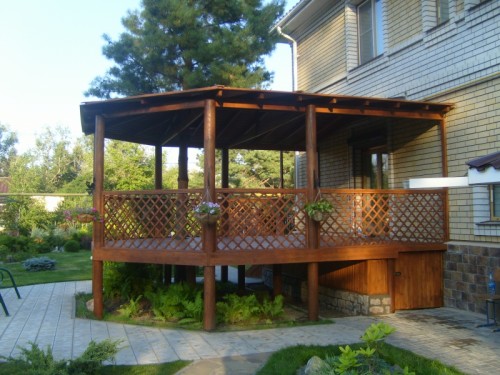
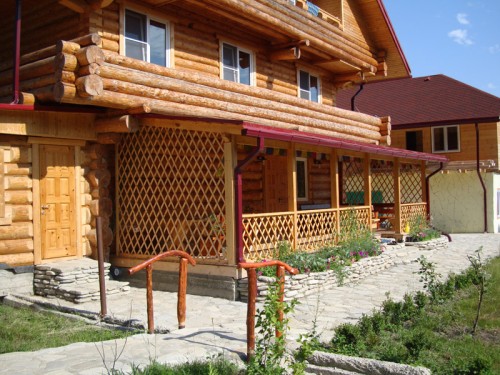
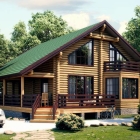
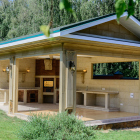
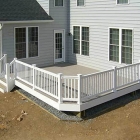
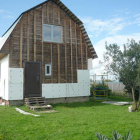
Frame veranda with her hands photo:
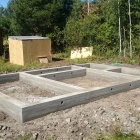
Formation of foundation
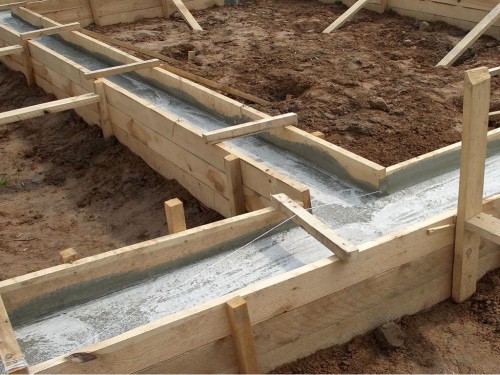
The basis of the structure is the main stage of construction, from the qualitative execution of which the final result depends. To determine the type of foundation for your construction, you need to proceed from the operational purpose of the future veranda. If the room is planned to be used as a full room, the foundation should be done as which was completed when building a house. To do this, it is necessary to adhere to such a procedure:
- Dig a hole whose depth will be up to 1 m.
- Then we fall asleep by the bottom with rubble or gravel, the thickness of such an embankment should be 20 cm.
- After that, fill the layer of embankment by a bitumen of high temperature. This fill is needed for waterproofing the room.
- Next, we set the concrete base in a horizontal position and wait time so that the base is frozen.
- After that, you need to build brick poles for the foundation. The most optimal height is 25 cm.
- To accurately calculate the required height of such supports, it should be repeated from the floor level, it should be 30 cm below. This condition will continue to combine the roof of the house itself and the future veranda.
- At the final stage of the construction of the foundation, the columns should be treated with bitumen and fall asleep with gravel or rubble in one layer.
Install the frame design
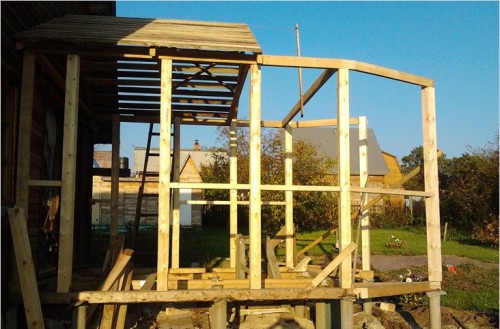
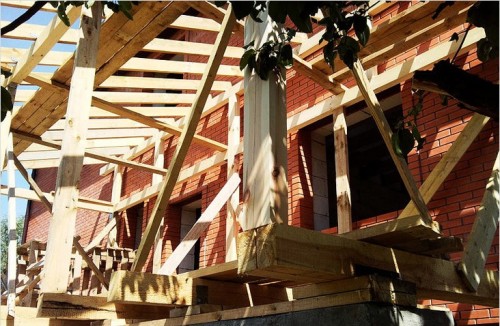
The most difficult process in the construction of a frame veranda is the installation of the carrier design. To perform a step with maximum accuracy, you must follow the following procedures:
- Initially prepare bars. As a rule, they have a cross section of 100 x 100 mm, but it is permissible to use more durable fragments.
- Then begin to build the design from the bottom of the bottom, connecting the bars. As a rule, such a frame is mounted on the base of concrete.
- First you need to secure the rack using metal corners for this, and then make angular connections.
- Next, in the strapping, we carry into the second timber's level and fixing the rack using special brackets, as well as nails.
- After that, on the supports, we install and secure the strapping of the upper part, as well as by mounting the rafyl. To do this, you need to use nails, spikes and brackets.
- Ends rafted fastened under roof construction on a run section. The run is a beam of a horizontal location that is mounted on the wall.
- Attention should be paid to the fact that the beams should be firmly and securely attached to the wall, and the roof docking the veranda is tightly lay down to the roof of the house.
Construction roof veranda
At the next stage, we carry out work on the installation of the roof of the future structure. It is advisable to make a single-table design. The optimal solution will also be the use of the same material that was used when building a roof of the house.
To mount the roof it is necessary to produce such manipulations:
- Originally fastened to rafters the crate of the boards. Depending on the type of paper, the board must be placed closely or by making intervals.
- Then lay the roofing material, fixing the strips to the strip to the slant plane. If the roof is littered with a roll coating, the material should be thoroughly aligned and grab along the edges of nails.
- After that, for improved fixation of the material, the rails should be nailed. We close them on top, using a material strip for this purpose, and fastened with the help of thick nails.
- If steel sheets are used, they should be fixed to the lamination of nails, connecting the folding seam.
- In case the roof is constructed using asbestos-cement sheets that have a wavy shape, to lay them follows, carrying out overlap. The sheet, located on top, should block the lower element by 14 cm. These sheets are attached with special nails, as well as screws that have a length of 70-90 mm. Holes for fastening these sheets need to be prepared in advance.
- Test the finished design on strength and eliminate the shortcomings, if any.
Floor building
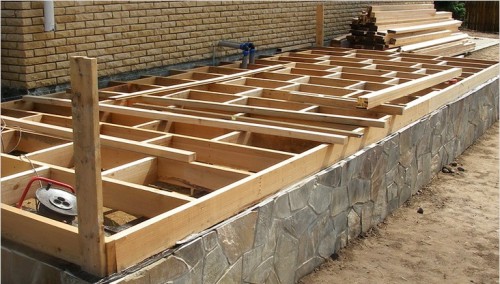
The next step in building a veranda is the construction of outdoor overlap. For this purpose, it is necessary to fix the boards on the lags. Options of boards must be: at least 30 mm thick and 75-125 mm wide. Before use, the wooden material must be treated by special antiseptic composition which will ensure its preservation during the operation.
Installation of walls and windows
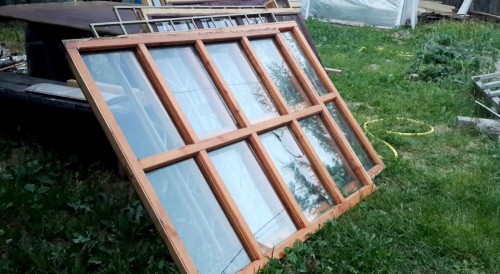
Frame porch to the house almost was attached and the next stage will be the construction of window designs. Their size will determine the appearance of the porch, so that they looked harmoniously in the facade of the buildings. Mount the window as follows:
- At a distance of 50-60 cm from the floor is attached to the rack window sill.
- Then, using a wooden building boards and battens, sutured gap between the bottom plate.
- Then we make a similar action on the front side.
- Install window units.
- For fixing, you can use wooden wedges, nails and platbands.
Outcasting wall structures
After all the actions on the construction of the frame veranda are successfully completed, you can proceed to the walls of the walls. To do this, use wooden boards or any leafy materials. On the inside, the design is also necessary to heat insulating. To this end, you can apply rolled and slab materials.
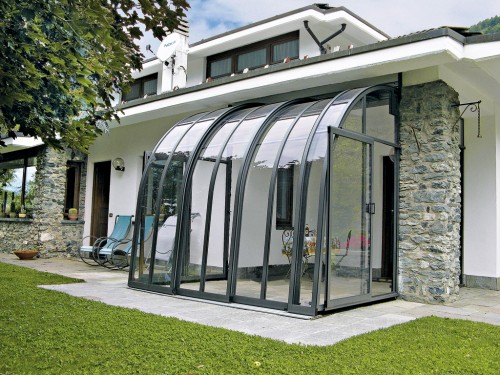
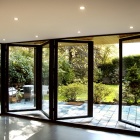
Currently, sliding constructions became popular. For the veranda it will be quite a convenient solution. In the warm season, such walls will be able to transform the veranda to a room having an open space. In the case of needing, the terrace can be re-made a veranda, while cycling the minimum of effort and time.
Sections of such walls are associated with metal loops. Each section is divided into two parts. The top is usually glazed, and the bottom is a tree panel. The principle of operation of this design is that when opening the wall is folded into the harmonic. In the closed state, the sections are held due to brackets or horizontal metal hooks.
Interior of frame veranda
At the end of construction work should take care of the design of the veranda. The main criterion in this issue is the taste preferences of the homeowner. However, you can also consider several important points:
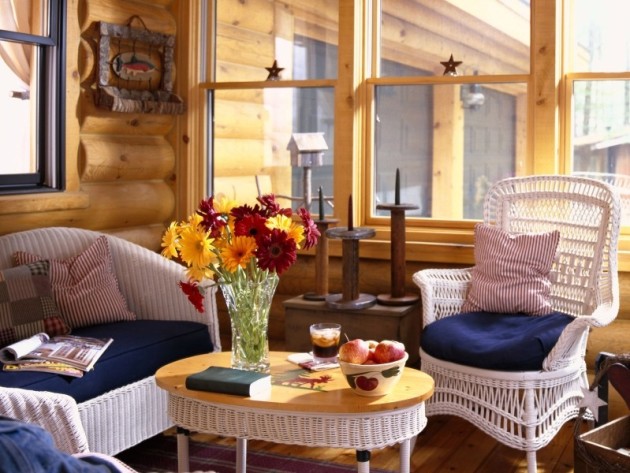
- If the premises of the veranda is located on the northern or east side of the house, a successful solution will be the design of the veranda of wicker furniture or mahogany furniture in a British colonial style.
- Located on the south side of the veranda, it will be profitable to look at the furnishings of blue and white colors.
- If the room has sufficient area, in addition to the table and chairs, you can put a ottoo or sofa and ensure, thus, an extra bed.
- For economical use of space, you can use folding and collapsible furniture. For example, the windows board can take on the functions of the table.
- Folding chairs will also allow optimal use space.
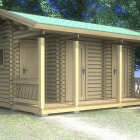
Frame bath with a veranda:
Video instructions for the construction of a frame veranda are presented on fragments below:


 Start a discussion ...