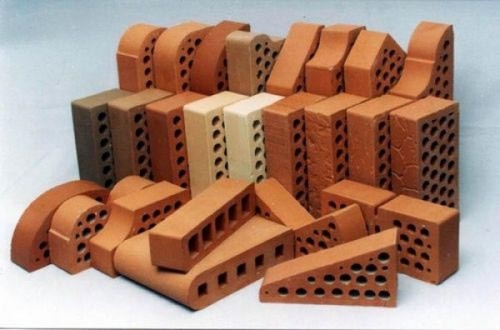
For the construction of country houses use a variety of building materials. One of the most popular is a clinker brick. The excellent performance characteristics of this material make the majority of developers give preference to it. In this article, you will learn the features of clinker brickwork and useful tips that will allow your home to simultane more than a dozen years.
Specifications
To understand the technology of circulation with one or another material, you need to know what it is made and what properties has. That is why we suggest start with a short historical reference. Do you know that the phrase of the "clinker brick" is literally translated as a tautological "brick brick". Translated from the German Language "Clinker" means "brick", from here and funny lack.
The material was invented by Dutch builders for more than two centuries ago. In those days, in Holland there was a strong shortage of natural stone for construction, therefore the creation of an alternative material was forced to be necessary. So there was a ceramic stone with high strength and pleasant appearance. He approached for any needs, ranging from the construction of houses, ending with the laying of the bridge. So at the beginning of the 19th century, the first clinker road from Amsterdam in Harlem was built.
Over time, the technology of making clinker brick has become known in Western Europe, the USA and Russia. Today, domestic builders appreciated this material, preferring to its conventional burnt brick, foam blocks or a gas concrete. The reason for such popularity is the exceptional characteristics of the Dutch brick.
Advantages
Clinker brick boasts a long list of advantages. So, it perfectly withstands strong frosts and temperature differences. By the way, this is one of the main reasons why he "passed on" in the harsh Russian climate. Even after a strong freezing during the thawing process, the object remains as durable and stable. Thanks to this special quality, repair costs are reduced several times, and facades and fences serve much longer.
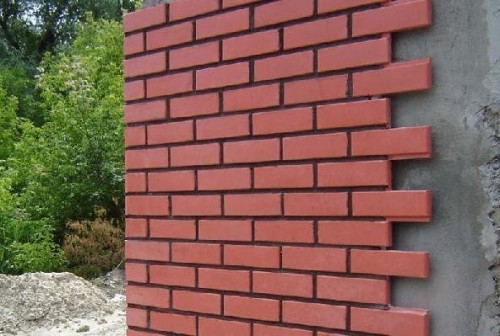
Facing clinker brick is characterized by good waterproof, as well as sound and thermal insulation. It simultaneously plays the role of outer decoration and protective layer. The structure of the material is such that the thermal insulation of the room increases when using a porous material.
You can not be afraid to damage the clinker brick, inadvertently hooking his tool or carelessly hitting the ball or stick during the game. This is a very durable material that is not afraid of mechanical damage or aggressive atmospheric influences. If the facade of your home is made of clinker bricks, you can be sure that it will remain clean and tidy, even if you live in a dusty area near the track. Unlike conventional brick or other materials, it does not accumulate dirt, staying in the "pristine" form as long as possible. Just remember the tidy Dutch houses in the cozy little villages, which to this day look neat and fresh.
The high strength of the material is due to the special firing technology, which involves heating to 1100C. At such a temperature, any emptiness and microcracks disappear, and the inclusions are merged with the main material, forming a single texture.
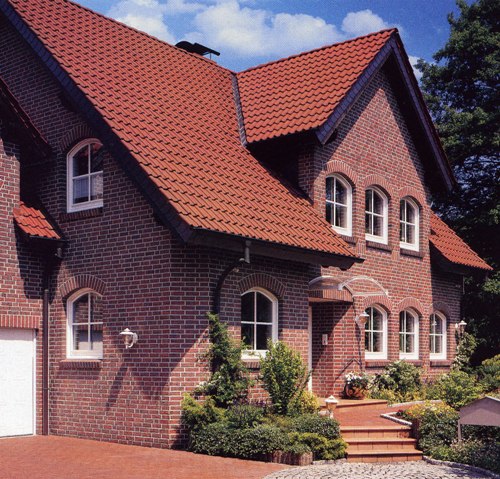
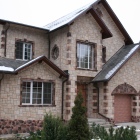
Another significant advantage is that this material is indispensable for the restorations of buildings, the historical appearance of which must be saved. The facade clinker brick helps not disturb the architectural style and allows you to create real masterpieces of the architectural skill. Even a modern building, decorated with clinker brick, looks more rich. And if we consider that this material is perfectly combined with metal, glass and concrete, it becomes clear that it can be used in absolutely any projects.
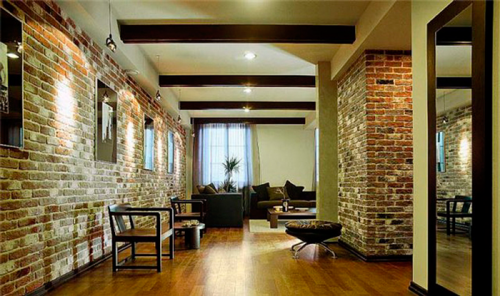
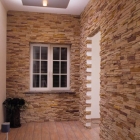
The aesthetic attractiveness of clinker brick is not limited to the restoration of historical quarters. It is actively used to reflect the household plots, decorating and arrangement of country houses. So, there are excellent durable tracks from it that are easy to clean and look carefully with any weather. The original color and drawing allows the material to organically fit into the natural landscape, so many prefer to use it for organizing alpine slides and flower beds. The clinker brick for interior decoration is also used very often. It helps create a warm and cozy home atmosphere. Especially relevant to decorating the kitchen and living room.
Summing up, you can select the following advantages of clinker bricks:
- frost resistance;
- high strength;
- moisture resistance;
- thermal insulation;
- soundproofing;
- universality to use;
- aesthetic factor.
The disadvantages include only the fact that the use of this material is limited in Russia, since due to low water absorption, it does not undergo certification according to GOST. The high density of the material does not allow it to absorb not only water, but also adhesive compositions, so it is necessary to use a special solution for its laying, which takes into account the characteristics of the material.
As for the financial side of the issue, the price of clinker brick pays off in the first few years. On average for 1 unit, you pay from 25 to 60 rubles depending on the characteristics of the material.
Technology laying
Before you buy clinker brick, read it carefully with its certification and technical parameters. Make sure its quality meets the requirements. The same recommendations relate to the choice of a masonry solution.
After purchase, it is recommended to protect the material from the ingress of excessive amounts of moisture and dirt. The optimal option is to store pallets with bricks on wooden boards so that they do not have direct contact with the ground.
The choice of a mosquito solution depends on the characteristics of the brick used. Thus, different types and operational requirements for the material require different solutions (facing clinker brick, for road surfaces, etc.).
Pay attention to the weight moisture content. This is the most important parameter when choosing, since it depends on the time of frozen and the solution consumption.
So that the laying was better and more strongly recommended to mix bricks from different pallets. It is explained simply - since the clinker brick is burned out of clay or other natural materials, different parties may differ in shades. Therefore, the wall of your home look neatly and aesthetically, it is better to mix a few shades to obtain a unique, but less homogeneous pattern.
Instruments
For proper laying of bricks, you will need special tools:
- kelma to create seams (it is recommended to choose Celma already than the thickness of the seams);
- round Kelma;
- madrid cord with crepe bars;
- vertical wooden slats, tested by tin;
- pencil;
- hammer-korcha;
- sieve with a cell 2mm;
- meter;
- waterpas;
- sheet metal V-shaped form for vertical seams;
- brush with rigid bristles;
- halipers for expanding horizontal seams.
Stages of laying
Laying of clinker bricks should be carried out strictly on the specified instruction:
- The first layer of brick is laid "dry", which allows you to get a clear and correct marking of vertical seams. They, like horizontal, should be rather thick - approximately 10 mm. After the facade marking should be the first horizontal seam, which will carry out the leveling function. Its width can make even a few centimeters.
- Masonry solution must be divided between separate work areas.
- Mounting material always need to be installed in accordance with the "medium height of the layers".
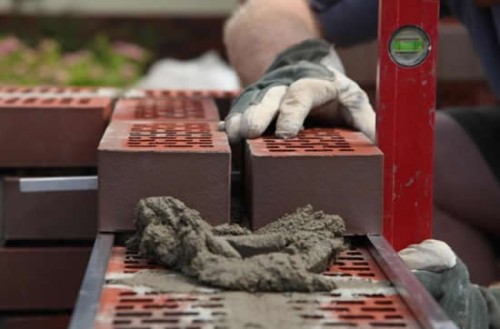
- If the wall is provided in the wall with a thickness of 4 mm and more, then in the front layer it is necessary to provide input and output of the air (lower and upper layers of masonry). It is easy to do if the maximum every 4 row leave the empty vertical seam filled with thermal insulating material.
- When installing each subsequent layer of solution for masonry, it is necessary to ensure that it does not get into the airspace. So that this does not happen, Celma press the solution on the brick from the ventilation opening.
- Laying of all subsequent layers of bricks is carried out to the level of the moorings stretched on vertical rails. It denotes the "middle height of the layer" and significantly facilitates work, since you do not need to constantly control the height of the layer, the thickness of the brick and seam.
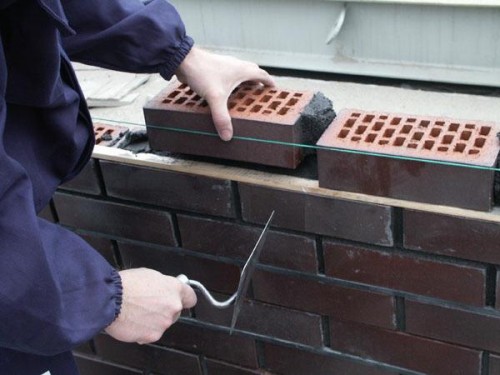
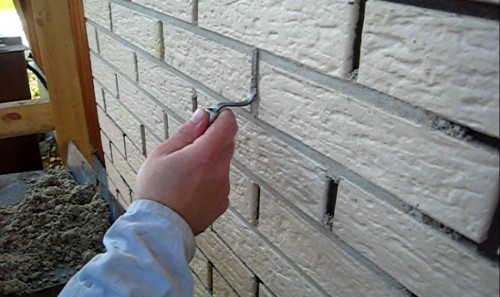
- After completing the brick masonry, it is necessary to embroider a solution from the seams to a depth of about 15-20 mm. This must be done until the solution is completely frozen. The speed of frozen depends on the grade of the solution and weather conditions. To rush the solution, use the Celma for the short box. Start from vertical seams, trimming them from below and from above. As a result, empty V-shaped seams should be obtained.
In this video, materials described the main features of masonry clinker brick:
Solution for strip
When the clinker brick is already laid, you must execute the extender. It is necessary to do this by another type of solution and at least 3-5 days after laying. The optimal view of the solution for this purpose is a cement mixture.
The extension solution is two types:
- White - the main component is Portland cement. To prepare a solution, mix 1 part of a white portland cement without additives with 4 pieces of washed river sand (fraction 1-2 mm).
- Gray - there can be different shades. The color intensity depends on how much white portland cement is present as well as from the color of the cement itself. To prepare a gray solution, mix 1 part of the usual cement without additives with 4 pieces of fine river sand.
Mix the solution is not recommended not in the concrete mixer, but in a predetermined plastic capacity of a maximum of 25 liters. If there is no capacity, you can mix on pure concreted floor.
Recommendations for the preparation of the solution for the formation:
- Stir all the components of the minimum three times to form a homogeneous mass.
- To prevent the formation of lumps in the solution, sift the ingredients through a fine sieve with a cell of 2 mm.
- When the components are mixed, spray them with water until they reach the consistency of the "wet earth". To check, blind from the solution of the ball. If it does not stick to his hands, then the solution is cooked correctly. Do not leut too much water, and sprinkle gradually, otherwise you can spoil the mixture.
Useful advice
Finally, we suggest you familiarize yourself with our helpful tips to help you make brick laying quickly and efficiently, even if you do not have due experience:
- Order or buy a brick in stock with the entire volume of construction. To do this, it is necessary to perform the appropriate calculations in advance so that you will not reach the material. It is better to buy it in an excess "just in case." If "every case" will not come, clinker brick can always be decorate the site outside or apply in the creation of an exclusive interior.
- Try to buy brick from one party. So you will be able to avoid discrepancies in the color scheme.
- Fresh laying is better to protect against aggressive environmental impact (soaring sun, frost, rain).
- Since the clinker brick is characterized by very low water absorption, it must be wrapped before laying it with water.
- On the day you can put no more than 3-5 rows.
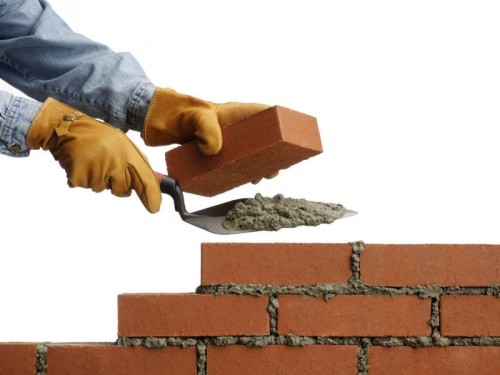
- To align the structure of masonry, the brick should be cut off, and not to beat.
- Immediately fill the seams between the rows, following the solution evenly filled all empties. The strength of masonry depends on it.
- Conventional solutions are not suitable for masonry clinker bricks. Use only branded mixtures that are better to purchase from the same supplier from which you ordered a brick.
- Depending on the size of the clinker brick, observe the width of the seams 1-1.5 cm.
- The dried solution can be easily removed using a wooden blade or a rigid brush.



 Start a discussion ...