Experienced riders know that much depends on the quality of the saddle. First of all, the health and performance of your horse. Often newcomers in horseback sports allow one and the same mistake: choose the saddle for themselves. This is a frankly incorrect approach, because with the wrong selection of this ammunition, you can seriously injure the horse. And believe me, wounds on the back of the animal are the lowest damage that you will apply to your favorite due to poor-quality equipment.
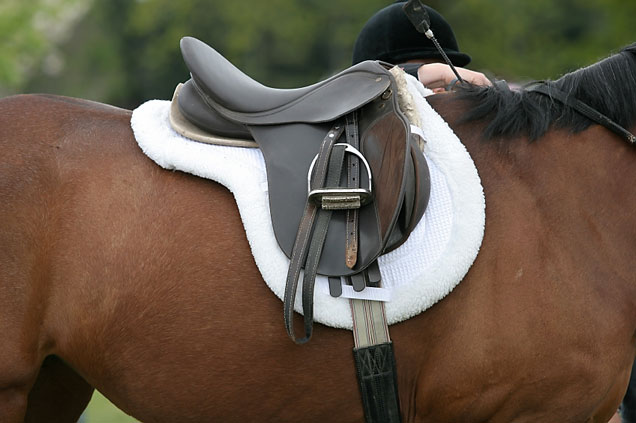
Saddle for horse photo
We make a saddle for a horse do it yourself
The saddle for the horse is traditionally manufactured in several stages. Each part of it performs its functions, that is, the quality of their manufacture - is an extremely responsible process.
Lenchik
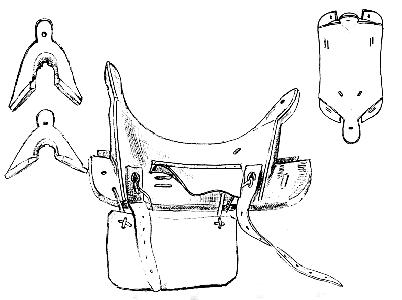
The first of which the comfort of the animal depends on and, accordingly, the rider is a ladenser, that is, the base of the saddle. Often it consists of pairs of wooden dugs, fastened at the ends of metal deges. This is the most "responsible" part of each saddle, with which it is impossible to cope with any, you need to draw a layout based on the parameters of the horse. In order to do it, you will need:
- a piece of thick wire long about 122 centimeters;
- cardboard;
- scissors.
To acquire this tool, step bypass the following actions.
- A piece of wire put on the withers and very carefully, but with pressure, as you specifically repeat the contours of the back of the horse behind the blades where the front (onion) of the ladenley will be located.
- Carefully remove the resulting form, we put it on a piece of cardboard.
- The resulting circuit as accurate as possible in such a way that on the cardboard there is a layout of the desired part of the horse's back.
- Cut the resulting layout and trial apply to the back of the horse. It is necessary that the cardboard "Lenchik" completely repeated all the parameters of the animal.
- If it is suitable - proceed to the next if not - we again do the actions described above, while the layout does not match the horses parameters.
Next, we do all other measurements. We need:
- measure the highest part of the withers;
- the location of the front Lacon onions (four fingers below the blade);
- the end of the withers (the lowest part of the back);
- place of presumptive end of the saddle. It should be no lower than the eighteenth vertebra;
- bending the upper line of the back (from the withers to the chest eighteenth vertebra).

When all the dimensions and layout are ready to start making a full-fledged lacephal. According to the technology, they allocate three types.
- When the laden is cut out of a solid piece of wood.
- When the laceg is made of glued plywood.
- When the Lenchik is made with a fiberglass (epoxy glue + glasswolf).
We will take over the most popular and, in principle, the traditional option is a lakenter carved from a solid piece of wood. In order to do it, take a small piece of durable tree, perfectly suitable oak, proportioned by the parameters calculated above. With the help of the chisels and the ruble cut out the desired shape. Please note that the traditionally lane - curved shape, that is, in the work it is not without an electric bike and emery paper, with which you can achieve such an appearance.
Internal upholstery
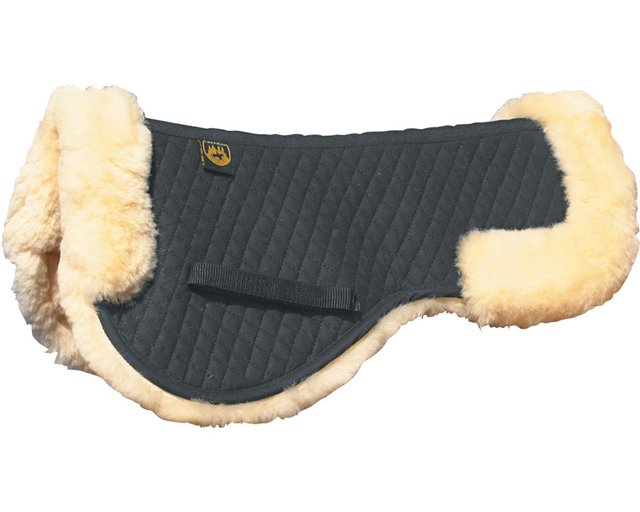
Processing the tree, according to the standards, you can proceed to the next step - the manufacture of the internal upholstery of the saddle. The simplest material for the inner upholstery of the saddle is the foam. Of course, this material has a number of significant flaws. For example, fast wear, because of this, the "filling" of the saddle will have to constantly update. Fortunately, the foam rubber is a fairly cheap material and it will not cause significant damage to your budget.
To secure it on the saddle, you need to go through several stages.
- Depending on the density of the foam rubber, put it in several layers.
- Cut the right shape, pushing out from the ladenel parameters. Note that the finished substrate must be a few centimeters more than Lenchik, and its edges - a little hang.
- Next, proceed to the attachment. On the Lenchik "Put" the basis for the saddle. It can serve as ordinary plywood, also carved according to the appropriate standards.
- With the help of conventional nails, feed the foam rubber. It is worth noting that the nails should be based on the ladenley. Otherwise, the trace will not remain from your saddle.
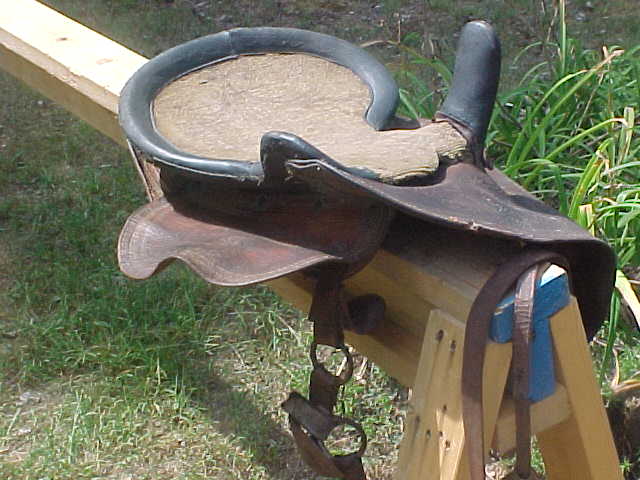
So, having done the steps described above, you approach the final stage of the manufacture of the saddle.
Outdoor upholstery
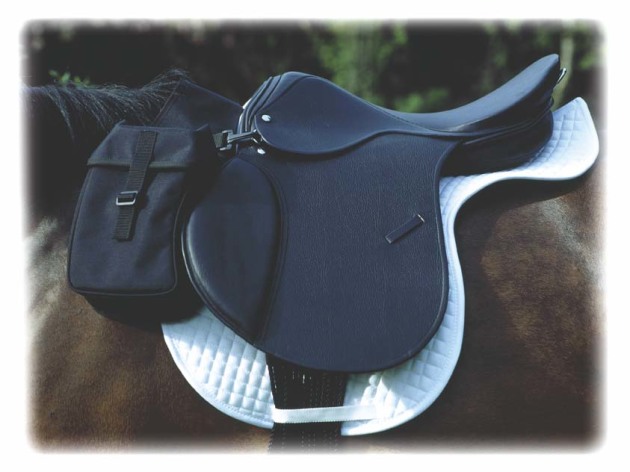
Now the saddle needs to cover the skin. Make it yourself, without appropriate equipment - it is almost unrealistic, because the skin is a whimsical material and requires at least pre-sparking, not to mention the fit and stretch it. Therefore, as an alternative to leather coating, any solid tissue can be used. As an option, try the burlap or woolen "rug", they, of course, will require constant replacement, but with proper care to last long enough. Now simply we are wearing our ladrel with the selected cloth and voila - the saddle is ready. Optionally, you can also put on the back and front of the saddle of rags. They will serve as an additional support and prevent falling in the event of an unforeseen situation.
Fear
Now it remains only about the auxiliary fasteners (legs), which will hold the saddle in a fixed state during the ride. They can be purchased in specialized stores. To make it yourself, additional knowledge will be required not only in the horse area, but also in the blacksmith sphere, after all, the main part of the fastening is bleach, with the help of which is regulated by pressure on the back of the horse. So, when the finished rope-mount already has in stock, proceed to its mount. For this, simply our own parts of the above rope on both sides of the saddle. Make sure that they are set up symmetrically and tightly sewn. After doing this, you will finish all parts of the horse's saddle. At will, you can also add to it, if you are an experienced ride and can "jump out" to the horse without the help of the step, then you will not need.
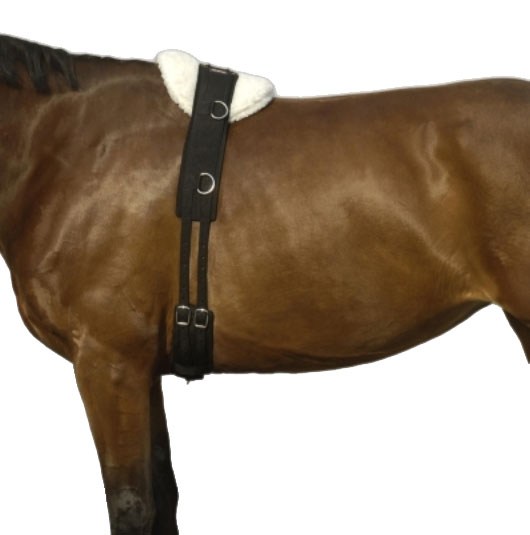
Having made the saddle, it is very important to try on a favorite to make a trial trip. If the horse feels good, the saddle does not rub her sides and his back, and does not cause discomfort, then everything is in order, you coped with the task. Pleasant trips!




 Start a discussion ...