The comfort of accommodation in the house depends on many factors and the floor plays the latter role in this case. Old, creaking, rotten boards do not add comfort to the housing. In this article we will talk about the replacement of wooden floors.
Causes of coating replacement
To determine that your gender needs repair, you can follow the following signs:
- Boards are covered by longitudinal cracks. A large number of similar slots indicates that the wood fumbled. Even if the floor seems strong, it is not excluded that it will soon begin to crumble.
- To think about replacing the wooden floor in the apartment follows and then when some individual boards break and fall under their feet. This phenomenon suggests that the wood in this place has rotted and the floor needs urgent repairs.
- Oddly enough, but the creaking of the flooring is not considered a reason for urgent coating replacement. The old floor can often creak, but in this case it will not hurt check the lags. To do this, you must carefully remove one or a couple of boards where you hear unpleasant sounds, and then inspect the lags. If they rotted - this is a reason to dismantle the old floor and install a new one.
Removing the old coating
Before starting work, make an estimate on the replacement of the wooden floor, including all the necessary costs in it. It must be said that independent work will allow you to save a lot of money. The repair process begins with the removal of the previous coating. Consider this stage. Read more:
- Select a suitable tool to dismantle. It is quite convenient to use for these purposes scrap, bent on one side.
- Getting Started, first determine the locations of all communications, so as not to accidentally damage them.
- After that, proceed to the removal of the boards. If the wood is old, then it will be easy to dismantle it.
- Removing the coating, you can detect a lot of garbage and dust under it, which will be carefully removed. Lags also need to remove, coming to the very foundation of the floor - concrete or land.
If you live in the apartment, remember that starting such work, you should prevent neighbors about possible inconveniences that they will have to suffer for some time.
Wooden floor replacement on concrete
After you dismantled the old coating, you can make a new concrete floor. It looks like this:
- the first layer of a thickness of about 10 cm consists of stone;
- from above, sand is applied with a layer of 5 cm;
- after the waterproof and thermal insulation material is stacked;
- the reinforcing grid is laid;
- all this is poured with a layer of concrete at 10 cm.
The work process consists of such steps:
- By covering the floor with stones and sand, thoroughly crumpled materials with a shovel.
- Then make waterproofing. To do this, you can apply a layer of hot bitumen mastic and put the water-repellent material. If you use a roll tool, make sure that its edges spend a little over the floor level. Connection sites of individual sheets should be labeled with mastic.
- Top waterproofing is placed insulating plate. First, it will allow you to save on the screed, reducing the amount of the necessary solution, secondly, will make the room warmer and more cozy. You will not only be able to reduce the cost of heating the apartment, but also get rid of unnecessary noise that comes from the lower floor.
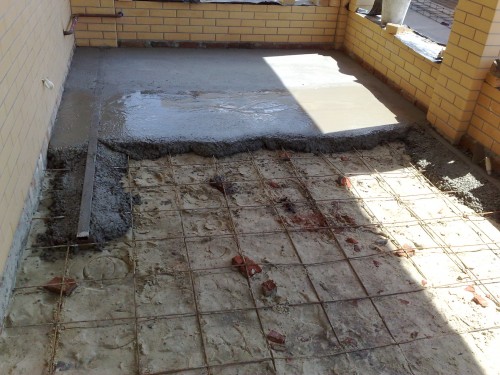
- The next layer should be the reinforcing grid. In order to lay it it was more convenient, you can resort to the help of special beacons. By the way, use the welding machine in operation at all optionally, the grid can be fixed by the usual wire.
- After the work done, prepare a concrete solution. Fill the floor and align it, accelerating the mixture towards the direction from the center to the corners of the room. You can do this using the usual shovel. Periodically check the result by the construction level.
- Leave the room until the mass is completely dry.
- When all moisture from concrete evaporates, you need to take another layer of self-leveling solution from above.
Having done all the stages of the work, you will receive a concrete base of the floor on which can be placed ceramic tiles, linoleum or other suitable material.
Replacing old wooden floors with new
Preparatory work
If the former covering you quite satisfied and you just wanted to update it, we will tell you how to do it. It should be noted that the price of a wooden floor replacement can be much smaller if you do all the work yourself. We describe the process in the form of a sequence of actions:
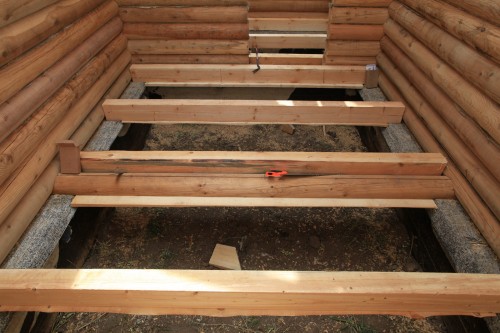
- First of all, you need to install on the floor of the lag. Buying these items, note that they are made of sufficiently dense wood. To find out how much the number of the lag you will need, measure the area of \u200b\u200bthe room. The distance between individual supports should be approximately 80 cm.
- Do not forget when buying wood, find out whether it is saturated with special compositions of antiseptic and water-repellent action. If not, you have to do it yourself. So you can protect your floor from insect pests and noticeably extend the life of the wood.
- For lag, it is better to choose the boards with a thickness of about 40 cm. Remember that the material must be sufficient dry, excessive humidity can over time to lead to strain and cracking the coating, but also too dry wood should not be too dry.
- Before installing the supports, it is necessary to hydroize the floor with its rubberoid or other suitable material.
Installation Lag.
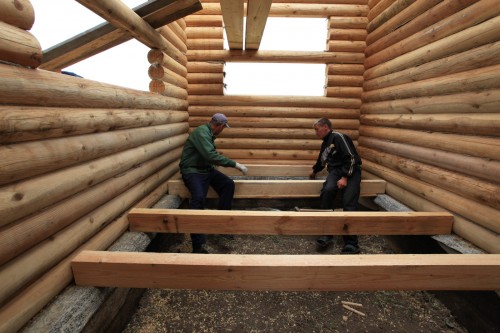
As mentioned earlier, the distance between these elements should be about 80 cm. The most important thing is that the supports had one level horizontally. To check the correctness of the laying, you will have to use the level. If you notice some deviations, you can fix them by putting thin wooden linings under the lags and fixing them with anchor bolts.
So that the level of support was the same, first put the bars in two walls opposite each other, tension the thread between them and, focusing on it, lay the remaining lags.
If you replace floors in a wooden house, it is possible that you will have to lay the coating directly to the ground. This process can be described as follows:
- Align the soil for the future coating and pour the sand layer about 7 cm in thickness. Thoroughly confuse the material.
- To put the same amount of rubble and also good spress.
- A layer of boot is stacked on top of the rubble.
- Then make a solution of concrete using the following proportions: Add as many sand and 1 part of the cement to 3 parts of the rubble. Fill the mixture with water and mix well. Flood in the resulting mass.
There are cases when the land under the house is very loose or subject to excessive underground waters. So that the coating turned out dry, did not disaggeasing and provided a comfortable stay in the house, you can use a slightly different technology of lag:
- On the perimeter of the room, dig square holes with dimensions of approximately 20x20 cm and a depth of about 40 cm.
- A third of the recesses fill in rubble and sand.
- Insert the reinforcement rods and pour the wells with a solution of concrete.
- When the mixture completely freezes, build small brick columns in these places. These supports and install lags for the floor.
Laying of Halp
At this stage you will need to know the following:
- To make this work, you need to carefully measure the length of the boards and observe all the sizes of the corners. Ensure that the joints between individual fragments accounted for the middle of the lag.
- Place the first board near the wall with a multiple millimeters - so you will create conditions for floor ventilation. In addition, during seasonal fluctuations in temperatures, the tree slightly changes its dimensions, so this clearance is useful in any case.
- Mounting elements can be closed with nails or screws. It should be said that the second option is preferable, since nails can get to the surface after some time, and this does not occur with self-draws.
- The length of the fastener must be at least 3 times the thickness of the board. Please note that the hats of nails or self-tapping screws should be gluable in a half-hour half-mock, and after mailing the resulting hole with a putty.
- When you set the first board near the wall, laid 2-3 pieces next to it. After you take into the support of the bracket and put the spacer wedge, so you fit the flooring tight to each other. After that, they can be fixed with fasteners.
Wood floor replacement on laminate
Another popular view of the coating is laminate. It is good because with its rather democratic price is distinguished by a beautiful view and a variety of colors and textures. You can lay such a material on top of a concrete or wooden floor. Consider the process in more detail:
- Remove the old floor.
- Replace lags in the method described above.
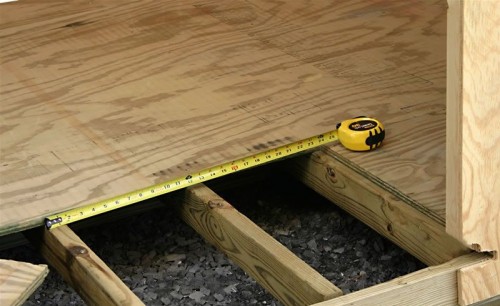
- Place the boards or plywood sheets.
- Phaneur cover with a layer of a special substrate.
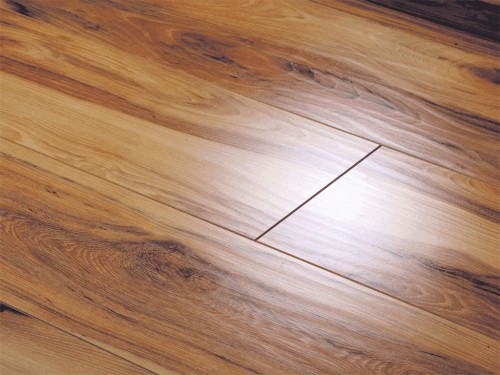
- The last step mounted the laminate. Its fragments are connected quite easily, especially if special locks are located on the edges.




 Start a discussion ...