The draft floor is not just rudely treated boards, but a whole set of materials applied in a certain sequence. From how correctly and qualitatively, they will be laid depends comfort of future tenants and the durability of the structure. The pouring of the draft floor is a complex complex of work that allows you to save money and build a qualitative basis for future housing. About how to do it with your own hands, read in this article.
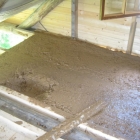
Chernovoy concrete floor
The pouring of the draft floor is not always possible on the soil. To do this, it is necessary that the soil waters are located quite deeply (4-5 meters from the surface). Also, the soil itself should be very sustainable and reliable, and in the future houses should constantly have tenants, especially in the cold season.
Floor Filling Stages:
- Stand on the walls level of the future floor, focusing at the bottom of the doorway.
- Remove the top layer of the soil until the distance between the level planned on the walls and the bottom of the pit will not be equal to 30-35 centimeters.
- Damm the bottom of the 10-centimeter layer of rubble, then pour out 10 cm of sand, pour water and tamper again.
- On top of the sand, pour 5 cm rubble (fraction size 40-50 mm).
- Purzing rubble sand and again tamper, so that the sharp edges of rubble do not stick out of the sand.
Heat and waterproofing
No black floor will serve for a long time without reliable hydro and thermal insulation. To do this, it is necessary to stock up the rubberoid or polyethylene film in 200 microns.
Installation steps:
- Clause the surface of the material of the mustache 10-15 cm and glue the edges of the tape or loss in a bitumen.
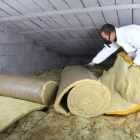
- Top to lay expanded polystyrene foam, ceramzite or basalt wool in the stoves. Mounting thermal insulation can be at this stage or on top of the concrete layer.
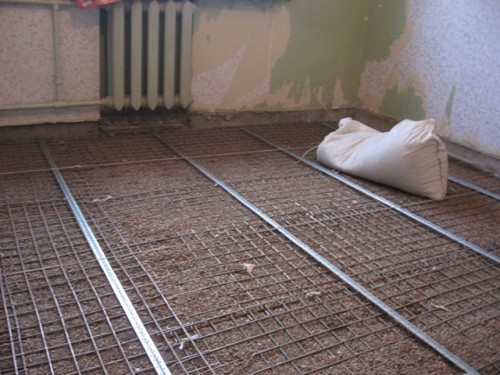
- Reinforcing concrete floor is better than a metal mesh with a cell of 10 cm. It must be installed on the backups with a height of 2-3 cm.
Formwork and guides
Guides or "beacons" are needed so that the floor is horizontal and smooth. As "lighthouses" you can use wooden bars or trimming of unnecessary pipes. They need to be placed no more than meter from each other and secure with thick cement mortar.
There should be a formwork between the guides, which will alleviate the pouring of the draft floor with their own hands. Before the fill to handle with oil formwork, so that it can be easily removed.
Blackspreadmill
In order for the base to be durable, it is necessary to pour the floor at once or twice. If there is a big break between the arrivals, the floor will come out short.
Stages of fill:
- You should start the fill with an angle opposite the front door so that at the end you close to the exit.
- Pour into small areas, smooth surface with the rule and tamping the deep vibrator.
- Excess the solution to distribute on the cards, then remove them and fill the emptiness with a solution.
- Cover the floor with a film and leave to dry for a few weeks.
- Periodically wasting the floor with water so that he dried evenly and did not crack.
Rough wooden floor in soil
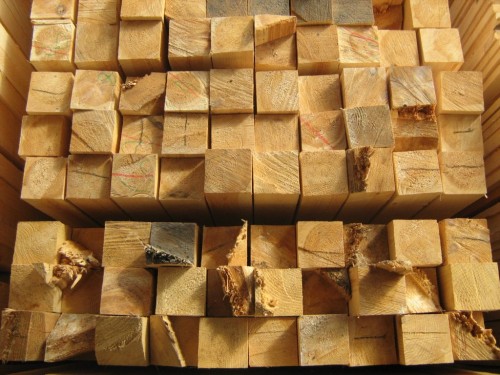
To equip the draft floor in the country house is not as easy as it may seem at first glance. This is a time-consuming and responsible process that will save not only means for construction, but also money on heating in winter. Wooden floors can be laid without restrictions, it is important only to choose wood. It should be well sucked, without damage and from the trees of coniferous rocks. Coniferous serve as a rough floor, since wood impregnated with resin is less susceptible to rotting and damage to parasites. Despite this, all the boards are recommended to additionally handle antiseptics and protective compositions.
One of the most important conditions underground wooden floors is high-quality ventilation. To do this, you need to do in advance in the foundation of the holes and close them with a small grid. It is better to choose small cells so that the mice could not get into the house.
Base
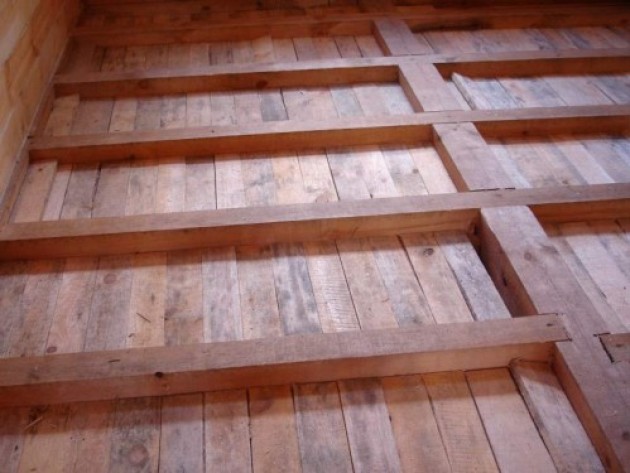
The wooden draft design is pretty simple: boards are stacked on longitudinal beams. Instead of longitudinal lags, you can retain the floor to the support columns, beams or a mortgage crown.
For large premises, it is not enough to fasten the lags only at both ends - the installation of additional support columns in the intervals between the walls is required. They are laid on them, and the step between the columns will depend on the cross section of these lag. So, if you get the bar with a cross section of 150x150 mm, then the distance between the columns should not exceed 80 cm.
To make support columns, you will need:
- Make marking for future lags marked on the foundation or support beams.
- Through the underground, stretch the cords across future lag at a distance of the step between the columns (80 cm, for example).
- Where cords intersect, support columns will be located. In these places it is necessary to make a recess of 40-60 cm, and the bottom of the dump and pour sand and rubble layers of 10 cm accordingly.
- In the recess to install a wooden formwork, to then pour the support pillar from concrete. If you want to make it from a brick, the foundation must rise above the soil at least 5 cm. For a post below 25 cm high enough masonry in 1.5 bricks, for higher better laying in 2 bricks. For a concrete column, the height of the formwork should allow lags lags strictly horizontally strictly horizontally.
- It remains only to insert a reinforced frame from the rods of 6 mm and pour concrete into the formwork.
- When the composition hardens, it is shutting up the surface of the column with several layers of rubberoid without putting up and losing joints by bitumen.
If you want to make support columns from brick, then the masonry must be fastened with cement mortar. For a column with a height of less than 25 cm, the laying should be 1.5 bricks, 2 brickwork will be required for a higher column.
Laying Lag.
Before proceeding with the establishment of the foundation, it is better to treat lags with antiseptics and other protective firming compositions. Then they can immediately put on the foundation, mortgage crown or reference pillars. There is a second option - the support beams are installed on the pillars, and then the lags are pasted across them. Any of the ways are correct, but in the second case, the design will be more durable and stable, provided that there will be a small distance between the lags (40-60 cm).
The selection of the Lag section directly depends on the thickness of the heat insulating layer, which will be located between them. So, if the heater of the insulation is 150 mm, then the timber is suitable for it with a cross section of 180 mm. But in any case, it is necessary to make a gap for ventilation in 3 cm.
Stages of laying lag on support poles:
- Controlling the horizontal level, lay lags for the foundation or support beams and support pillars. The deviation in the evenness of the lag is undesirable, but permissible under the condition 1 mm per 1 meter of length.
- Between the lags and the supporting columns to place the noise absorbing material (optional).
- When the lag is detected, you need to put wooden bars and fix them on the support pillars. Putting the beams to shorten the plane.
- Secure lags with metal corners, screws and anchors.
- First of all, to lay "lighthouse lags" at a distance of 200 cm from each other. They will serve as guidelines for the further fill of the draft floors, so it is necessary to clearly check their evenness.
- In addition, the principle to lay the remaining lags, consolidate them and proceed to the heat and waterproofing device.
Heat and waterproofing
Waterproofing and heat-saving materials, as a rule, are stacked between lags. It is necessary to fix them on a predetermined basis, which is done in two ways.
Founding Mounting Methods:
- To the lower part of the lag to kill moisture-resistant faeer. This method is relevant for homes with a spacious underground.
- At the bottom of the lag to fix the cranial bars with a cross section of 20 mm, and to make a fertilized roll. This is more painting work, since many boards are required with the same cross section and length.
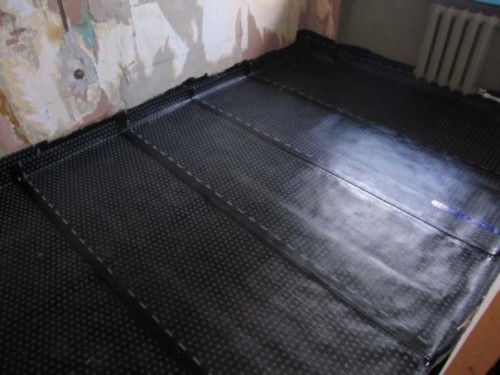
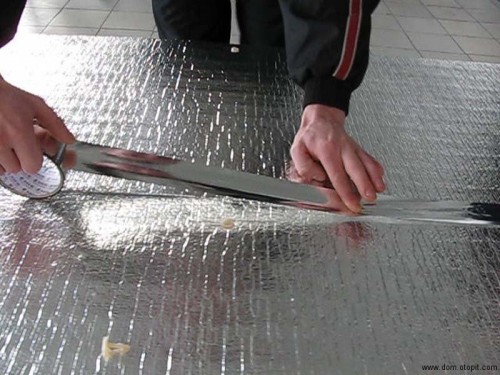
After the base is performed, it is necessary to lay a 10-20 cm waterproofing, covering the knocks with the help of construction scotch.
So that waterproofing does not interfere with the outlet out of the room, use a vapor-permeable membrane. It allows you to leave a couple, but does not let moisture inside the house, which you can not say about the plastic film.
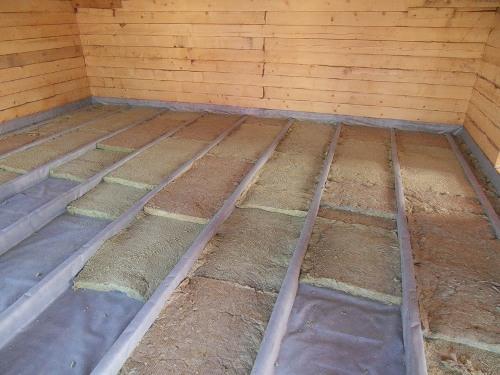
On top of the waterproofing, it is necessary to put the thermal insulation material. Roll products need to cut the stripes of a slightly larger than a step between lags.
Useful advice: For thermal insulation before the pouring of the draft floor, it is better not to use foam or polystyrene foam, since they are not able to skip moisture. Such a floor will not be able to "breathe" and as a result will rot due to the accumulation of condensate.
Floor laying
Only when the base is ready and the protective materials are laid, you can start styling the draft floor.
Stages of laying floors from the board:
- It is necessary to start from the wall, cutting off the spike and putting the board to the wall with a gap of 2 cm. The gap is necessary so that the tree can freely expand and narrow, not deforming the floor. Do not forget that wood is a very plastic material that periodically swells and shanks.
- The board is fixed on the lags, screwing the screws from the wall to the wall in the board itself (then this place will close the plinth). Screw the screws from the spike at an angle of 45 degrees.
- Insert the second board into the groove first and move it closely. It remains only to fix it with a self-tapping screw on the lag and, by analogy, put all the subsequent boards.
- The last board is consolidated in such a way that the screws can be hidden under the plinth.
Useful advice: If the length of the board corresponds to the length of the room, you can put them in parallel. If they are shorter than the length of the room, it is better to lay them with a little displacement ("rotary).
In the video about the pouring of the draft floor, all important nuances are described in detail in detail:
Basic floor assembly in concrete
For apartments with concrete floors, wooden floors can also be made, but before this it is necessary to fill the perfectly level base. Even the minimum difference of heights in centimeter-two is unacceptable, because such a floor very soon begins to creak and deform.
The cost of pouring the draft floor depends on the quality of cement and destination of the room.
Waterproofing
Before placing lags on concrete, it is necessary to make decent waterproofing using a cement-sand tie. Subsequent work can only be performed after complete drying, that is, in about 3-4 weeks.
Stages of laying waterproofing:
- On top of the concrete screed, it is necessary to lay waterproofing (film) of the flask about 10-15 cm.
- The junctions between the pieces of the film to smoke the construction scotch.
- For lags to put noise absorbing gaskets from any plug materials or foamed polyethylene to 4 mm thick. The lining must be made in obligatory, otherwise when walking the boards will knock.
Laying Lag.
When pouring the draft floor along concrete it is better to use bars, the length of which is equal to the length of the room. In other cases, lagows will need to be connected to the end, and the locations of the fasteners should go "the rotational".
Stages of laying floors:
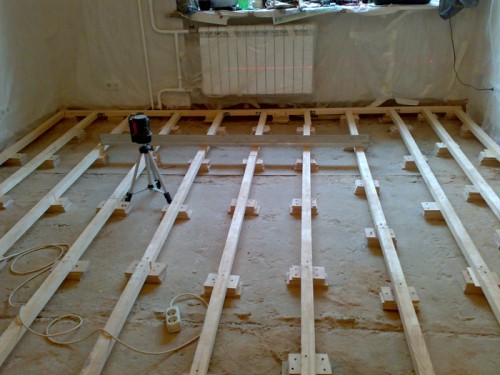
- Prepare the basis and put on it lagows.
- Check horizontal with a level.
- Secure lags on the floor with an anchors and self-tapping screws.
- To put the insulation between lags, as for the pouring of the draft floor along the soil.
- Leave gaps for ventilation at 20-30 mm.
Assembling a rough floor
When lags are laid, you can proceed to the installation of the draft floor. Its price depends on the selected materials. So, this can be done with the help of moisture-resistant plywood or buy a gender board. As we described above, we described an example of laying the floor from the soil board, consider how to make it from plywood with a thickness of at least 22 mm.
Street flooring stages:
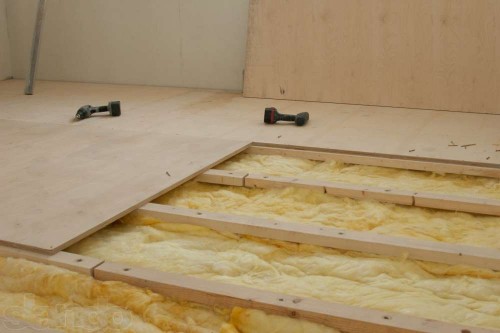
- Fasten the sheet of plywood on the lags using a screw with a distance of 15 cm.
- Sheets need to be put in a checker order, so some of them need to be cut.
- The locations of the plywood sheets must be on different lines so that the load on the floor is uniformly distributed.
- Also, as in the case of a floor of the boards, it is necessary to leave the gap between the material and the wall in 2-3 cm.
On top of such a draft floor, linoleum, laminate, tile (ceramics, vinyl), parquet or massive board can be treated.





 Start a discussion ...