Installing interroom doors is a responsible and complex process. The quality of final work depends on how it was right and accurately carried out all the installation stages. In addition, it is very important when installing doors perform the entire sequence of actions in exact order. We will tell about it more in this article.
Selection of interroom doors
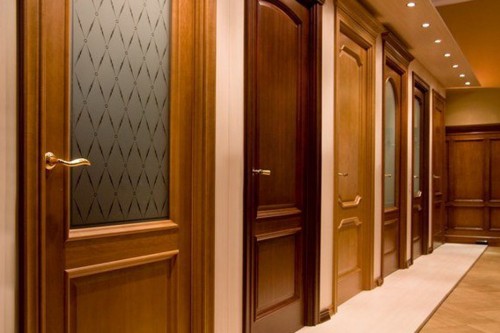
Today the doors are made of the following materials:
- Wood.
- Plastic.
- Tight glass.
- Metal.
- MDF panels.
- Combinations and combinations of these materials are also used.
Advice:
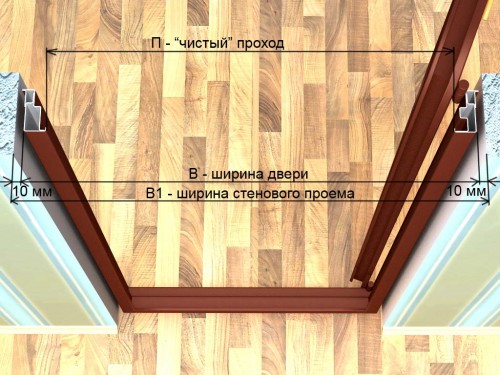
- Before choosing the door, you need to measure the height and width of the doorway. These indicators must be basic when buying a product.
- It is important that between the box of the door and its base base around the entire perimeter there was a gap of 10-15 millimeters.
- In addition, the door does not jin, it is necessary to ensure the presence of an additional gap of 3-5 millimeters between the door web and the box elements.
- When choosing a door, attention should also be paid to the quality of its assembly. It should not be any mechanical damage. It depends on how much the installation of interroom doors is.
Instruments
For independent installation of interroom doors, the following tools will be needed:
- Set of chisels.
- 2-3 screwdrivers.
- Middle sized hammer.
- Roulette.
- Hacksaw.
- Stuslo.
- Bubble tool.
- Screwdriver.
- Circular.
- Miter saw.
- Eleturofresher.
- Perforator.
- Deligious door loops.
- Locks with latches.
Still in the work there will be wedges and bars of various sizes, black screws, finish nails and mounting foam. The cost of installing interroom doors can be significantly reduced if the data of work independently.
Machining technology of interroom doors
Advice:
- Previously, the walls of the room must be aligned, plastered and covered. Before mounting the doors, you must complete all the "wet" work, dry all the elements of the room. If this is not done, then the door or box can be deformed due to moisture.
- In addition, before installing the doors, it is necessary to put the draft floor in the room. It will help correctly install the door frame in the height of the threshold. If you need to replace the old doors to new, the preparing the premises is not required.
- Today, there is a large range of different doors. However, it is not necessary to navigate only on the attractive appearance of the product. The most important thing is that everything is in order with geometric dimensions. After all, it is possible to purchase a cloth by negligence, in which the size of one side will be greater than or less than several millimeters. When installing it can create big problems. Therefore, it is necessary to hold measurements of the canvas right in the store. It is important that you get exactly the door, what kind of frozen. This should also be traced.
- When the door canvas is selected, you should proceed to the selection of the door box. In some cases, the door and the box for it go in one set. This somewhat simplifies the choice, because in this case all sizes are usually already sustained by the manufacturer. Such kits easier to use to install interroom doors. These prices are not very different from the doors and boxes sold separately.
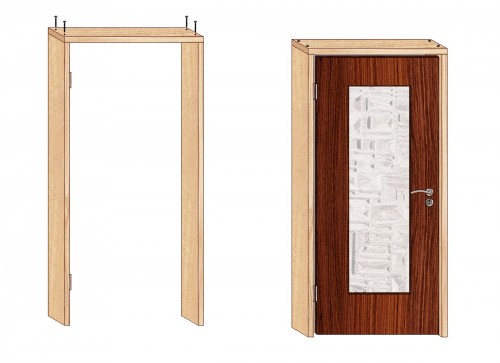
- The door box is a smooth P-shaped design made of a box bar. It consists of a pair of racks and perts. When installing the box, it is necessary to ensure that it is smooth. It is even important that the thickness of the boxing timber corresponds to the size of the existing door canvase. Without this, the conditions to install the door will be impossible.
Stages and installation sequence
Installing interroom doors with their own hands passes in several stages:
- If you need to replace the door and box, then you must first dismantle the old ones.
- If you just need to install a new door, then, first of all, you should collect the door frame.
- Then installed canopies.
- Door box is mounted in the opening.
- Next, the door leaf is hung on the loop.
- Calcarions are recorded.
- Finally, the design assembly is checked for performance.
Dismantling the old door
- To carry out these works, you first need to remove the old door leaf with the loops.
- Next, dismantling the box. This is usually done by dumping on each side of the box elements.
- After that, they are removed from the doorway. Hands do it, most likely it will not work. Therefore, you will have to use the montage or scrap.
- When the whole design is extracted, you should proceed to remove insulation materials, fasteners.
- Then the main surfaces are brushed from construction waste and dust.
- It is further desirable to check the doorways so that they do not have any mechanical damage.
Installation of racks
This is the most responsible stage when installing. According to the instructions for installing interroom doors, the following works should be performed:
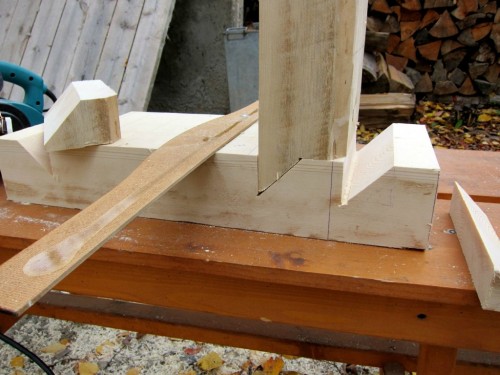
- Sink up the top at an angle of 45 degrees. For this purpose, a fine saw. Instead, it is possible to take a stouse and hacksaw with small teeth.
- For two racks on the inside, measured the desired length. It equals the sum of the size of the upper gap, the height of the canvas and the lower gap. With a height of the canvas in 200 centimeters, it will be equal to 201.4 centimeters.
- Now you need to cook prodock. In order to measure the desired length, the value of the gap value from the installation of the lock, the width of the canvas and the gap from the edge where the loops are mounted. With the width of the cloth 80 centimeters, 80.8 centimeters are obtained.
- Then taking advantage of the stub, you should spill both ends at an angle of 45 degrees. This can be done by a fine pilot. It is important that it is 80.8 centimeters long-side inner side.
Installation of door loops
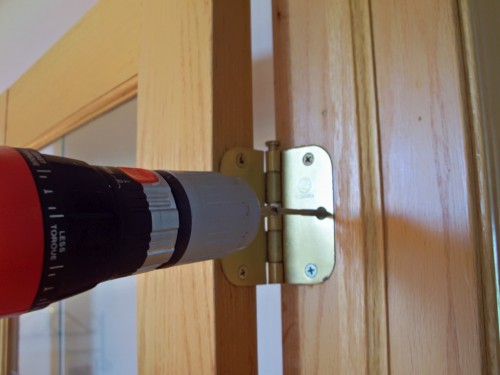
Door loop installation sequence Next:
- Squeeze on the inside of the rack from the top edge of 20 centimeters.
- Attach the loop and designate its outline.
- If the loop is completely folded, then there will be a gap between it and the cloth for about 40 millimeters.
- Now you need to make a platform under the loop. This will require a mill or chisel.
- By the same scheme, you need to make a landing place for the bottom loop. Only in this case should retreat from the lower edge of the 21 centimeter.
- When the loops are installed, the rack must be attached to the canvas. It is placed on the construction sites. Planting places under the loop are performed by the same principle as for the racks.
Wash the bar for the door box
In order to squeeze the bar for the door frame, it is best to use a tracing machine. It is still suitable for a stood with a manual hacksaw.
There are two ways to roam the timber:
- I washed the vertical racks and squeezed at an angle of 45 degrees. If you correctly and carefully do a dust, the design will look very beautiful. Elements are connected using self-samples. Only for them you need to drill through holes.
- With a straight angle was recalled. Performed with small-scale hacksaw. To obtain the final size of the inner vertical line of bars, it is necessary to add the length of the canvas and 3 millimeters from above and below. If the door without a threshold, then below should be left about 10 millimeters. A pair of screws is screwed to the vertical racks on each side to attack vertical stands. It is important that the distance between the pretended and looped broom is, the size of which should be equal to the amount of the web plus it is necessary for two side gaps of 6 millimeters.
For the threshold, the method of roasted timber is only one - at right angles.
Installation and Locking Door Box
Works are performed as follows:
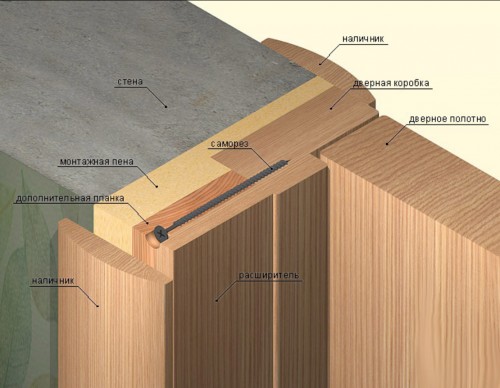
- Perpendicular to the peculiar to the screws are attached racks. The door design will well hold on to three long self-drawing. All connections will be supported by foam.
- First you need to drill a small hole, after which the self-samples themselves should be screwed. Wooden box, which, for example, is not needed to drill in the baths.
- The box is installed in the opening and fixed with wedges and struts. To between the design and the wall that surrounds it, the clearance required for the foam should be installed wedges chopped from lumber residues.
- The installed box in place is aligned with the horizontal level and vertical level. After that it is attached by self-drawing. They screw in vague. Sometimes an anchor bolts use an anchor bolts to fix the box in the doorway, after which they should be closed above the flags and the castle response plate.
- The door of the door is neatly hung on the loop. Then check how it opens and closes. If deviations are found, they need to be corrected by loosening and screwing the screws.
- After placing the door leaf on the loop, check the design of the structure. At the same time, it is necessary to see that the magnitude of the gap between the web and the box there were no irregularities and distortions.
- Then along the place where foam will be applied in the future, you need to stick the mounting tape. Before close the gap around the door leaf, you need to insert cardboard. When the door is closed, you can start filling all the cavities around the box with mounting foam. It is better to do this job in several techniques, because the mixture has a fool property. While the foam does not freeze, the door cannot be used.
- The struts can be removed only when the foam finally hardens.
What is the feature of installing doors with MDF box:
- Boxes from this material are characterized by weak mechanical properties. Therefore, they should be installed a little in another sequence. First, it is necessary to collect box elements with the type of doors used.
- Then the elements coming into contact with the door at the scene of the canopies are measured. After that, excess is cut off.
- Now you need to connect the butterfly loops with a canvas with a box.
- After that, the remaining elements of the box should be installed around the door.
- When the door base is collected on the horizontal surface, you need to take someone to help, lift the box together and position in the doorway. Then you should align the foundation in all directions with the help of plumbing and level.
- To create a uniform gap around the perimeter of the structure, placed pieces of linoleum. Detected defects are eliminated.
- When the design is fixed, the door is closed. The struts are inserted between the web and the rack, after which the space is neatly married.
Installation of trimming
- We call the decorative strips that are attached to the box. With them, interior doors acquire a complete view. To install them, they are trying to arrange the door frame so that it is flush with the wall plane.
- Cashbits are attached to the box with nails in which there are no caps. After that, the connection places are roasted at an angle of 45 degrees. To do this, the stusla is applied.
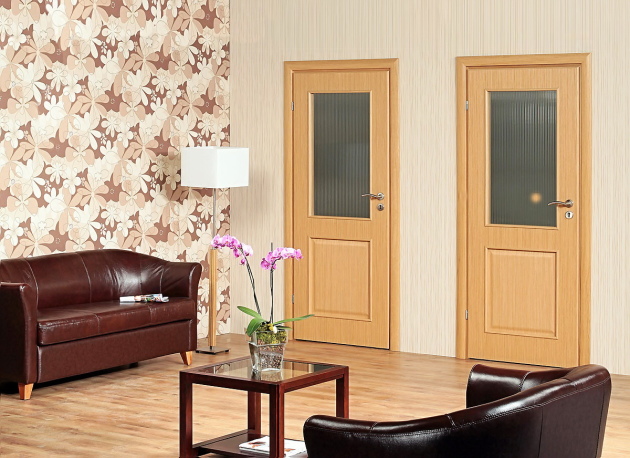
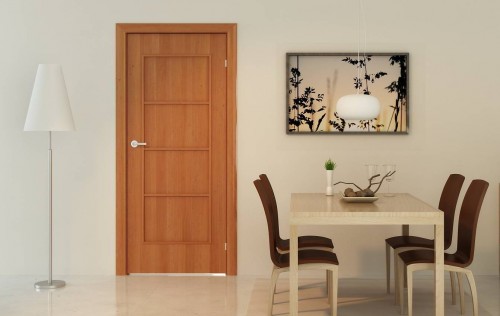
- After about a day, you can check how the installed design works. This completed the installation of interroom doors. The photo reflects an exemplary result.
Installing interroom doors: video





 Start a discussion ...