The most popular material for walls is considered a ceramic tile. It has a waterproof surface, resistant to many mechanical damage. Pottery perfectly competes with other popular materials, such as plastic panels, plywood, decorative plaster and others. About how to perform wall cladding tiles explain further.
material characteristics
Tile has several advantages, namely:
- Water resistance.
- Durability.
- Strength.
- Ease of cleaning.
- Practicality.
- A wide range of colors and textures.
- Durability.
- Hygiene.
- Ensuring the protection of walls from destruction.
Usually, with facing works, it is assumed that the tile will not change for several years. Therefore, the choice of this material should be approached very responsibly. Today, there is a fairly large assortment of tiles. It is distinguished by the surface, color, drawing, etc. Most chooses it, based only on their color preferences. Although it is necessary to take into account the technical characteristics and scope.
So, there is a tile that has a heat-resistant outer surface. Such material will be required for cladding apron near the stove. In rooms with high humidity, the moisture-resistant tile is most suitable.
Calculation of materials
After determining the required amount of work, the desired amount of materials should be calculated. To do this, you will need a roulette, pencil and paper. The roulette should be measured under the masonry. At the same time, it is necessary to take into account which the corners are available. So, for direct angles it will be necessary to provide a reserve of tiles. To understand straight corners or not, it is enough to measure with the help of a roulette diagonal. For measurement accuracy, it is recommended to apply a roulette strictly horizontally or vertically.
Recommendations:
- It should be understood that if you need to remove the old tile before doing the masonry new, then the size of the working area will eventually prove more. If the walls need to be placed, then the dimensions of the surface, on the contrary, will become less.
- In order to visually see all the bulbs and potholes, the projection of the area of \u200b\u200bthe room should be drawn. This scheme will help to accurately calculate the amount of the required material.
- In addition, if necessary, you need to decide on the presence and position of borders, friezes and decorative elements. They also be better noted on paper. In general, the amount of tile required must be calculated in such a way that in the corners of the room there were no narrow pieces of ceramics.
- Before performing the facing of the outer walls with ceramic tiles, it is recommended to align the working surface. So it will be easier to calculate the amount of the required material. When working you need to customize the size of each tile individually.
- In addition, when preparing the walls, you must remove all sockets, switches and existing wires. All irregularities should be sharpened and clean the surface from extraneous elements.
- As a rule, on each wall, the number of tiles is calculated separately. The use of pieces and parts of the material is also reflected in the calculations.
Technology facing
To date, there are several types and technologies of wall cladding with ceramic tiles. Namely:
- "Seam in seam".
- "Seam Zigzag (Christmas tree)."
- "In the dispersion."
- "Diagonally".
The type of laying method affects how much tiles will need for work.
Consider each of these laying options.
Method "Diagonal"
This is perhaps the most difficult way in implementing the way, but thanks to it, it is possible to create an effect of distortion of space when using tiles of various textures and shades.
To begin, it is necessary to correctly draw the diagonal on which laying will be carried out, and prepare a tile cutting tool. In this case, the required amount of material is calculated in two stages. On the first one should be foreseen, how many diagonals when the diagonals are required. On the second - to determine how much the resulting material will be necessary. This value is calculated by the following formula:
(DPV) / (1.44 * DP + 2 * RS), where:
- DPV is the length of the surface perimeter.
- DP - Tile length.
- RSh - seam size.
The result should be rounded into the biggest.
"Sooh in seam"
This option is used for its simplicity most often. In this case, the tiles are placed in a row. Therefore, it is necessary to ensure that no irregularities are on the surface. Otherwise, they will be noticeable.
This method is good because it allows you to minimize the amount of risen tile. This, in turn, helps to save during work. Should eventually turn out long horizontal and vertical seams.
To calculate their number, you need:
- The height of the wall is divided into the height of one tile.
- The width of the surface is divided into tile width.
- Find a product of two of these results.
At the same time, it is always necessary to round up to the biggest side. It should be said that this option does not require any additional costs for materials.
"Seam in the dispersion"
In this case, the method of laying each next row is lined with a displacement of half tiles. It can be performed both vertically and horizontally.
If you carry out high-quality cutting tiles, then you can achieve efficiency when it is laying. When using a different color and text material, you can create a surface of any configuration.
"Seam christk"
This laying option can be used only with a rectangular tile. At the same time, the consumption of the material increases by 5-10% than when using the seam "in the dispersion". This method is often used for mounting paving slabs. When calculating the amount of material it is recommended to take 5% more, in case of chips during transport or during styling. Most often, this method is carried out cladding the walls with ceramic tiles "SNIP".
Preparatory work
Before you independently do the facing of the inner walls with ceramic tiles, the order of the main work should be studied and what difficulties may arise. Fortunately, modern tools facilitate this process.
The first thing to do is to decide on the required amount of work. Perhaps, besides the facing itself, you will need to conduct auxiliary activities that eventually increase the repair period. For example, often before facing it is required to make dismantling of the old tile and align the walls. This is the preparatory work before the cladding of the walls by ceramic tiles. The price of their holding is quite acceptable.
Facing the outer surfaces is practically no different from the internal work. Ceramics are separated by external walls usually in order to give the house an attractive view. For this purpose, ceramic granite is popular, which is considered a cheaper alternative to natural stone. Facing the work of the outer walls should be carried out only at air temperature above 5 degrees. Otherwise, microdiformations are possible.
Instruments
The following tools will be required to work:
- Plologist small power.
- Toggle.
- Level.
- Large straight spatula.
- Mounting cross-separators.
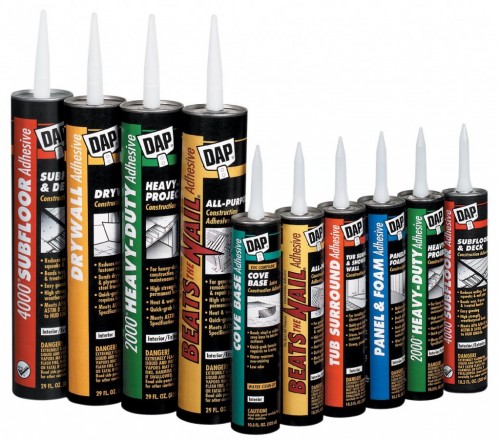
- Glue, mortar or liquid nails.
Methods of cladding walls
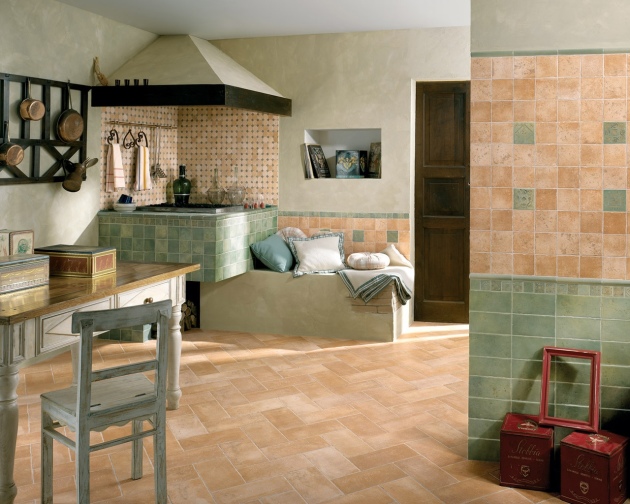
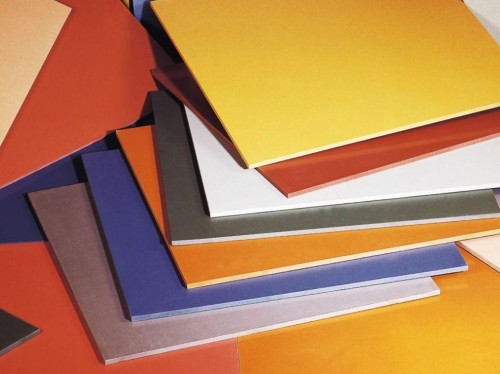
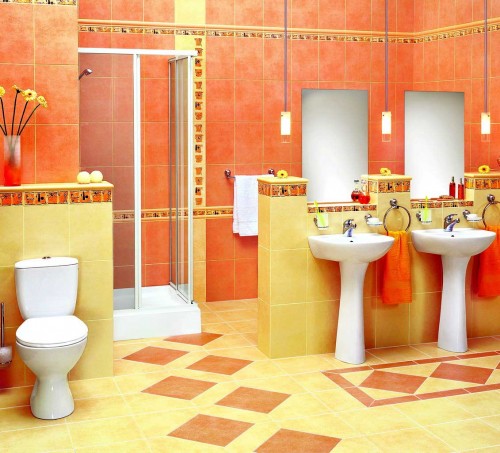
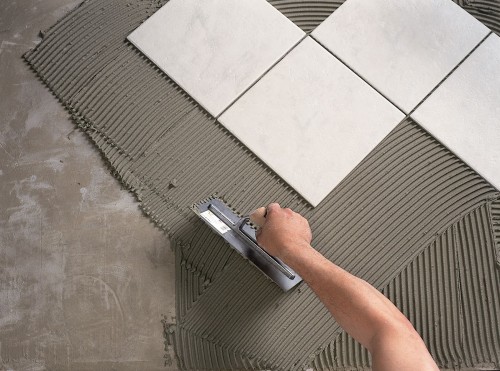
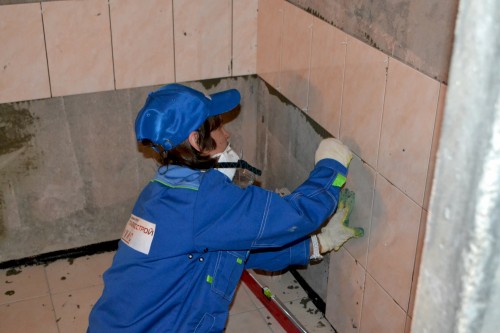
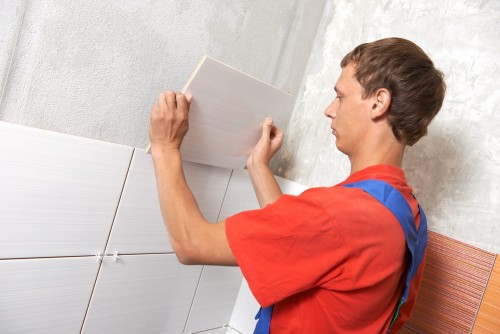
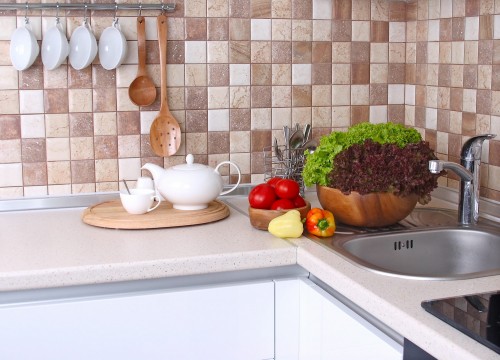
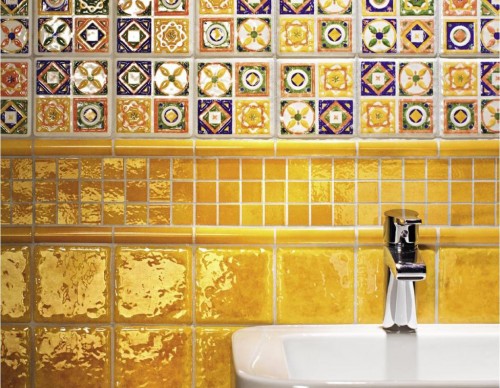
Facing the walls with ceramic tiles: photo
There are three ways to cladding walls:
- With the help of cement mortar.
- Liquid nails.
- Adhesive compositions.
So that the tile is longer and better kept, it is recommended to put it for 6-8 hours into the water. During this time, the liquid will fill all the pores of the material.
Method 1
Consider a details option of facing with the help of cement solution:
- In this case, the laying should be started with markup. For this, the horizontals and vertical rails are nailed. They are set strictly by level.
- Since the solution will dry quickly, it is recommended to dissolve it with small portions, which will be enough for 1-2 rows of material.
- Then you need to put the lighthouse tiles that will perform the role of the lining level. Each of them is set, taking into account the thickness of the solution in a step of 600 millimeters from each other. To begin with, lay the upper tiles, and then the bottom. It is important that they are on the same level both vertically and horizontally.
- After that, the horizontal is attached the guide cord.
- You can start the process of cladding both from above and below. A little solution should be applied to each tile with a flat spatula. After that, it is recommended to remove excess tool tool. Then the tile with a slight force evenly in the center presses against the wall. Between them it is recommended to install plastic crosses. It is necessary in order for the seams to be the same.
- The finished cement is applied to the reverse side of the tile. So that the solution does not crawl, it is recommended to give the shape of a truncated pyramid. At the same time, it is necessary to monitor the edge of the tile to touch the guide cord.
- With a little effort, you need to press on the tile. Next, you should knock the hammer, but not by the ceramics itself, but along the rail, which is superimposed on top.
- Then necessarily with the help of a lighthouse rail must be checked so that there is no waves. The vertical of the seam can be determined using a plumb.
- Finally, special overlays are placed between tiles in the grooves.
- For complete drying, the solution is required from 20 to 32 hours. When it dries, the lining are removed, and the grooves are treated with a mixture for the grout of intercutric seams.
Method 2.
Now consider the option of cladding using adhesive solutions:
- Before laying, you need to choose the right glue. From this largely depends on the service life of the lined surface. The glue should be chosen with the mark on the packaging "for interior decoration." It is necessary because ceramics are usually fitted indoors. Today, there are ready-made mixes on a polyurethane based and dry, packaged bags. Ready glue in liquid form applicable only for smooth surfaces. Dry mixes are suitable for all other cases. Such means can be used even without prior applying layer of plaster.
- When cladding the walls, it is especially important to correctly perform the laying of tiles on the corners. For this purpose, special plastic corners are usually used. Thanks to them, you can give the walls completed. In addition, they serve the protection of the face of the material from the destruction. The required number of corners and their type is selected according to measurements made using a roulette.
- Initially, the surface is thoroughly cleaned from dust, dirt and small particles. Then it is aligned and ground with a solution of PVA-dispersion (8%). In this case, there is marking before facing the wall. This requires a building level and fixing rails.
- Adhesive solution (it may be mastic or special glue) is applied to the rear side of the tile. After that, it is superimposed on the wall. It should be extremely neat.
- Tile should be pressed to the wall so that the mastic evenly filled the entire space and displaced the air. Excess adhesive composition, which is extruded out, should be removed.
- When the first horizontal layer of ceramics will be ready, you should put it on a support rail using a plumb and cord. After that, the level of laying material vertically and horizontal is regulated.
Method 3.
Liquid nails are a new method of fastening the material.
Procedure for work:
- Before proceeding to facing such a way, some preparatory work should be done. So, initially you need to clear the place where the tile is glued. There should be no dust, fat, foreign substances, paints and other contaminants on the surface, which may worsen the properties of liquid nails.
- It is advisable to process the working surface with a special primer that will improve the adhesion.
- In addition, before the start of the facing, it is recommended to explore the instructions for the use of liquid nails. At the same time, special attention should be paid to the safety regulations.
- The mixture with a step of 2-3 centimeters is applied in small stripes on the prepared surface.
- Then you need to attach a tile.
- Liquid nails are quickly folded. Usually in order to align the tile, the employee has about ten minutes. If necessary, plastic crosses are inserted into the joints.
- The first row is lined with a whole tile. On the latter you can already use pieces of material.
In the rest, this method of cladding is practically no different from the techniques using special solutions.
Ceramic tiles wall cladding: video



 Start a discussion ...