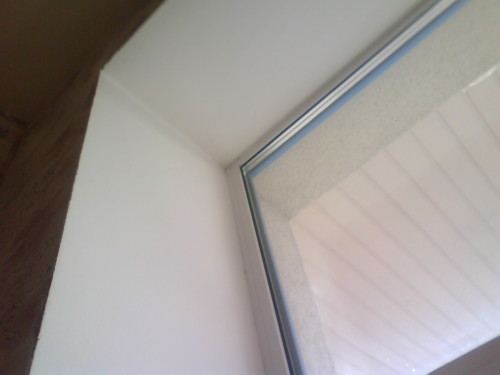
Finishing window slopes - an important point in repair work. Properly performed works will provide you with reliable heat and moisture insulation. In addition, the neat window opening adds the attraction of the interior as a whole.
Content
Advantages and disadvantages of decrypting
The finishing of the slopes of windows can be carried out using plastic panels, drywall, wood or MDF. However, the traditional use of solutions for plaster did not lose its relevance. Such decoration has many advantages, and possible shortcomings can be minimized if you correct construction work.
Advantages of finishing of slope plaster:
- low cost of materials;
- high strength of material and resistance to mechanical damage;
- the finish can be made with your own hands, having studied the basic bases of construction;
- long service life of slopes.
Disadvantages of breakdowns by plaster:
- low thermal insulation;
- it is possible to accumulate condensate and the formation of mold;
- over time, the solution is peeled from the frames, and cracks are formed.
Stuccoing of slopes of windows: how to prepare a solution
For finishing, the slopes of windows use solutions in which the binder must be (gypsum, clay or cement), as well as fillers (for example, sand). The solution itself can be:
- simple solution: cement, clay or lime;
- difficult solution: cement-lime, gypsum-lime, clay-limestone.
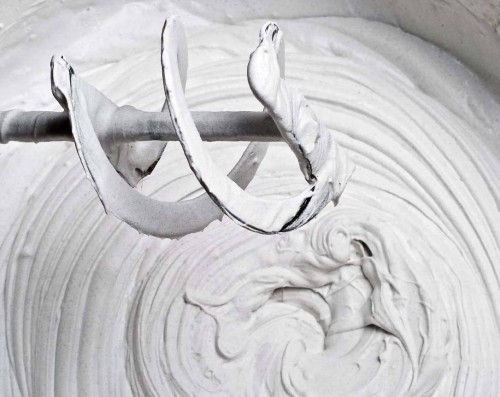
You can buy a mixture for plastering window slopes in a construction supermarket or make yourself. When mixing the composition, it is important to comply with the correct proportions so that the so-called "normal mixture" turned out. If the binder in the mixture is greater than the filler, then the solution will be "fatty" - this solution will begin to crack and sit down after drying. If the filler is too much, such a solution builders are called "skinny" - after applying it will be fragile.
When you mix the composition, you can determine the degree of its fatty:
- the normal mixture slightly lipates to the shovel;
- fat - lipnet too much;
- the skinny solution does not stick to the shovel at all.
What is part of solutions
Lime can be hawed and negascinated. For construction solutions, only hated lime is always used. Negained lime when inserted into a solution with water will begin to enter with it into the reaction; This reaction will continue and after applying plaster on the slopes, which will inevitably lead to blurring of the surface. Solutions with the content of lime are well suited for both stone and wooden base.
It can be purchased in specialized stores to turn on the composition for the solution for plastering of slopes. However, if you want to repay the lime yourself, follow the following instructions:
- Fast lime plumb to the container (barrel, bucket or drawer) and pour with water so that it covers all lime. When you notice the selection of the steam (after about 8 minutes), the fraction of more water and mix thoroughly.
- The secondary lime is poured into the tank on ¼, and then water fastened to half the container. After 25 minutes, when pairs appear, tighten the water.
- The slow-on the lime is only slightly irrigated by water, and in the process of the reaction its "boil" begins; This process will take more than half an hour.
- After pre-quenching, any kind of lime needs to be diluted with water until "lime milk" is obtained, and then strain and pour into a special pit.
- A day after the lime, fall asleep clean sand and land: the layer should turn out a thickness of about half a meter. In such a state, lime is withstanding up to 20 days and only then its final quenching occurs. As a result, a substance is obtained on a consistency resembling sour cream - lime is ready for use in construction work.
Very often used in solutions for plastering of slopes of windows gypsum construction. The solution is obtained quite durable and quickly seizes: it starts to stick 4 minutes after 30 minutes, and after 30 minutes it hardens completely. If you add diluted carbon black (2.5%) to the mixture (2.5%), it is thus increasing the solutions time of the solution. Gypsum can be used in mixtures for plastering winds in pure form. The disadvantage of the material is that he is unstable to the effects of moisture. Therefore, it is possible to use it only inside dry rooms.
Cement is the most durable binding material to create a solution. Class cement starts 15 minutes later. And hardens completely only after 12 hours. To finish outdoor slopes or slopes in the raw room, use a cement solution with the addition of latex glue (the amount of glue should be 20% of the amount of cement).
Clay is used most often as part of solutions for plastering wooden surfaces or furnaces.
Sand is the most common filler to create solutions. The highest quality, according to professional builders, is a river quartz sand, because in the sea sand is too large salts, the clay content is often increased in the mountain. It is recommended to use coarse sand for plastering winds, the size of the fraction of which is 2-4 mm. Before using the sand, it is necessary to sift to exclude land and dirt into the solution.
Stucco of slopes of windows: surface preparation
Hide the surface preparation of special attention. After all, violations in the preparation process is the main reason that the plaster is still poorly kept or cracking.
- So that your slopes look beautiful and neatly, you must, first of all, align their surface:
- check out the slopes to verticality: the building standards allow a deviation no more than 1-2 mm per 1 meter surface;
- study how far the walls are. In order to align minor depressions and cracks with the help of plaster you will need to increase the consumption of the solution, and also to spend more time to work - the plaster will have to be in several layers. At the same time, the leveling layer is applied a few days before aligning the plaster of the entire surface of the slopes;
- if irregularities are significant, use to equalize the slopes with a wire mesh 10x10 mm. The mesh wall is attached with nails.
- If the surface does not need alignment, you just need to clean it from dust and dirt. This kind of pollution, if they are not eliminated, can significantly reduce the degree of clutch of the solution with the surface:
- a brick or concrete surface can be cleaned with a solution of hydrochloric acid (3%), and then washed with water;
- grease clay allows to get rid of oil spots. For this, clay is applied to the cleaned areas and give it to dry, and then remove the clay layer, which has already absorbed fat. If the first time to eliminate the spot failed, repeat the procedure again;
- from dirt, the window opening is cleaned with a brush with a metal pile;
- if there are oily paint residues on the slopes, it needs to be completely removed: the solution on the paint does not lie.
- To improve the clutch of the surface with the solution use various techniques:
- if a wall of porous brick, then with the help of a hammer and chisel, it is necessary to remove the solution so that between the bricks it is gaps;
- if the basis of the discovery from a smooth brick or concrete, then make notches on the surface, the size of which should be about 0.5x10 cm;
- sproute the surface; To do this, choose a primer that is suitable for your base type (brick, concrete or plasterboard).
- If the opening windows are processed by plaster, then before applying a new layer, you need to update the old one.
- remove paint residue from the surface, if any;
- cold slopes to fall out fragments of old solutions that are badly held;
- clean the cracks and chips;
- remove mold and fat stains;
- plots on which a layer of old plaster beam, moisten and smear a new solution;
- after the leveling layer is dry, you can proceed with the solution with a solution of the entire surface of the window slope.
- The windowsill, windows and radiators at work should be protected from solution and mechanical impacts. To do this, you can use a film or paper.
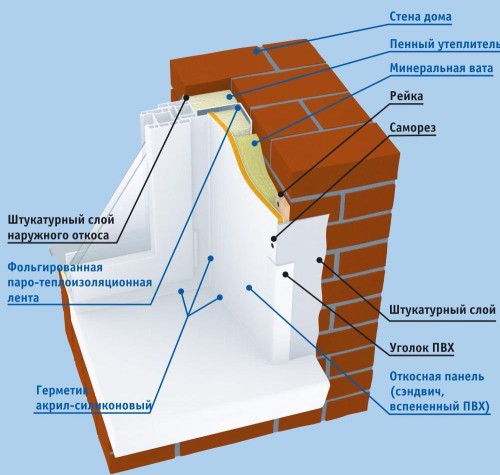
- The remnants of the mounting foam, which the frame will be blown up to be cut off with a knife. Experts also recommend to cover the foam with a vapor insulation film or apply a layer of silicone sealant. This is necessary so that with the time of the foam does not nourish, did not lose its insulation properties and did not destroy.
Set of tools
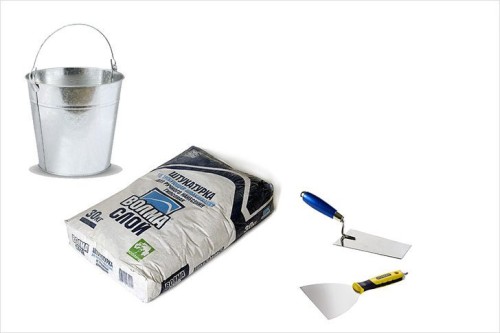
Of course, each master uses various devices to achieve the best effect in the plaster of slopes. However, there are a number of tools, without which you just do not do if you decide to repair window openings with your own hands.
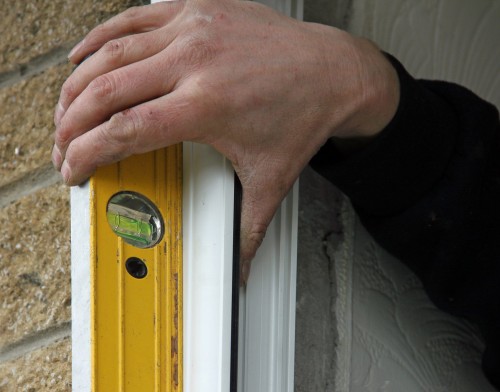
- Building level. Choose this level so that it fit into the window opening, but, nevertheless, it was not too small (a little can give an inaccurate result). The optimal level length is 1 meter.
- Calon with construction foam. It will be useful to you in the event. If when installing windows, the frames poorly blew foam. Then you have to fix these flaws yourself.
- To get free to slopes, you may need a small building goat. Experienced builders argue that it is less convenient to work using a ladder or stool. In addition, the process will take significantly more time.
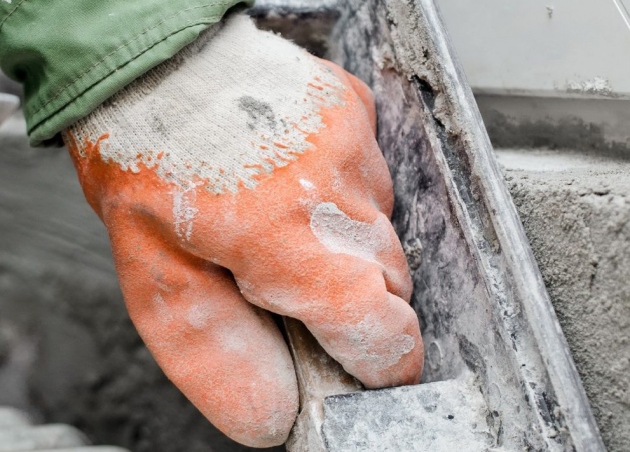
- Construction solutions are quite aggressive affect the skin of a person. Therefore, get the gloves, take care of overalls, which is not sorry to swap, and also pride some headdress.
- If you are plastering with a solution with a solution, which is based on cement, then you will need a grater and half-sash.
- Sealant and knife.
- Pencil and roulette.
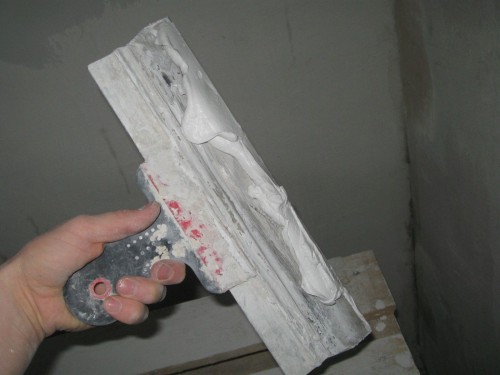
- Stretch and spatula.
- Malka. This is a special tool for windows and doors. It is thanks to the use of this tool, the angles of slopes are obtained smooth. Malka can be easily made independently. To do this, you will need a piece of plywood (or skid) about 15 cm wide, in length it should be wider than 10 cm opening of your window. On one side of the plywood you need to make an incision on the width of the window frame.
Windows of windows: how to perform
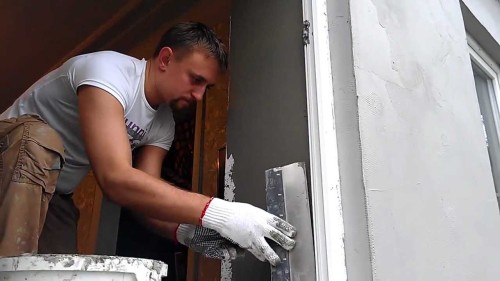
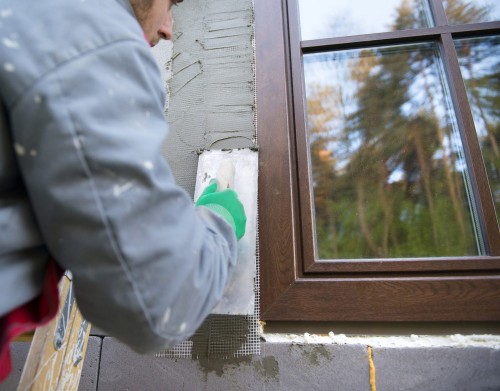
- A slightly prepared solution to spread to a more liquid state and distribute it along the entire surface of the window opening. This will provide the best grip of the base and plaster. To do this, overlap the composition on the spatula and strong movements to throw it onto the surface. Make sure that the composition sticks, but did not grow.
- Wait until the first layer of solution will dry.
- Install the guide rails using a gypsum solution (the gypsum mixture will dry very quickly). Before installing the guides, check the installation of the vertical level.
- Rake can serve a metal corner or wooden planks.
- Overlay the solution on the slopes, and then align its surface with a little low, while holding up it up.
- Watch the plaster does not fall on the window frame.
- After the solution serves, correct the corners.
- Make a slipping of slopes using a special tool - grated.
- When the solution finally dry, apply a layer of primer on it.
- Go to the finish finish: Sun can be painted, plastering decorative plaster or decorate tiles.
- After completing work on the inner slope, go to the external plaster. Do not leave outdoor slope without processing - the mounting foam can begin to collapse and lose its properties under the influence of environmental conditions.
Stucco windows: Useful Tips
- The air temperature in the room should be above 5 degrees.
- Prepare a plaster mixture, strictly tracing the manufacturer's recommendations specified on the package.
- The solution has a shelf life if it is on the outcome - it is impossible to use the mixture.
- If you have plastic windows from PVC profiles, you should know that under the influence of high air temperature, they are expanding and cracks may form on the slopes. To prevent such problems, after the slope is ready, but the solution has not yet frozen, the spatula make a furrow (3-5 mm) between the frame and slope. Then fill in the resulting deepening silicone sealant. Silicone will create an elastic gasket and will not allow plaster to crack when expanding PVC.








 Start a discussion ...