Alignment of the walls of the plaster may seem for someone troublesome and too costly a cost process, but it is not at all. Learning to level the walls can be pretty quickly - enough pair of hours of practice. As for the financial side of the issue, work with their own hands always reduces costs, we only need to be able to competently approach the matter. In this article we will tell how to level the walls with their own hands, gain useful skills and save a decent amount.
Preparatory moments
Before running to the construction store behind plaster and tools, it is necessary to determine how much the walls will twist.
There are two types of similar works:
- Visual alignment or "a rule" (emphasis on "and").
- Alignment with lighthouses.
Consider in more detail each method. So, to level the walls "a rule" is convenient if they are less smooth and have no strong drops and cracks. The rule only slightly adjusts deviations from the norm and only. But, unfortunately, in real life, such cases of the "almost ideal" walls rarely happen, and often we have a wall curves with vertical and horizontal drops. It is for such situations that there is a way of aligning walls by lighthouses. It helps to achieve the most smooth vertical wall with a 1mm / 1 m tolerance.
Choosing a plastering mix
The final result of the work depends not only on the choice of equipment and skills, but also on the type of plaster mix. Thus, in construction practice, mixtures on cement and plaster basis are commonly used, and the latter are particularly popular.
Advantages of gypsum mixtures:
- the plaster can be applied with thick layers without the risk of cracking when dried;
- such mixtures are practically not seated in contrast to cement formulations;
- relatively low weight (you can even align the ceilings);
- high plasticity;
- high level of adhesion to almost any reasons;
- paste air, allowing the walls to "breathe";
- lower sound and thermal conductivity than in cement formulations;
- the alignment of the walls of plaster plaster frees from the need to use the reinforcing grid.
It is clear that the gypsum mixes are ideal for internal work. But it is not necessary to completely write off cement formulations. They won on frost resistance, it is better to carry out moisture, are more durable, so suitable for outdoor decoration.
Lineama alignment
Since the method of aligning walls with plaster without lighthouses is extremely rare (in most cases, people are ready to put up with minor wall differences), we will focus on a more complex and painstaking form of work.
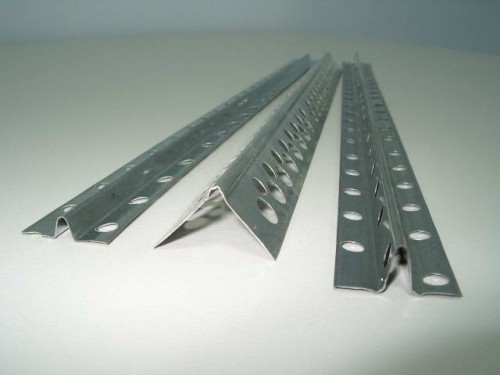
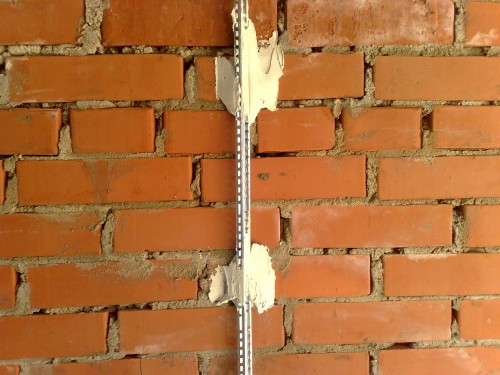
Plaster beacons or "lighthouse profiles" are peculiar "rails" defining the direction of the future plane. They are fixed to the wall with a gypsum mixture, they rest on them, they apply a solution on the wall, and then remove the excess part of the rule. The rule is a long board with one pointed end, which operates on the principle of a long spatula, spreading and equalizing the solution on the surface. This tool is used on large areas - walls, ceilings and when applied to the floor.
Instruments
To align the walls with plaster in a bathroom of small sizes or in a huge foyer, you will need the same tools. The size of the list is impressive, but most of the items are consumables. Technique (perforator) can be leased, and the rest will pay for itself several times. By the way, the price of alignment of the walls by plaster is quite impressive, especially if we are talking about large areas.
Required tools and materials:
- perforator and nozzle for kneading a solution (mixer);
- drills for the perforator;
- plaster mix;
- beacons (6 mm);
- metal scissors;
- plastic dowels;
- hammer;
- crosshead screwdriver;
- building level;
- self-tapping screws with a rare step;
- plumb;
- rule aluminum trapezoidal;
- wide spatula;
- bucket;
- steel ironing;
- acrylic primer;
- pallet with roller or wide brush;
- roulette;
- thin construction gloves.
Marking and primer
When all tools were purchased and prepared, you can start preparatory work.
Progress:
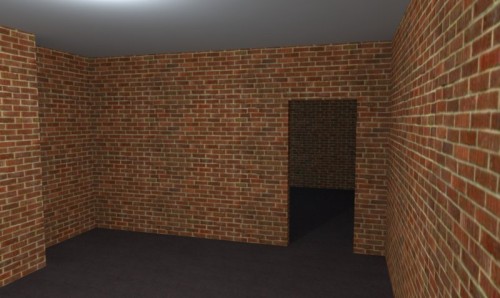
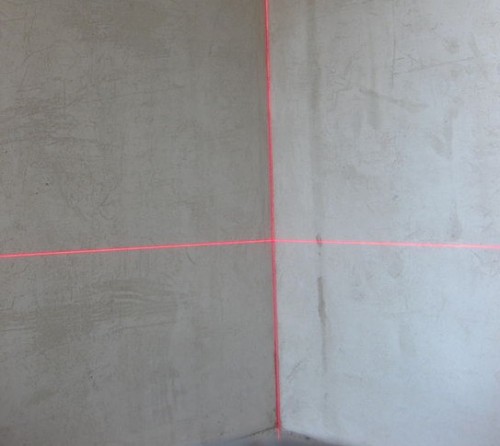
- Examine the relief of the walls, applying the level to them and fixing the nature of the deviation. The main task is to find all the bumps and depressions before making the markup for the lighthouses. For example, the length of the wall is 4.5 meters, height is 2.75 meters.
- First you should post the two most extreme lighthouse by retreating no more than 30 cm from the corners and denoting two verticals. For greater amenities you can do this with the help of the rule. It is better to start on the right (from the doorway). As a result, it should be somewhat equal (if possible) verticals.
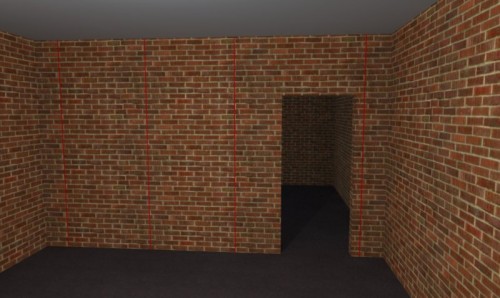
- Since the lighthouses should be shorter than a rule of 2.5 meters long, it is better to choose their length of 2.45 meters. Back to the extreme verticals from the floor of 2.45 m (height 2.75 M minus 2.45 m is 15 cm). In the indicated point, drill the wall on both extreme verticals. From them, retreat 2.45 m and drill again.
- Drink a dowel into openings and screw the screws.
- Tighten the cord between the two upper screws. Where he cross the two central verticals, make a note. A similar procedure is repeated with lower screws.
- In the marked dots, too, drive a dowel. As a result, two rows of holes located strictly along a flat line should be obtained. Now you can grind the wall. The primer improves the quality of the clutch of plaster with the base, thereby extending the time of operation of the room. You should choose primer, based on the material from which the wall is made.
- When the soil is dry, continue to place the wall, screwing down the 4 most extreme and 2 upper screws, at the calculation of the "degree of curvature" walls. So, if it goes deep into 1.5 cm, then the hat of the corresponding self-press should not be 1.5 cm, so that it remains at the same level with the rest of the self-draws. It is better to screw up with a small margin of 3-5 mm, taking into account the thickness of the beacon himself.
- When the screws are screwed, take the rule and put it with a sharp end to the first and last self-tapping screws of one lighthouse, attach the level and check the clarity of the vertical. If necessary, tweak the screws until you reach the desired result. The same repeat the same with the rest of the self-drawing. This is the most responsible and painstaking stage, on which the result of your work depends. With the help of a plumb, descended from the upper screws, you can achieve a more accurate result, but it will take longer.
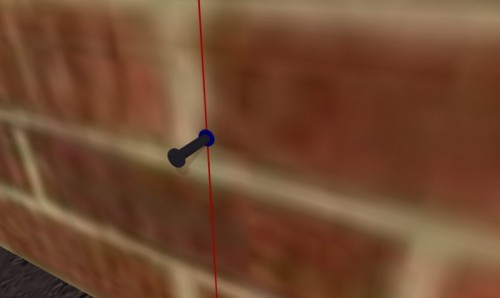
- To make sure that the lighthouses do not go beyond the plane, pull the cord on the diagonal so that it passes exactly along the hats of the screws. Then to put the beacon segment under it and trace whether it fonders the same way everywhere. Repeat with the second diagonal, and if everything is fine, set out the remaining screws, focusing on extreme.
Installation of Mayakov
If you coped with the previous stage, the remaining part does not deliver special troubles.
To install beacons, you will need:
- Cut the beacons to the length, slightly smaller than the distance between the beacons (in our case it is 2.45 m) and prepare some plaster.
- Using the spatula, apply a small amount of the mixture between the two screws so that it comes out for the caps about 1/3.
- Attach the lighthouse to the mixture, slightly pressing on it. Watch that it does not fall down to the screw (for this, the mixture should be quite thick). It is best to do this work with an assistant. Take the rule in one end, the assistant is after another, and carefully press the lighthouse in the mixture (only you will do it as much as possible). You need to put it at the end of the rule, and in the center you can knock a little palm. Clean the rule and fix the remaining lighthouses.
Carefully check the evenness of each lighthouse after installation! Also, you should not cook too "tight" solution so that you do not have to put too much on the lighthouse. The beacons are rather soft, so you can not get a job.
On this video about the alignment of the walls, work with beacons is clearly shown:
Creating a flat surface
When the lighthouses were secluded securely, you can proceed to the plaster. Prepare the solution, based on the thickness of the applied layer - the thicker layer, the thick of the mixture.
Progress:
- With the spatula, throw small portions of plaster slightly higher on the wall than the lower ends of beacons are located. Move from below-up, throwing directly from the bucket or pre-apply the solution on the smooth.
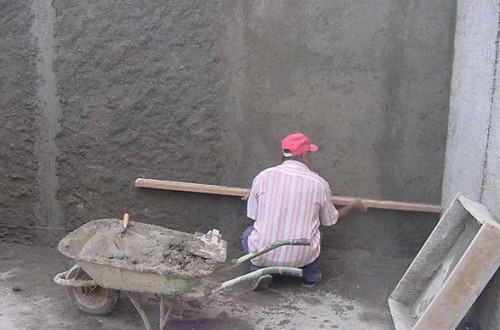
- In the course of the movement, skip the surface with a smoother, until the solution ended in the bucket. Then attach the rule to the wall strictly perpendicular to the leaning it slightly above the lower ends of beacons. Zigzag movements, so as not to pull the plaster behind the rule, start pulling up, removing the excess mixture. Then, when she comes to a break on the rule, remove it with a spatula and apply onto the wall again.
- In the process of plaster, bubbles may form, and in no case should they ignore them. Just remove the solid from this place and apply again, aligning the rule. Drive the rules on the wall until the solution ceases to gather.
- Repeat the same actions with the rest of the strips, stitching only one bucket of the solution.
- To fill the places at the ceiling and floor, wait for the plaster on the wall, and then put the solution to the solution as much as possible. To check, attach the rule to the wall at different angles. If there are no cracks more than 1 mm, work can be considered perfect! If there are irregularities, remove them with the help of ironing.
- When all the errors are fixed, take a screwdriver or a chisel and, helping the hammer, hook the beacons and boldly pull them out of the wall. Someone such a step may seem "barbaric", but it is only until the lighthouses begin to rust. You can leave them inside only if you are going to put the tile.
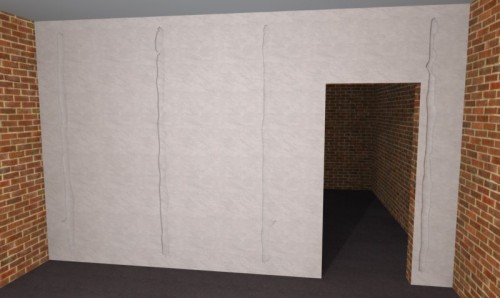
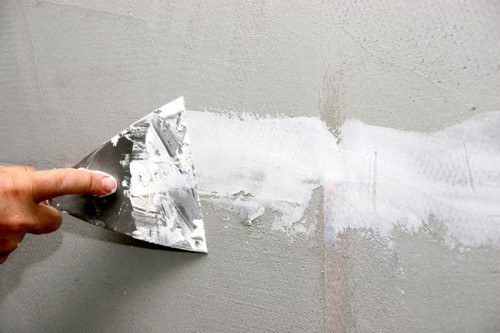
- It remains only to close the formed gutters. It is better to do it, causing a cross-cross-time staccore so that she is better made with the already hardened layer. Otherwise, cracks may form in the joints of the joints.
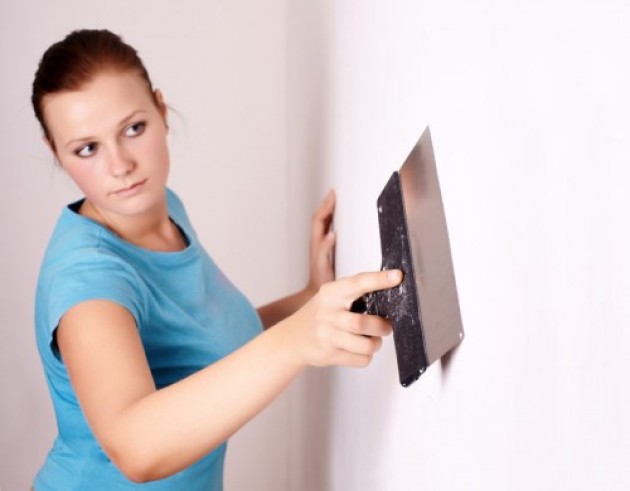
Alignment of the walls after plaster occurs with the help of a clutter solution, and then the finish coating is applied.



 Start a discussion ...