By itself, Box locks - work is quite simple and quite understandable. But there is no place for a hurry and need to pay attention to detail to make your door become a reliable guarantee of protection and peace of mind.
Where to begin
To work needed:
- electric drill;
- set of drill bits of various diameters;
- hammer (Mallet);
- roulette;
- chisel and chisel;
- pencil;
- gon.
The first thing you need to do - to determine the type of lock that you will install. Import and domestic steeping designs available today is really a lot. Each different degree of its reliability and the characteristics of the installation. When choosing do not try to focus on the cheaper options. And it's not only the reliability (it is unlikely you will need complicated castle interior doors), but also in the ease of installation. In addition, cheap locks, even with careful operation are easily damaged.
The cutting of locks in the door and its features are directly dependent on the type of design that you will choose for yourself. In total, there are three main types currently:
- Mounted locks. For interroom doors, they are not suitable, but are put mainly on the door in the storage room, comorny, garages, sheds, etc.
- Overhead locks. Installing such a castle, perhaps the most simple. It retains the strength of the design and reliably lock the door. The outside is closed by a regular key, and on the inside is equipped with a turntable and, as a rule, the safety chain.
- Cutting locks. At the moment it is the most common option. Despite the fact that the installation of such a castle is more complicated, this species is very in demand thanks to a pleasant aesthetic appearance. And in terms of reliability, they are not inferior to their overhead analogues.
And if you have chosen exactly a mortise lock for yourself, then the installation should occur completely in all the rules and in a strict sequence.
Rubbleand installation of castles
We will consider how the installation of a mortise lock is in a wooden door. With work, you can really cope with yourself in the presence of the necessary tool. The tree is quite simple and convenient in the processing material.
First you need to fix the door to have free access from all sides. It should be fully realized. You can fix it with heavy furniture objects. Dense fixation will allow accurate marking and perform the cutting gently and quickly.
Please note that the installation of a mortise lock into the inlet and interior door is no different, so this manual is universal.
In order for the insertion of the interior castle easier and faster, we recommend removing the door with the loops. If there is no such possibility, you will have to work as it is.
We divide all work for three stages:
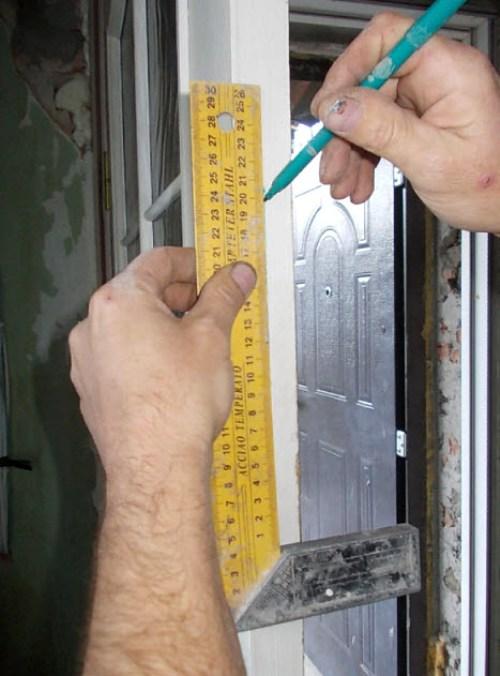
- At the first stage, you need to make a groove groove under the castle itself. To do this, take it, lean to the canvas and a conventional pencil or handle circle the contour. Here will be held insert. Pay attention to the height where you will put the lock. Typically, locks are installed at the level of the belt, but if, for example, you have children at home, you may have to lower it slightly lower. Although it is not recommended. It is not very convenient, so over time you have to rearrange the lock above, and the empty groove will remain in the door.
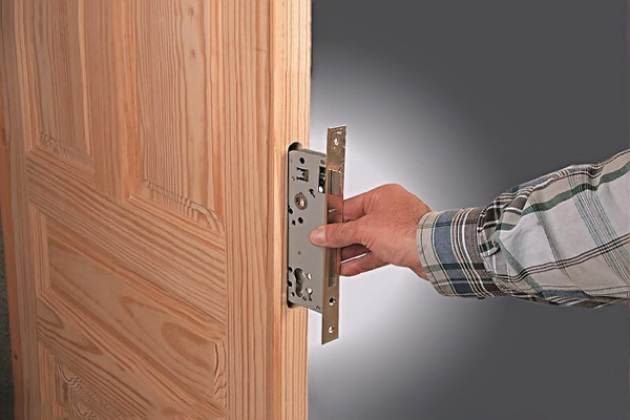
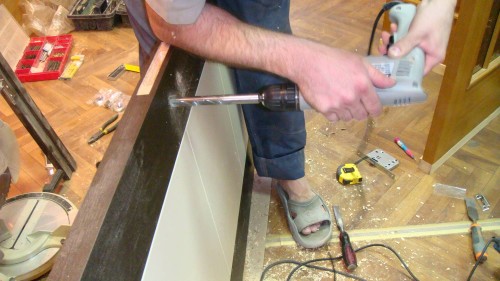
When it was decided with a height and made a markup, you can proceed to the sample of the socket. It is best to use an electric drill for these purposes. If possible, use the drills, the diameter of which exceeds the castle thickness to a pair of millimeters. It will simplify the installation of the castle in the groove in the future.
It is possible that after the first drill, the lock will not be installed smoothly. In order to align the socket from the inside, use the chisels and chisel. It is very important that the castle is installed smoothly and without the slightest distortions.
Remember that it is better not to drive the nest to the full depth. It is better to make small passages and constantly checked from the length of the castle. One pass is one centimeter. So you will do work more accurately.
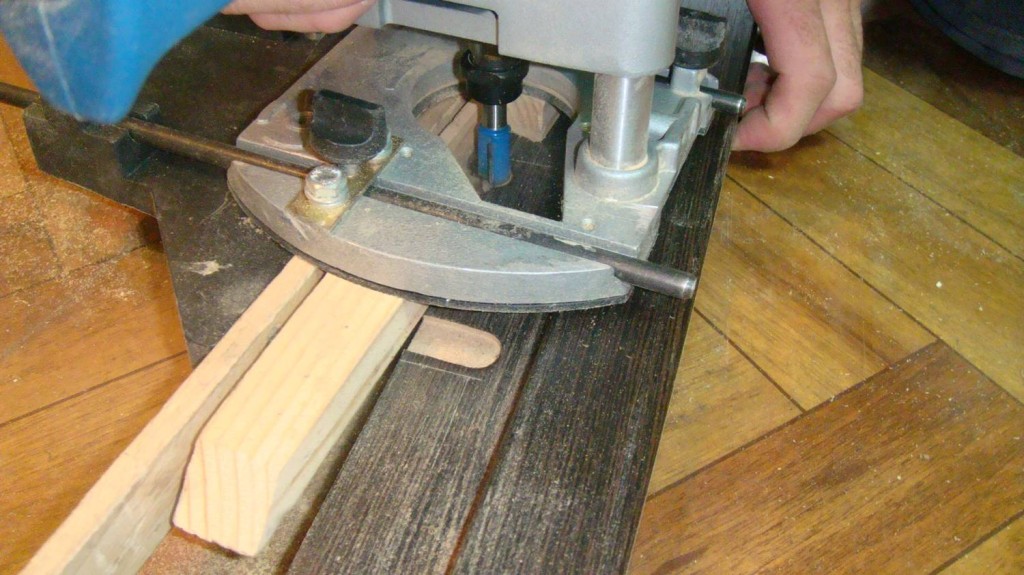
When the sample of the main nest is finished and the lock is fully entered into it, you need to make a sample for the front bar so that it does not perform above the door surface. First you also need to circulate the contour, but this time on the bar. Upon contour, remove the unnecessary tree by the chisel. It is important at this stage not to overdo it and do not drown the lock on the door too much.
- The second stage of work is a sample of the hole for the lock mechanism. Pull out the lock from the finished groove and attach to the door to the side exactly at the level where the groove is located. Make markup from two sides of the door and start drilling. It is best to use a thin drill, but to refine the holes of the chisel. You can use a thick drill, but in this case more risks permanently damage your door. It is necessary to act neat.
In the event that there are handles and latches in your chosen lock, then you will also have to drill holes for the rod connecting both knobs. Also do not forget about the holes under the screws that the latch and screws are connected. At this stage, carefulness is also required, but small flaws will hide without problems with an overhead plank.
Now you have only to put the castle on his new place and fix with screws or screws. In order for the process to be easier, we recommend to make holes for them with a thin drill.
- The last step is to install the castle's response. At this stage, the exact markup is more important than on the previous ones. Consider the easiest. Rigel and the end of the latch must be smeared with chalk, close the door and turn the key. In a place where the smeared areas will affect the door frame, the trail will remain, on which you will be focused on the sample of the opening.
To make a nest for a blister, use the same technique as for the selection of the lock socket. Take care so that his size was a few millimeters wider in each direction from the riglel. Such a margin will provide convenience during the operation of the lock, and if the door or box is completely deformed with time, it will not be necessary to expand the nest additionally.
Shut-off bar attach screws or screws, but only after the sample is completely finished. When everything is done, try to open and close the lock several times. If everything happens smoothly and without any problems, work can be considered fully finished.
On the installation of overhead locks
Here is an order of magnitude easier. The lock is superimposed on the door of the door itself, and the sampling of the surface itself is more convenient. A set of tools remains the same.
Work also divide on the main stages:
- Start with markup. Be sure to designate the place where the sample will occur under the locking cylinder. It is best to do thin drills. Drill the required number of holes, modify the surface by the chisel and the chisel. If you need to make a larger diameter holes.
- When the hole is ready, the lock can be installed and fix with screws and screws. Check how easily the door is closed and opens, does not cling to the lock design behind the doorway.
- Install the lock bar on the door frame. Close the lock so that the rigle leaves out, and cover the door. On the contour of the riglel, make marking and four self-tapping or screws to fix the bar.
- Now check how convenient the lock opens and closes. If he walks smoothly, it does not rest in anything and does not cling, it means that the whole work is done correctly.
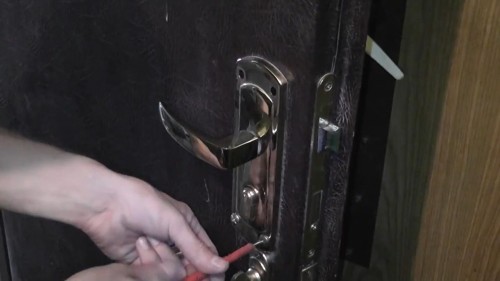
As you can see, the cutting of locks with their own hands is a fairly simple task, but it requires care, patient and accuracy in work. Do not rush, do everything according to the instructions, and in a short time you can easily change all the locks in interior doors, as well as on the entrance. We offer to familiarize yourself with the video on the insertion of the locks.



 Start a discussion ...