Sandwich panels are one of the most popular materials for the construction of prefabricated structures and structures. They are used for cladding walls, creating overlaps and partitions, for roofing. This is a high-strength material that is easy and easy to assemble, so the construction time is minimized. Build a gate from sandwich panels in just a few hours depending on the type of design.
Sectional doors
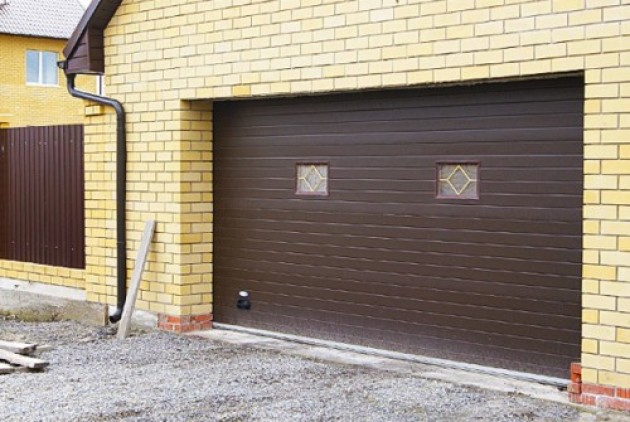
Sectional gates were invented in Germany 40 years ago, and today it is one of the most common types of garage gates in the world. Recently, sectional doors have begun to gain popularity in Russia. There are many firms offering relevant installation services, but you can make a garage door from sandwich panels with your own hands.
Specifications
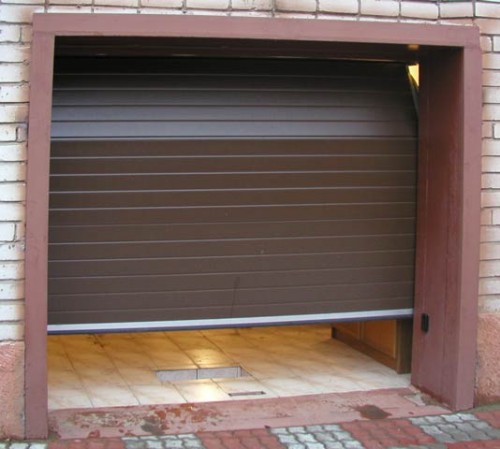
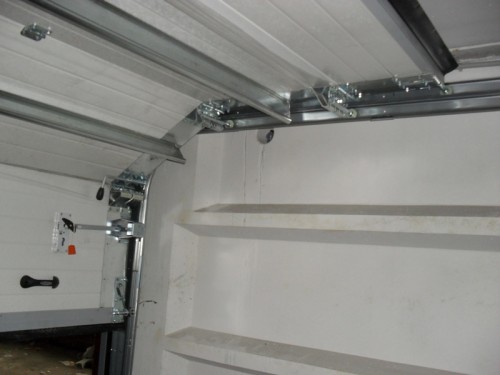
The principle of operation of the sectional gate is pretty simple - the lifting mechanism lifts and removes the ceiling to the ceiling of the gate. The canvas consists of 4-6 sections bonded by hinges. When the gate opens, the sections are shifted up, placing each other. Drums and cables provide a smooth uniform displacement of sections on guides along the frame and under the ceiling.
Sectional doors have standard dimensions: from 2 to 6 m in height, up to 5 m in length (sometimes under the order makes the gate 7 m), the width of each section ranges from 36 to 61 cm.
It is recommended to do a sectional gate with the smallest dimensions, since compact designs are more stable, and the risk of locking is reduced to a minimum. Heavy large models are very often jammed in guide grooves.
The thickness of the sandwich panels for the construction of sections is determined depending on whether the closed room will be heated or not. For a simple unheated garage or warehouse, a "cold" panel with a thickness of 20 mm is suitable. Thicker insulated sections (35-45 mm) in thermal insulation characteristics can be compared with a brick masonry in 1.5 bricks. Between sections from sandwich panels, cork material is installed, providing the maximum dense adjoining of the modules. Also, its task is to prevent the formation of "cold bridges".
At the bottom edge of the gate passes the elastic seal, which does not allow the metal section to try to semi in the cold season.
On all sectional gates from sandwich panels, you must install the electric drive with the ability to manually control the power supply. The electric motor is usually installed on the middle rail regulating the movement of garage sash.
Installation
Making a sectional gate with their own hands will significantly save money and realize their creative potential. You can develop an individual design and do everything in your own way, however, in the process there may be some difficulties with the design. In technical terms, branded gates are characterized by greater reliability and durability. So, on the "purchased" gates there is a special mechanism that excludes the emergency fall of the canvas.
The optimal solution will be the assembly of sectional gates according to original drawings using cheaper parts. For example, you can purchase a used mechanism for a reliable proven manufacturer.
To independently install section gates, you will need the following tools and materials:
- sandwich panels;
- torsion mechanism;
- guides;
- fasteners;
- passatia;
- set of wrenches;
- riveting gun;
- hammer;
- roulette;
- building level;
- drill;
- protective gloves and goggles;
- puncher.
Setting the sectional door is carried out in several stages:
- Preparing the room and the door opening. Remove the measurement aperture width of the top, bottom and middle. The most important take as a basis.
- Adjust the floor is horizontal using a spirit level. The margin of error is no more than 0.1 cm.
- Make sure that the lintel and zaplechniki were in the same plane. They should be made of durable material and reinforced with a metal frame, as they will take most of the load during operation of the gate. Optimal dimensions for the lintel range from 25 to 50 cm, for zaplechnikov - about 45 cm.
- Calculate the minimum gate depth: 50 cm height + (conventional gate), height 100 cm + (gates with electric drive).
- Oshtukaturte opening before installing the gate.
- Transfer gate circuit of the instructions on the opening, mark the attachment points of the horizontal and vertical profiles.
- Align and lock the vertical opening.
- Bearing parts should begin to attach to the bottom slats and canvas assembly from the bottom of the sectional bar.
- Upper leaf blade as much as possible to slide the tight zaschelniku by adjusting the upper brackets.
- Strengthen control mechanisms, handles and bolts.
- Install the relief springs and pull the lifting cables.
- Install and connect the actuator and stop the web guider.
It remains only to check the operation of the gate and enjoy the fruits of their labor.
swing gates
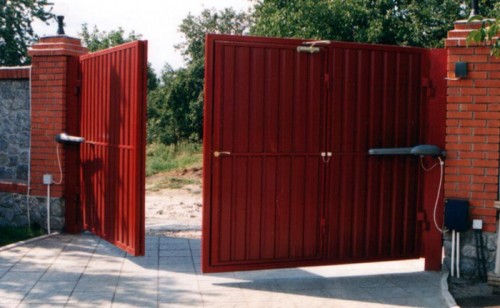
Swing gates of the sandwich panels are very popular in the suburban areas, because they are very durable, presentable and economical. They can be used virtually everywhere, from cottages and country houses, ending warehouses and industrial areas. The hinge loops and automation systems allow such gates open easily and quietly, and a variety of colors and textures of sandwich panels enables to make an exclusive design for every taste.
For the manufacture and installation of swing gates of sandwich panels, you will need:
- sandwich panels with a protective steel cover;
- galvanized steel profile;
- bulgarian;
- steel corners;
- welding machine;
- fasteners;
- accessories.
Adhere to the following instructions to make a swinging gate:
- Cut profile according to a predetermined size of future target.
- Wellect the frame from the profile of 60x30 mm and clean the welding seams.
- Make a frame for both sash, according to the drawing. For the frame, use a 60x30 mm profile, and for internal guides - 40x20 mm. Be sure to make sure that the sash is freely inserted into the frame, and there is a necessary clearance for opening.
- Secure the panel sandwich on the frame with the help of self-samples.
- Welcome loop and install the gate.
Only after setting the gate and checking their functionality, you can remove the protective packaging material from the sandwich panels.
Sliding gates
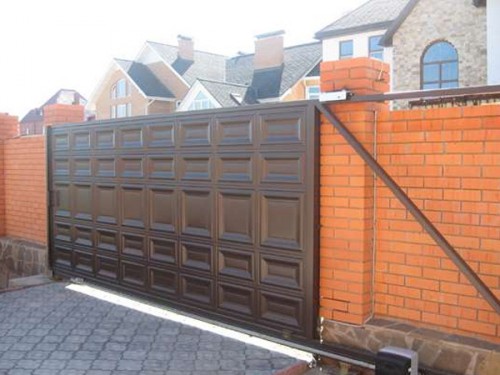
Retractable gates won popularity due to their compactness. So, if there is a lot of free space for the unobstructed movement of the shifts, the swollen gates are placed in the same plane with a fence.
Retractable gates from sandwich panels may differ in design - upper or lower guides, console with suspended web moving on a trolley, etc.
Before installing, make all the necessary measurements and calculation, whether the space is enough to completely roll back the gate. As a rule, this distance is about 40-50% more than the width of the gate. So, if the travel width is 4.5 m, then it will take 5.6 m of a free space to roll back.
To make a sliding gate from sandwich panels, as in the photo, you will need to do the following:
- Install support poles. For reliable fixation of the pillar, it is necessary to concrete to a depth of at least a meter or to the depth of the primer of the soil. Drop the pit of the necessary depth, install the poles, check their vertically using a level or plumb, and then fill with the concrete solution. For the complete pouring of the concrete, you will need to wait about a week depending on weather conditions. If you make brick poles, pride the mortgages - for example, 3 on the post, and place them 10 cm from the edge. Optimal size for mortgage 50x50 mm.
- Make a wiring of cables for automated gates. Laying the cable is better between pillars under the roadway. To do this, you can use a metal or plastic tube of 25 mm in diameter.
- Make a canvas itself from sandwich panels.
- Install automatic opening mechanism for sliding gate.
As in the case of a sectional gate, it is much easier and more reliable to buy a used automation of a proven manufacturer, because it is very difficult to do it yourself without a good technical base.
Whatever the gate of the sandwich panels you choose, their construction and installation will be much easier due to the characteristics of the material.



 Start a discussion ...