The bust of the Swede won considerable popularity as a fairly efficient and low-cost heating construction, which can be used for rapid heating of the room and for cooking. You can buy such a furnace in the finished form, and you can significantly save money and build it yourself. Possessing some skills and knowing the work technology, it is not so difficult to do.
Description of the furnace
The Swedish heating furnace in its efficiency is practically not inferior to a massive Russian oven, but it has noticeably smaller dimensions and can heal to high temperatures in a short time. Compact design of the Swede is designed to be located in a common room between two adjacent rooms. In the traditional dwellings of Scandinavia, the furnace was equipped between the main residential room and the kitchen, in more modern houses of the Swede, it can take a place between the kitchen and the living room. A similar design is a very practical option, because on the one hand, you use it for cooking, and on the other hand, the heat generated does not disappear in vain, but applied to the gradual heating of the adjacent room with the kitchen. It is worth noting that such a stove can become a major emphasis in the design of the modern room. Optionally, the Swede can be separated with decorative materials or drawings, and you can equip the fireplace next to it and create a seating area with a sofa, a chair or a bed.
The bust of the Swedt, as is clear from the very name, came to us from the cold Sweden, where the prerequisites for the creation of such a structure became a pretty severe climate of the country and the absence of a large amount of fuel. Traditional Swedish dwellings had a close area, so it was just nowhere to build massive ovens. In addition, in Sweden, there are large deposits of chammed clay, from which a similar design is manufactured. Swedt's cooking furnace allowed to warm the house in a short time and prepare a family dinner, while using fuel well economically.
Elements and principle of oven
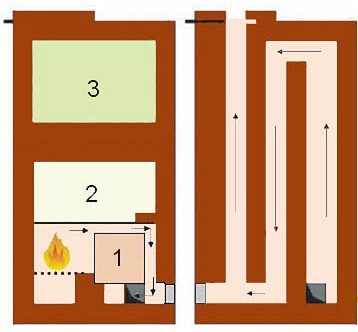
Swedt furnace diagram depicts a classic design with a large roomy oven:
Such a furnace consists of several basic elements that we will consider below:
- The oven shown in the figure below the number 1 is one of the most important parts of the design. The Swede is arranged in such a way that in the process of cooking, the heat from the burning fuel does not disappear through the pipe, both in channel structures, and is used to heat the room. A traditional Russian oven, the heat from which accumulates under the arch is possessed. But in the conditions of Swedish houses, it was not possible to build any such overall. Therefore, in the Swedish furnace, the furnace part was created in the form of a kind of cap, which was responsible for chemical hurry of fuel. The flame from the combustion of firewood did not concern the oven - she was rare under the influence of the first heat. Within a few minutes after the extracts in the metal oven accumulated enough heat, so that when opening the door, heat all those present in the room. The flue gases in the Swedish design leave not up, and down, so the stove begins to warm from the floor level.
- Another part of the brick furnace Swedish is the upper niche, marked in the figure. 3. The niche has a sufficiently spacious space, it is heated from both the first and the second heat, as well as from the heat of deducting coal. In the Scandinavian houses on the top niche dried wet clothes, especially stretching the rope for this and hanging underwear. For the night, the fabric became absolutely dry.
- Figure 2 The figure shows another element of the Swedet - niche over the stove. This niche was closed for the night with a wooden lid, it was possible to put the food prepared from the evening, and for the morning she was still warm. The first heat from the morning firebox was able to quickly warm up to a hot state.
- The smoke in the Swedish furnace is a simple design in the form of a stream window located below the oven. So that the stove does not cool quickly, after its extracts it was very important not to forget to close the view. The heat accumulator in the design was arranged on a channel principle. It was heated from the second heat and from the heat of the dear coal. Channels in classical Swedes are located vertically, because of which the furnace is not strong enough at the bottom, but soot in such a design accumulates much less. In principle, you can build a buffet and horizontal channels - it will warm better, but also it will have to be cleaned more often.
The coefficient of useful action in Swedet is almost equal to the same indicator of the Russian oven, and the cost of the Swedish construction is lait down by the Dutch. The undoubted advantage of Swedish is very high heat transfer. For example, if you take the same amount of materials from which a Dutch stove with heat transfer is 2500 kcal / hour, you can build a buffet with a heat transfer of 3500 kcal / hour. In addition, the last option will have to be pulled out no more than 2 times a day. The Swedish design makes it possible to prepare food just like in a Russian oven, but in the cooking process you do not have to use grasp.
The main requirements for the construction of the Swedish are high quality materials and fittings used, accuracy and accuracy in work, strict compliance with all rules and subtleties.
Swedish furnace with your own hands
List of essential materials and tools
To construct a Swedish stove in your home, you will need such materials:
- Chamotte brick, which includes 80% refractory clay. Since the temperature inside the design can achieve very high indicators, the ordinary brick will not endure the load, it will begin to crumble and collapse, and this will increase the flame hazard of the furnace.
- Clay that will be used to masonry bricks. The reliability and durability of the design will be directly dependent on the quality of such a solution. To choose to choose a clay and make a solution from it, you need to carefully examine this question or take advantage of the advice of experienced cookies.
- Metal parts - integral attributes of any furnace. The dampers, valves and doors provide normal operation of the Swede. Similar elements from cast iron are performed, besides, such accessories often carries decorative functions, giving the furnaces a certain style. Important details for the construction of Swedes are also metal corners, sheet metal, tires and reinforcement grid.
- For the design of the finished design and giving it a beautiful completed look, certain finishing materials will need. As a rule, a clay solution, plaster or lime is used to finish the Swedish stove.
The list of tools you need includes the following:
- master OK;
- bayonet shovel;
- sieve from metal, the size of the sieve cells should not exceed 1-2 mm;
- plumb;
- hammer;
- building level;
- capacity for the preparation of a masonry solution.
The process of masonry furnace
The Swedish stove, like any such design, is collected according to a specific scheme, in which the rules of masonry of the series are described in detail. Consider a friend of the coach of the Furnace of the Swedish:
- The foundation of the design is laid out of two solid rows of red bricks, which are installed in a horizontal position. Using the helm, it is necessary to check the accuracy of the corners.
- On the 3rd row, it is necessary to provide a tab of the ash chamber, installing the door, laying the lower chamber furnace, as well as channel bases. This level of decent is also performed from red brick, while pushed out of refractory elements.
- 4 Row provides for further formation of previously laid design details: vertical channels, an ash chamber, lower heating chambers. It follows, as before, lay out of refractory bricks, and the remaining elements are made of red. At the level of 3 and 4 rows, the channels are interconnected.
- In 5 row, the masonry process begin to perform from left to right. At this level, the door is blocked and the ash chamber is finally formed. When installing a grate grid, it is necessary to take into account the expansion of the metal due to the heating of the furnace. For this, a small range of 1.2-1.6 cm wide is left between the masonry and grille. This gap is filled with sand. Solnik Swedes is laid out of the chamot, and all other elements continue to form from red bricks.
- The base of the furnace lay on 6 rows and to equip the door for it. At the same level, the oven is installed. Between the fuel chamber and the oven make the wall from the chamot, the rest of the masonry continues to perform from red bricks. The previously connected vertical channels at this level are separated. From one P-shaped channel is made 3.
- 7 A number involves further formation of firebox from refractory brick.
- On 8 row continue to perform the furnace, and also close the first vertical channel.
- 9 row is located at the top level of the furnace of the furnace. So that smoke from the flue chamber smoothly passed into the chimney, on the 9 row of bricks from below and on top are shunted at an angle.
- On 10 row, the inner part of the furnace is formed from the chamot, at the same level overlap the door of the oven. Also, as in the case described above, bricks are cut at an angle. When laying this row, the wall between the furnace and the oven does not lay out. The finished 9 row is aligned strictly horizontally, after which the hobs are installed on top of it. When installing the plates, cutout should be provided with a small margin, about 1.2-1.6 cm, since the metal when heated the furnace will expand. A metal corner of 45x45 cm is installed with an outer wall of the design.
- On 11 rows begin to lay out the cooking chamber. The hole to the right of the slab is filled with brick. The row is performed from red bricks. At the same level, sometimes equip the door to be able to use the cooking chamber as a second oven.
- 12 Row is formed from red bricks. At this stage of operation, the left vertical channels are combined into one.
- 13 row is performed by analogy with the previous one, but in the process of laying the vertical channel is again divided into two parts.
- 14 and 15 ranks are laid out similar to the previous one, the red brick is used in the work.
- On the 16 row you can block the cooking chamber. For this purpose, metal corners are 45x45 cm. The level is performed according to the same scheme as the previous rows.
- A cooking chamber overlaps on the 17th row. In while cooking dishes, it was where to go out, when the camera is overlapped, you need to leave a hole in the size of the Pollipich.
- 18 row is performed according to the co-order scheme, at this level a safety metal corner is laid, which will serve as a strengthening element of the lower part of the drying chambers.
- In 19 row, exhaust ventilation from the cooking chamber is formed, drying chambers are also laid during operation.
- In 20 and 21 rows, the stove laying continues similarly to the previous level.
- 22 row is performed by the same scheme, but at this level, a smaller drying chamber is overlapped with a metal plate.
- The drying chambers are completely formed on 23 rows and prepare the place where the exhaust channel valve will be located.
- The first and second vertical channels are connected in 24 row.
- When laying 25 rows, the exhaust is combined with a third vertical channel.
- 26 A number is formed according to the order rules. Cameras for drying linen are covered with a metal corner and overlapping on it. The metal reinforcement grid is placed on top of the design.
- In 27 row, the upper part of the Swede is completely closed, only the third vertical channel remains open. In the process of operation, the perimeter of the masonry should be increased by about 3-4 cm.
- In 28 row on the furnace form the side and increase the perimeter by another 3-4 cm.
- When performing 29 rows, the perimeter is returned to previous indicators.
- The base of the pipe is laid on the 30 row, the laying provides a place to install the valve. The further work process is aimed at forming a pipe of the necessary height.
Useful advice
- So that bricks did not absorb moisture contained in the clay solution, they need to wet them before work.
- During the laying of bricks, it is important to monitor the thickness of the seam - this indicator should not exceed 5 mm.
- After performing each row, the vertical of the angular bricks should be checked, so that the design is smooth and strictly rectangular.
- If you equip the windbox door with the end side of the Swede, then laying firewood to the stove will occur easier.
- So that the doors were kept more reliable, they can additionally strengthen the wire and hide its free ends into the clay solution during the styling process.
- The finished stove should be dried. If it was laid out in the summer, the design will dry naturally, in the winter it can be resorted to the help of the fan, and then protruding the oven for 2 weeks.
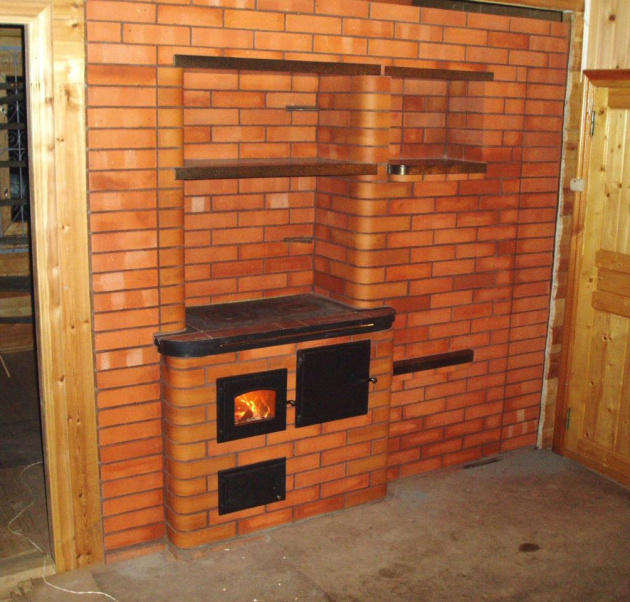
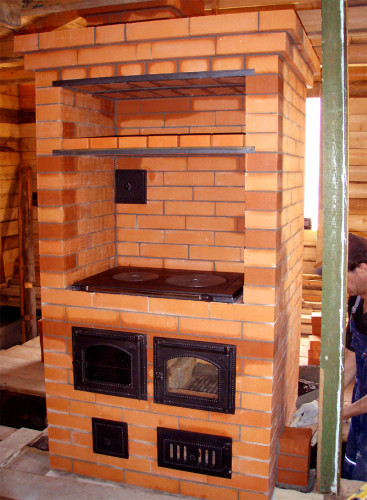
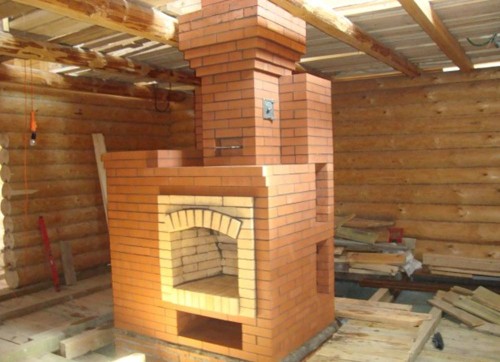
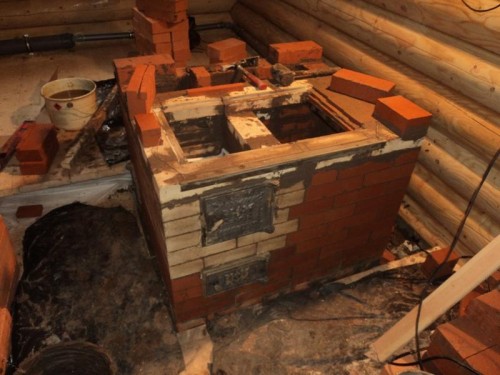
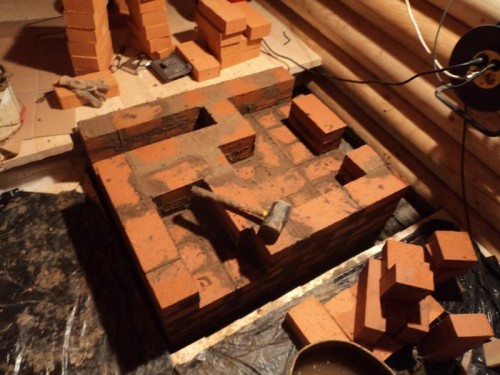
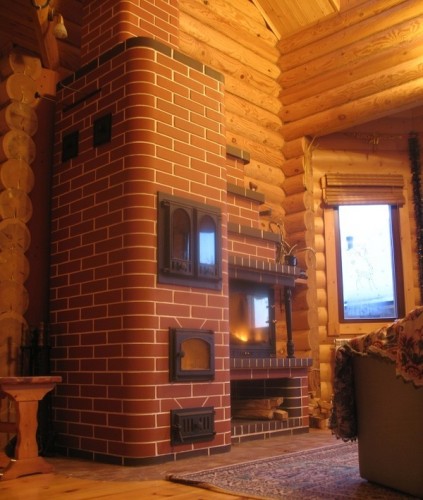
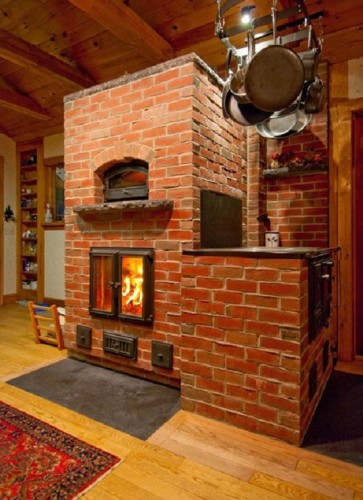
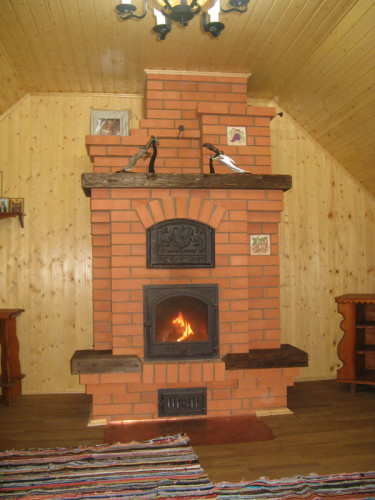
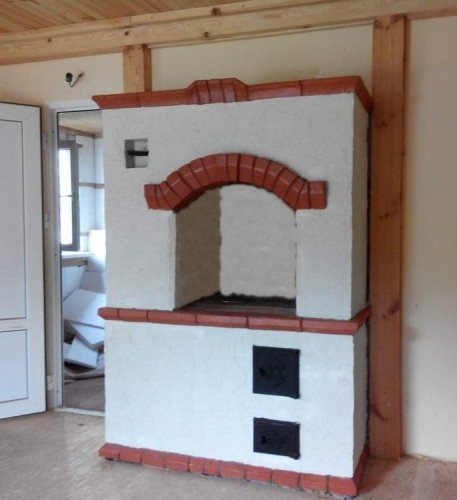
Swede's oven, photo:







 Start a discussion ...