At any dacha must be a stove, especially if you live and work there in the warm season. If you visit the cottage also in winter, then without heating and cooking hot meals in this case, it is definitely not to do. Support services are expensive, so if you want to save or get new experience and useful skills, you can try to fold the oven in the country with your own hands.
Preparatory work
The art of the liveshists was valued at all times. Due to the specifics and difficulty of work, their services are quite expensive. To build a furnace, you need to know not only the sequence of actions, but also to understand the building materials. Not every brick is suitable for masonry, but you can not fasten them with all sorts of mortar. Before proceeding with the description of the process, we will talk about what brick furnaces are collected for heating and cooking.
Choose brick
When choosing a stove brick, special attention should be paid to the quality, price and operational characteristics of the product. It is not worth saving on materials, otherwise the incorrectly selected or continuing brick can simply crack and crumble from the strong heat in the oven by creating a fire hazardous situation.
Furnaces for cottages are collected from special fire-resistant bricks:
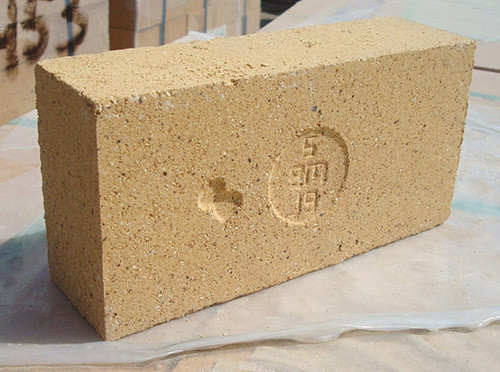
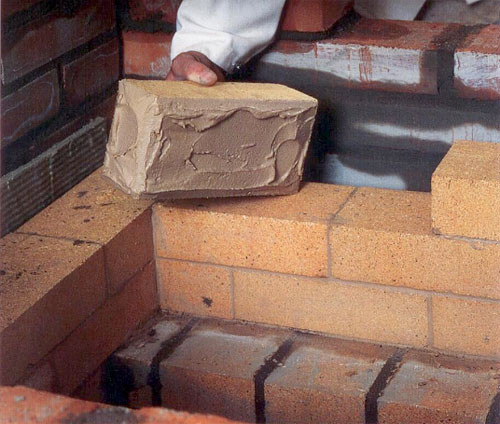
- Chamotte - you can find it on a yellow or light brown color and a porous surface. As part of the brick, there is a special fire-resistant clay and chammed crumb. These products are appreciated for the ability to accumulate, and then slowly return heat, so the stove, built of them, will warm the room for a long time, even after the fire attenuation. Fire resistance of chamotte brick is very high - it is able to withstand up to 1500s. For this reason, it is collected from it the inner combustion part of the furnaces.
Porosity Brick gives aluminum oxide, and the presence of the smallest emptiness allows the shamot for a long time to retain heat. The thermal conductivity of the product is directly related to its mass - the easier the brick, the more pore, therefore, it is better to carry out heat.
The shape of chammed bricks can be different, ranging from classic rectangles, ending with rounded squares, rhombuses and trapezes. The value of the chamot exceeds the price of a red burned brick 3-5 times, but for the construction of the furnace it is necessary quite a bit - only for the furnace. It does not make sense to spread the entire furnace from this material - the outer parts of the furnace are not warmed so much, so they are made of red bricks.
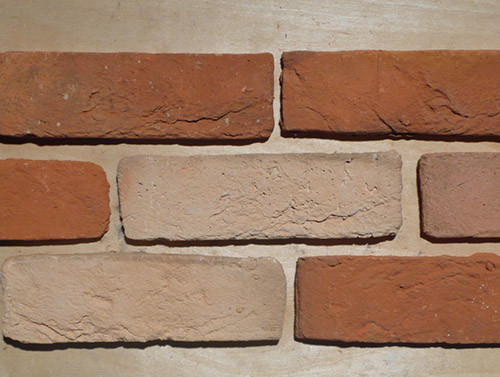
- Red - brick made of refractory clay, coke powder, quartz powder or graphite crumb. Graphite bricks stall tolerate multiple hotspots and cooling. Quartz can replace expensive chamotte products, as they can also withstand critical heat. But the alumina bricks serve for the construction of the "body" of the furnace, chimneys and cooking surfaces. They are not afraid of temperature drops and exposure to household chemicals. When choosing a red brick, spend a small firing test. To do this, take one brick and effortlessly throw it on asphalt from a height of 1.5 m - if the sound is clean (not deaf), like tapping about the metal, and the product will not split, it means that you can buy this batch. Alone alumina bricks have a pale pink or slightly yellow, when falling, make a deaf sound and split into several parts. If the brick was redesigned in the oven, it will remain melted traces, the color in some places can be with a bluish tint.
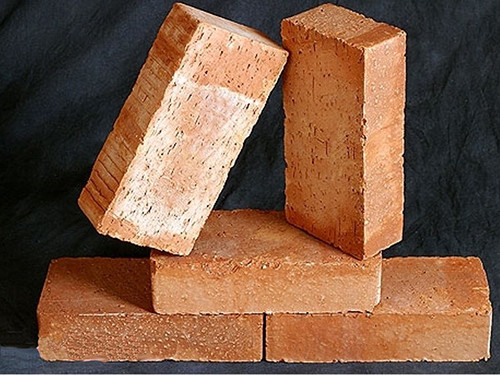
Also when choosing, pay attention to the product labeling. For furnaces fit brands from M150 to M200. The digit means how many kilograms can withstand 1 cm².
Important: Do not use hollow and silicate bricks for the construction of the furnace. Latest if some miracle and will withstand high temperatures, they will not heat the room, because they have bad heat-conducting qualities.
Cooking mortar
Wet clay, mixed with river sand was used for masonry by furnaces of the eyelids, but today among the fantastic diversity of modern solutions not with the hands of resorting to the "grandfathers" ways. This is not the case when you can use the experience of ancestors, since the market you can find mixtures much more stronger, better and more durable than clay. However, clay is part of almost all of these solutions, as it is an excellent binder. And to enhance its qualities, various additives are already used. So, if the mixtures capable of withstanding extremely high temperatures - they fasten the chamotte brick in the combustion compartment. Other compositions are distinguished by a strength and are not cracking from condensate, so they are used to build foundations for furnaces and chimneys.
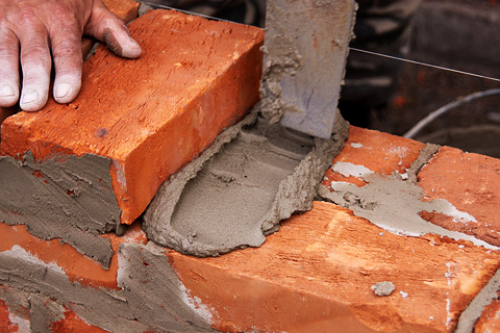
Solution depends on the durability, appearance and ease of operation of the furnace. The main requirement for it - in a frozen state, it should not crumble, crumble or crack. The magnitude of the joints also plays an important role - they should be as thin to precious heat did not go away too fast.
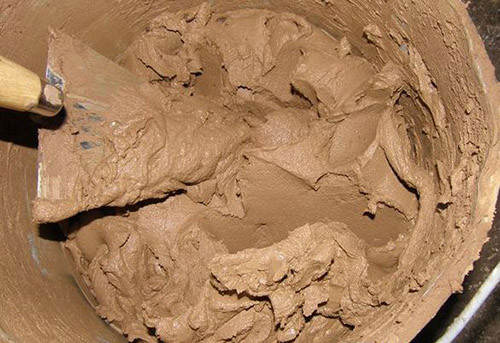
Clay solution can be bold, normal and thin. Fat is different ductility, but when dry can crack, so you need to be able to work with him. Normal mix best suited to the stove-fitter self-taught. They are quite malleable, do not crack and give a very small shrinkage after drying. Skinny clay solution is better not to use for the construction of the furnace, because it crumbles in a dry form, it is non-plastic and fragile.
The dry mixture for preparation of a clay solution you can buy off the shelf in a hardware store. Typically, in addition to the clay and sand it contains various additives to improve strength, fire resistance and other qualities. If you decide to prepare the mixture yourself, you'll need clay, water and sand.
An important point: If water is present in many mineral salts, then the solution after drying manifest efflorescence - white indelible stains. Get rid of them is impossible, so you have to resort to repeated whitewashing, plastering or lining the furnace. The surest way to avoid it - use rainwater.
How to make the solution:
- Sift the sand several times to thoroughly clean it from the gravel. Only with fine sand as part of the solution can be made neat and thin seams. The ratio of sand and clay depends on the fat content of clay - the fatter she is, the more it is necessary to sand.
The clay also Sift through a sieve to achieve homogeneity.
Soak the clay for 24 hours before the furnace brickwork, then add enough water to achieve the consistency of thick cream.
Strain solution, add the desired amount of sand and mix until uniform. The solution should be no "puddles" of liquid clay. If they continue to appear, add a little sand. - Alternative Method - mix fireclay refractory clay with sand in proportions of 1: 1, add small portions of water to bring the mixture to the desired condition. Such a solution is due to the presence of refractory powder withstand even the most intense heat.
- The solution can be prepared from loam. To obtain the desired ratio of the ingredients, make several damages in different proportions - 10: 1: 1, 9: 2: 1, 8: 3: 1, etc. In one part, you can take a teaspoon. The first part is loam, the second - sand, the third - the cement of the brand is not lower than M400. Fill in the resulting solutions match boxes and leave to dry for a week - the one that does not crack and will not crumble, you can use for masonry.
The consistency of the solution should remind a thick sour cream, do not drain from the trowel, but also not linger on it. For the strength of the self-made mixture, it is possible to add some cement (250 ml) or a rock salt (for 1 bucket, 100-200 g). The salt before adding must be dissolved, and cement is mixed with water to an cream-like state.
The clay mixture is only suitable for the masonry of the oven itself, but for the construction of the foundation and chimney, it is necessary to prepare a lime solution. He is not afraid of condensate gathering over the roof, withstands the huge weight of the furnace and does not crack from pressure. Such a solution is also called a limestone test, and for its preparation you need to mix forgent lime with water in the proportion of 3: 1.
IMPORTANT: Lime is very poisonous and can cause irreparable harm to respiratory organs and skin, so it is better to buy the dough in a ready-made form in a construction store.
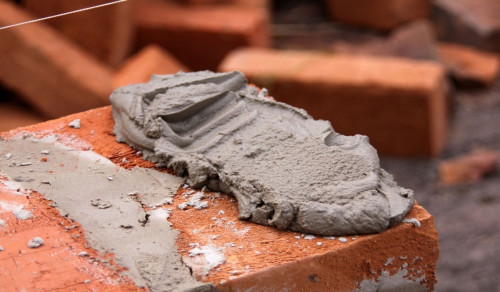
To make the masonry even stronger, you can add cement into the solution. Mix cement, limestone dough and sand in a 1: 2: 10 ratio, respectively. First, mix the dry cement with sand, and dough dilute with water so that it becomes viscous, and only after that gradually enter the cement-sandy mixture into a lime milk and thoroughly mix the construction mixer.
Pure cement mortar is good for styling the foundation under the furnace, since it quickly freezes and is characterized by high strength. The ratio of sainted sand and cement depends on the latter brand (it is better to choose no less than M400). As in the previous case, first mix dry components, and then pour water and mix and mix it to a homogeneous consistency of the desired viscosity.
Important: Use cement mortar for an hour, otherwise it thickens too much and becomes unsuitable. To add water to it as it does not need it - it will reduce all the strength characteristics of the mixture.
Choosing a place for the oven
Since in this article we are talking about the furnaces located inside the house, then for them you need to choose a suitable place. The furnace should be located so as not to interfere with movement - to heat as much space as possible. If it serves not only for heating, but also for cooking, it is better to place it closer to the kitchen.
But it is necessary to repel in the choice of "dislocation" not only from personal preferences and convenient use. The furnace is very heavy and requires the construction of a separate durable foundation, and it can be found far from any plot in the house. For small rooms, you can put it in the corner, but this option is not suitable for heating spacious premises.
The optimal place to install the furnace in any house is the kitchen. All family members behind the dining table are going to the kitchen, so there should be warmth and cozy. But here there is an important condition - the kitchen must have a wall adjacent to the street so that the oven could take out the chimney out. An alternative is a vertical brick chimney, but it needs strict and competent calculations for it so as not to affect vital communications at home.
Build a stove
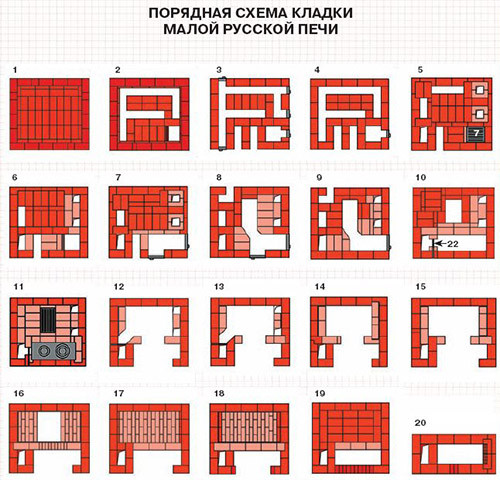
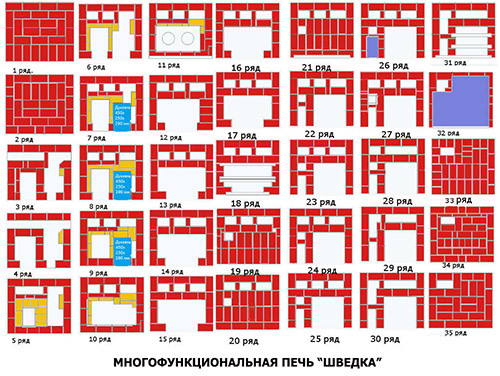
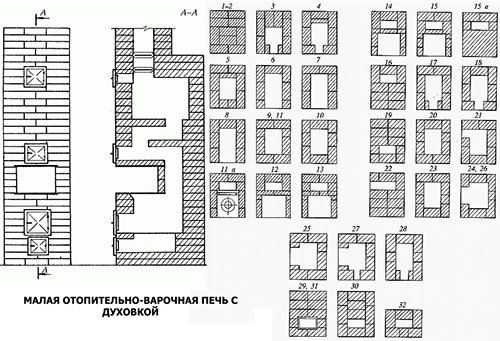
In this chapter, in all details we describe the stages of the construction of a brick furnace in the country, with their own hands, ranging from the foundation, ending with whitewashing and decorating. Naturally, before work "in the field" you need to develop a scheme (or download the finished projects of furnaces for giving on the Internet), make the calculation of materials and stock the necessary tools. At the end of the article you will find several laying schemes of various types of furnaces.
Bookmark Fundament
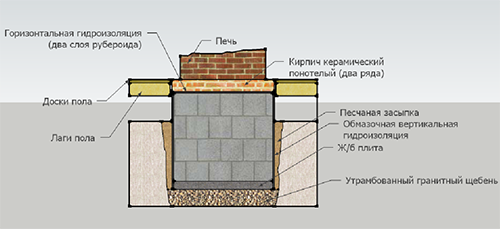
To install the furnace in the country and bookmark the foundation for it, it is best to start at the stage of building a house to combine the bearing structures in one. But if the building is already standing, you will have to disassemble the floor and do an independent basis. However, the foundation is not needed for any stove. For example, if you want to put a small piece of small sizes for the giving, then it can be mounted simply on a flat plate on the floor. In the event that the overall mass of the furnace exceeds 700 kg, and so much weighs almost any brick design, it needs a foundation.
Since most country houses are built on tape fundaments, we will consider the installation of the furnace specifically for this option. So, between the foundation of the stove and the carriers of the house, you need to withstand a distance of 5-6 cm in case of the grounds of soil and shrinkage.
Make a base for a brick stove in several ways:
- Drop the pit in the ground of the rectangular or square shape and the size of a little more width and the length of the furnace. Kotlovan should be deeper than the level of primer of the soil, otherwise it will be "pushing it."
The bottom of the pit pumped with river sand with a layer of 15 cm and thoroughly confuse, watering water from the hose with a sprinkler.
Put a layer of gravel with a thickness of 15-20 cm, sink it and paint with liquid cement mortar. To prepare it, mix 1 part of the M400 cement with 4 parts of the sainted sand and spread water to the consistency of the liquid sour cream.
Make a formwork from plywood, put the reinforced frame and fill with concrete. After drying, it will remain only to carry out waterproofing the foundation by a bitumen or rubberoid. - The second option is a boot-concrete foundation. To make it, dig up the same pit on the depth of the soil freezing and pour the bottom of the rubble layer 20 cm. Failure it and pour it with cement mortar.
After drying, the solution is shy free part of a polyethylene film with a thickness of 200 microns or rubberoid.
Install the formwork without the bottom. Lay out the first layer of large stones with flat ends so that they are tightly shaken among themselves. The remaining gaps plump the rubble and pour the stones with concrete.
When the solution is dry, put another layer of stones and fill it again. Repeat the procedure until you reach the topping top. Late the last layer of cement screed and leave to dry for 10 days. After that, you can start laying the furnace. - The third way is to make a pile-slab base that its appearance resembles a conventional stool with legs of burbill piles and a reinforced concrete plate at the top. Piles in this case must be screwed below the depth of the soil.
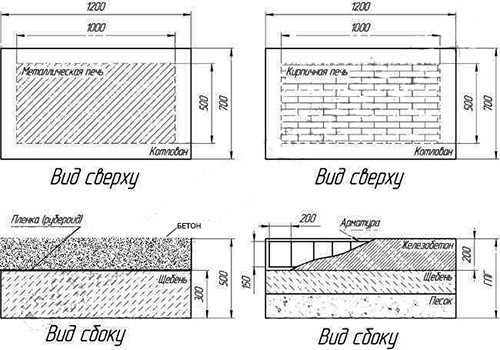
If you want to install a furnace fireplace for giving from sheet steel, you can make a lightweight foundation:
- Drop the pit to a depth of 50-60 cm with dimensions exceeding the length and width of the oven 20 cm from all sides.
- Fill the bottom of the pit with a rubbish layer of 20-30 cm and confuse tightly.
- Fill crushed stone with liquid cement-sandy solution in a 1: 4 ratio.
- If necessary, place the reinforcement, put the formwork and fill the concrete into it.
- After drying the plates, remove the formwork, and the slots between the foundation and walls of the pit pumped with river sand.
Masonry furnace
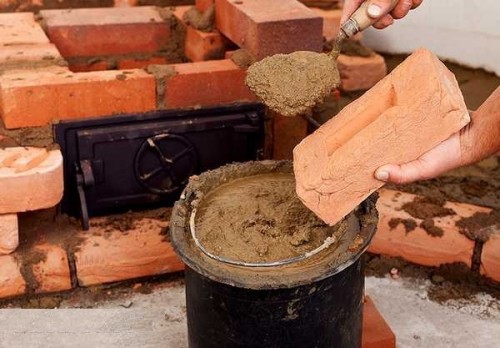
When the foundation is ready, you can proceed to the installation of a long-burning combustion for giving. In this work it is very important to observe the sequence and do not improvise. Prepare a little solution (it is better to prepare his parties so that it does not froze) and place all the necessary tools and materials for the distance of the elongated hand.
How to build a furnace at the cottage:
- At the waterproofing surface of the foundation, pour the sand layer in 1 cm and crumple.
- The first row is better lay out of chammed bricks. Position the items according to the selected masonry scheme and check the horizontal building level (use it to adjust each row).
- Apply a thin layer of solution and attach a confusion door. It should be predetermined by cardboard or asbestos cord, moistened with cold water. Screw the door to thick wire and proceed to laying the next row.
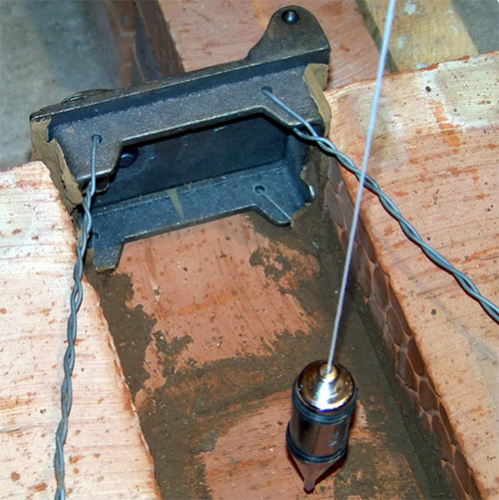
- Putting 2 row of red bricks, take into account the area of \u200b\u200bthe future ash splash, the bottom of which is better to store high-strength sheet with a thickness of 2-3 mm. So it will be easier to clean the ash.
- The third row is laying out chammatory bricks, and on top of it above the underground door, attach a grate grille. Make marking on bricks in places of installation of grate and cut out these places with a grinder. To form a depression in the form and size of the grate, make the return angle on the bricks.
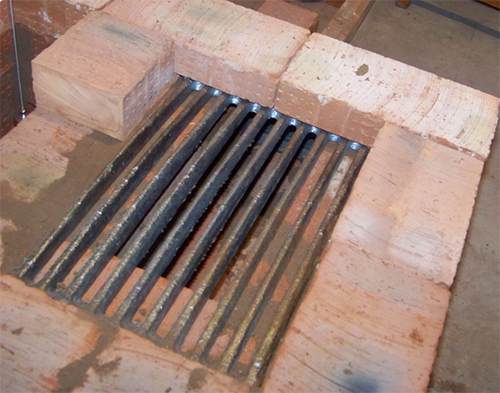
- When the third row is laid, install the internal metal frame. The height of the ash bar can be measured the height of the door for it, adding 1-2 rows of bricks to it.
- Bricks for 4 rows put on the edge, and put the rear wall without a solution so that the bricks are slightly discharged out (omitic elements).
- Install the firebox door by wrapped it with an asbestos cord. Put the door to the thick wire and at the time of the bricks with a couple of bricks - one put a back on the ass, and the second is on the first and on the door.
- Bricks of the fifth row put the plafhone in the evening with the contour of the first.
- Then put bricks on the edge and set the inner walls with a wet rag.
- Start the calculation of the 7th row with three thighters, laid plastics, so you make a bundle with the upper side. Rear wall Make a bricks on the edge.
- The next next to close the floppy door, using a bevelled brick - it will beat the flame to the center of the hob.
- On the 9th row smoothly shift the laying back to make support for the opened door. To hermetically docile a cast-iron cooking surface with bricks, use asbestos cord.
- The following series will be the beginning of the withdrawal of the chimney, which should gradually expand up. For this design, you should not use the housing tube, since it can shift due to expansion and its own severity. The optimal material for the manufacture of chimney pipe is light metal.
- This row is a jewel wrapped around the perimeter asbestos cord with clay.
- Then in the Chetverik, output the chimney and dock it with a metal nozzle. If it is planned to be left aside, be sure to make the overlap of bricks in 3 rows. At the same time, do not forget to get the groissory bricks that you laid without clay and clean the bottom of the chimney from the construction trash.
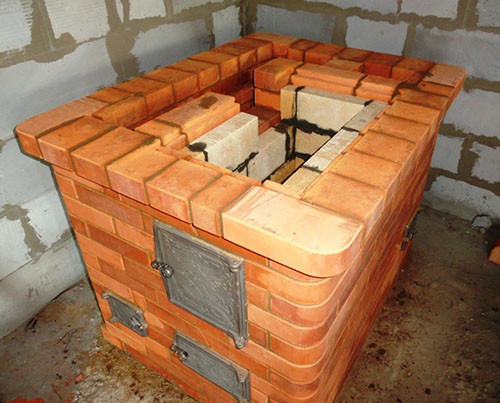
Below is a phased construction of a cap oven for giving in a video format:
Whitening oven
When the laying is dry, you can proceed to whitewash. Before this, cover all the metal elements of the furnace, walls, furniture and nearby film surfaces, because it will be very difficult to wash them. There are two options for cooking overlooking the furnace: on lime and on milk.
How to make a whitewash:
- The lime mixture is extinguished by an aqueous solution of the table salt (4 parts of the salt by 1 liter of water). Litter of the salt solution Mix with 100 parts of the lime and mix before the formation of thick dusty clad. Lime is very cheap and has bactericidal properties, but it is very eager, even if you pay it to salt. When packed in this way, use all available protection tools - gloves, closed clothes, glasses and respirator.
- "Dedovskaya" method is completely safe for health (the exception is only people with respiratory diseases). To prepare such a mixture for whitewash, you will need skimmed milk and the usual crowded chalk. Mix the components to thick mass and apply to the furnace with a wide painting brush. It is possible to prepare a solution and on water, but then it should add some coolness, bustilat or another adhesive adhesive.
Thoroughly spinning all the joints, and the space between the bottom is near and the floor close the metal sheet and frame the plinth to prevent sand rash. After whitewash, let the stove seek 10 days with open doors.
Exterior finish
Install the oven in the country is not easy, but only little to assemble the design of bricks, you need to make it beautiful and harmoniously enter into the interior. A competently decorated furnace can become a real decoration of the decor and the pride of the owners. Invented so many ways to decorative furnishings of stoves, which would have gone to the listing of everyone. We will dwell only on the most interesting and affordable of them.
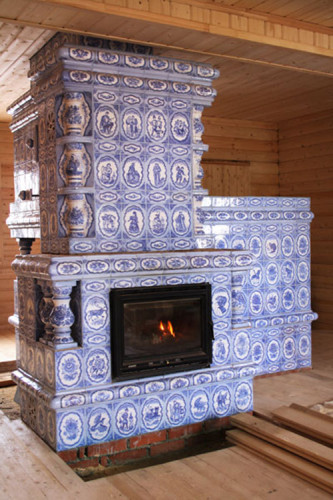
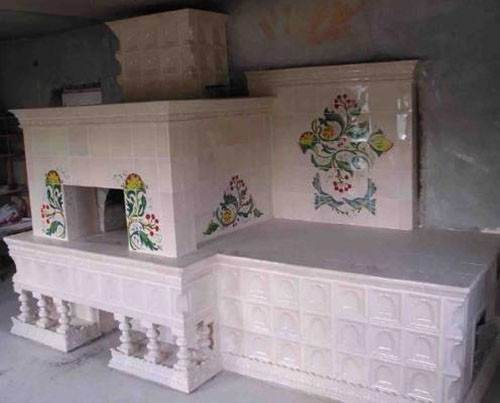
For example, the decoration of the tiles is very beautiful, but to make it a person without experience will be almost unrealistic. Tiles are inserted at the laying stage and it is necessary to fasten them in a special way. Yes, and the cost of such a finish will be nearing the price of the furnace itself and the foundation combined.
Watching the furnace
The easiest solution will be placed the surface of the stove. If it is properly to prepare a solution, then it does not crack from temperature and serves a very long time. As you understand, not every plaster will be suitable for working with the furnace.
To make the right solution, mix the sand, cement and asbestos and wipe the mixture through fine sieve. Prepare a lime or clay milk and gradually enter into a dry mixture, mixing thoroughly. As a result, a viscous creamy substance should be obtained.
A solution on a plaster basis is suitable, which can be prepared from a mixture of plaster with asbestos and sand. First, dry dry gypsum to a viscous consistency, and then add the remaining components.
Another recipe for plaster is a gypsum and lime solution in a 2: 1 ratio. All mixtures on a plaster basis prepare in small portions that you can spend over 5 minutes, otherwise it will quickly freeze and become unsuitable.
Conduct shuttering only after shrinkage of the furnace:
- Clean the surface from fine sera and dust.
- Clear the seams between the bricks by driving the clay to the depth of 5-8 mm.
- Protect the oven so that it will be warmed up - the plaster is better connected with a warm surface.
- For better clutch of the solution in the construction process in the seam, it is recommended to lay the wire to approximately the middle of the masonry, pulling the ends on the front side so that they stick to 5-10 cm. Then the mesh with cells are not larger than 20x20 mm on top of it Apply stucco.
- The optimal thickness of the layer of plaster is 10 mm. If you make it thicker, quality will suffer.
- When the furnace warmly warmed up, apply a layer of liquid sour cream-like plaster with a thickness of 5 mm. When it dries, close it with a more thick solution of identical thickness.
- Drying can be formed by cracks. In this case, expand them slightly, moisten with water and fill with the solution.
After complete drying, plaster can begin to stain or decorative painting of the furnace. While the solution is not drying, you can give it relief, to make imitation of natural stone, wood texture, etc.
Facing tiles
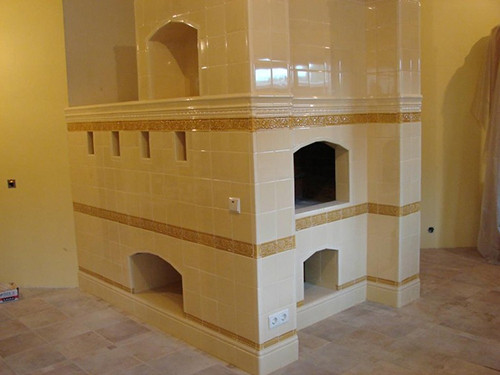
Very popular trim stoves with tiles. Usually for these purposes use majolica - extruded glazed tiles with bright beautiful drawings. Terracotta is an option without glazed coating made of special high-strength clay varieties. And if the first two materials were used since ancient times, the clinker tile appeared relatively recently and immediately earned a reputation as high quality and beautiful finishing material. It can instantly create a cozy and warm atmosphere in the house.
The main problem of facing the furnace consists in uneven heating of different sections of the surface and uneven heating of the walls of the walls. For this reason, the furnace constantly changes the geometry - compressing and expanding. For an eye, this is not noticeable, but it can negatively affect the tiled coverage. If you stick to the tile too hard, then when you drive it will crack from pressure, and if weakly fall off. Because of this, it is undesirable to sneak the furnace with large tiles, because in 99% of cases they give cracks.
Furnaces for cottages on firewood can be punched only after lining with refractory brick and plastering with mesh reinforcement. Often on top of the plaster stacked another reinforcing grid on which tile glue is applied. For facing of the furnaces, only special adhesive compositions can be used capable of withstanding strong temperature differences and with relative plasticity even after drying.
More detailed information on this topic can be found in the article " How to set a stove tiled».
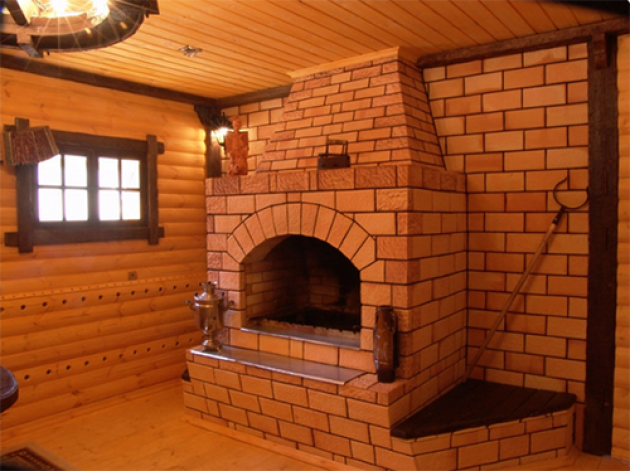
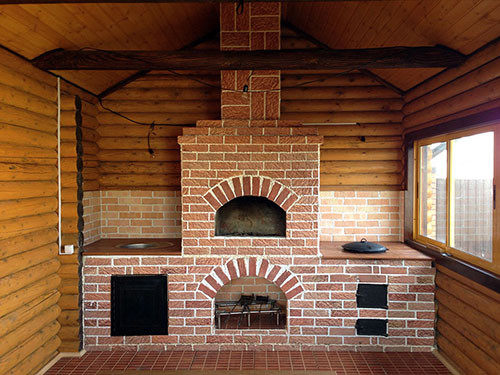
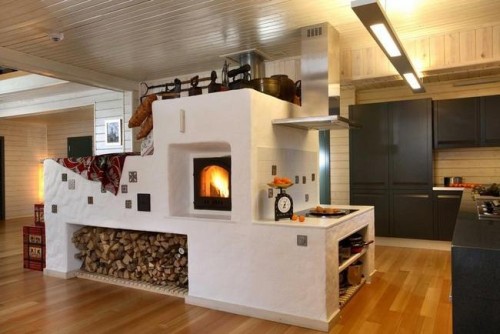
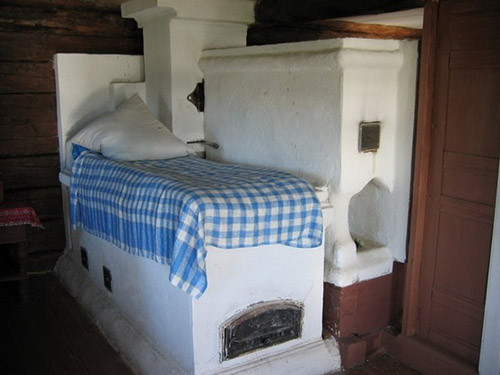
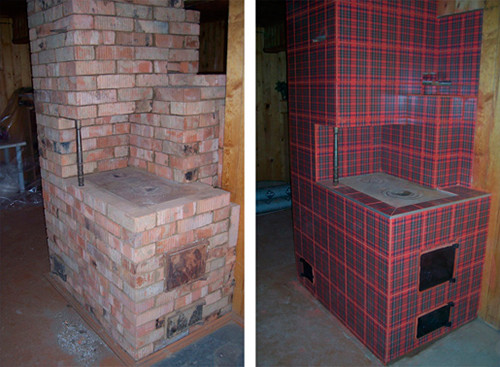
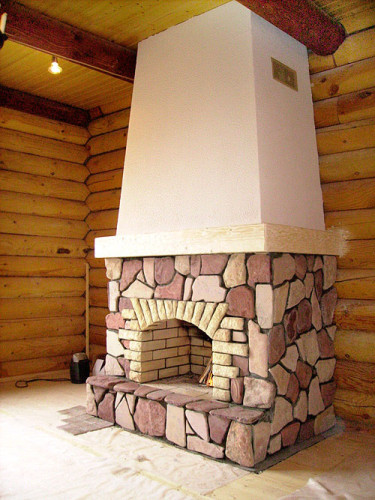
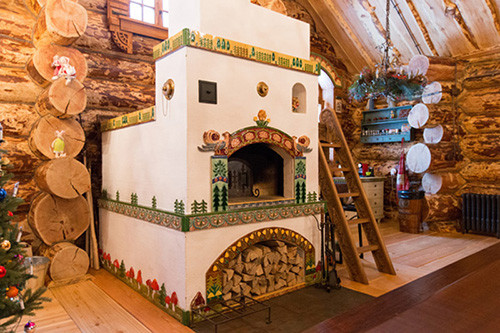
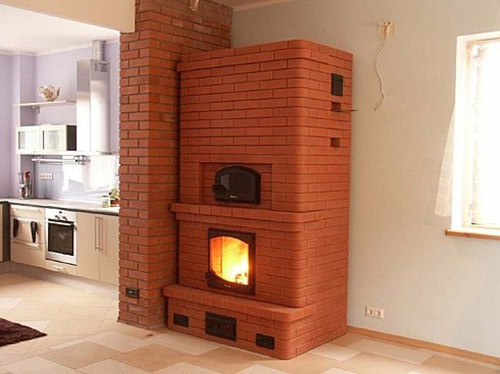
In this article, we briefly told how to make a furnace at the cottage, but before you decide on such work with your own hands, it is better to spend all the available information and explore all the appropriate laying schemes of the furnaces. Below we prepared a small photo generation and variants of the device chains for heating and cooking.







 Start a discussion ...