Recently, brick furnaces began to gain popularity again, and in private houses it is increasingly possible to see the design, instantly making the situation with warm and cozy. But so that the stove serves a long time and all this time pleased the tenants with their beauty, it must be bred. Usually for this use ceramic tiles, and today we will tell about the varieties of this material and ways of facing the furnace with their own hands.
Select tile
Finishing with ceramic tiles stoves much more practical and easier than shuttering or painting. The operational characteristics of the tiles will delight the lean owners - it is easy to wash, it does not lose color and retains its strength over long years. The tile coating of the furnace is able to serve from 30 to 150 years and more (depending on the type of tile).
Not every ceramic tile will be suitable for finishing the furnace. What properties should it have to meet specific requirements?
Requirements for ceramic tiles for furnace:
- refractory - must withstand the temperature from + 200 ° C + 400C;
- moisture resistance - especially if the furnace is equipped with a hob, and it will often be washed;
- aesthetic appeal - you will have to admire the facing for many years, so it is better to choose the most neutral colors so that in the case of cosmetic repair it fit into the interior;
- the ability to withstand the temperature differences without deforming;
- strength, impact resistance;
- durability.
We picked up a list of varieties of ceramic tiles that are suitable for these parameters.
Terracotta tile
Experts consider terracotta tiles one of the best materials for facing furnaces and fireplaces, since it is able to withstand extremely high temperatures (+ 1000c and above). Such an ability is due to the specifics of the manufacture of tile - kaolin clay is burned in a high-temperature furnace, after which they are molded and treated under pressure.
Another weighty advantage of terracotta tile is its absolute environmental friendliness - they do not even add dyes into it! The use of various grade clay allows you to get products of various shades of brown, beige and brick shades. Such colors have a beneficial effect on the human psyche and create a calm cozy atmosphere in the house.
The porous structure of the clay makes the terracotta tile with excellent heat insulator, so such a coating contributes to the rational consumption of energy and fuel economy. The service life is at least 50 years, and with a gentle handling such a furnace can serve three-four generations of residents. And if you also consider the low cost, then the popularity of terracotta becomes quite understandable.
Clinker tile
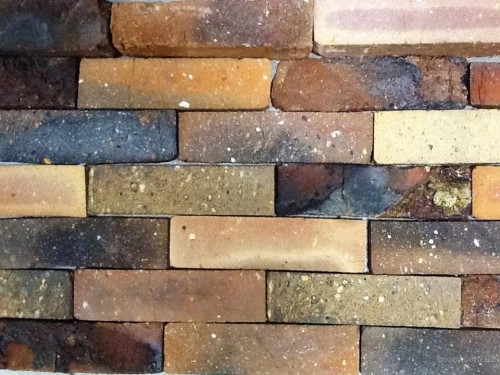
Opinions of specialists regarding whether it is possible to use clinker tiles for facing furnaces, diverge. Some believe that since the clinker has a low thermal conductivity, the heat transfer of the oven with such a finish will be worse. Indeed, the dense structure of the clinker brick does not allow you to freely pass warm, but it is characterized by good heat capacity. This means that the facing slowly heats up, but it holds the heat longer - even when the furnace stopped to coat, it will warm the air indoors for a few hours. The clinker tile is able to easily withstand high temperatures up to 1300 ° C, since itself was made by high-temperature firing.
Maitolika tile
This type of tile was named after Mallorca Island, where at one time there was a mass production. Once the merchants were brought there a variety of products from tin and lead glazes, and the artists painted each tile by hand with special durable paints. Due to the complex specifics of the manufacture of Maitolika, it was not used for household needs, but as an expensive and presentable interior decoration. It was considered a luxury to have a house of a wall or a furnace, decorated with Maitolika.
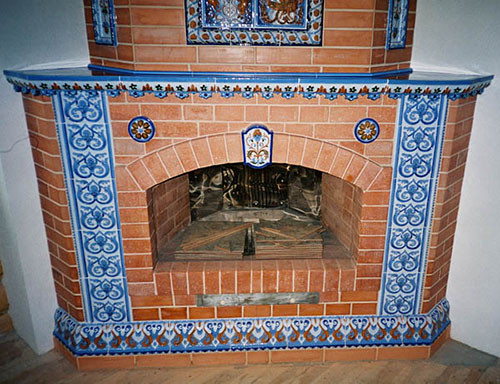
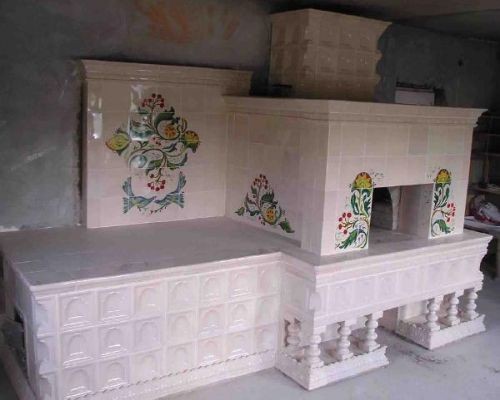
The tile itself makes the pressing method in the same way as the terracotta. The difference lies only in the fact that then the glaze with multicolored patterns and patterns are then applied to a strong clay base. The cost of majolica compared to other materials is quite high, however, as before and now, such a coating is a sign of a good taste and luxury.
Tile Ceramographic
Another popular facing material for furnaces and fireplaces. Nearby and very dense structure makes it extremely durable, moistureproof and durable. From the porcelain stoneware, there are powerful floors on production and in the garages, which is talking about finishing the furnaces.
In addition to the strength, the porcelain tile is distinguished by immunity to aggressive chemicals and temperature resistance. It consists of impurities of kaolin clay, quartz sand, natural dyes, metal oxide and field swap. Depending on the percentage of one or another component, several varieties of porcelain stoneware are distinguished. It can have different color, strength, durability, etc.
Types of porcelain stoneware:
- Natural - burned, but untreated porcelain tiles. Differed by matte surface and high wear resistance.
- The glazed tile - after firing, a thin layer of matte porcelain stoneware is cut from above, after which the slice is lit. As a result, the surface becomes sparkling and smooth. The only drawback of the glazed tile - it is very easy to leave scratches.
- Mosaic tile - original imitation of mosaic from porcelain stoneware. It happens natural matte and glazed.
- Smalted - enamel is burned along with the basis made of multicomponent compositions. The process of production of such a tile is quite complicated, the picture is applied automatic applicative lines.
It is known that natural stone has a radioactive background (depending on the breed, it can be higher or lower). Cerambrants are deprived of this quality, which makes it completely safe for health. At the same time, the cost of such a tile will be cheaper than a stone, and according to the characteristics with porcelain, it is compared except that the terracotta tiles.
To the furnace, lined with a porcelain tile, served as long as possible, followed by it properly:
- Spots from fat and beverages output with a warm solution of drinking soda or a cleaning agent with chlorine content.
- Gasoline or acetone will help get rid of glue spots, paints, enamels, resins, or other sticky substances.
- Try not to clean the porrite surface with an acid-based drug, because they will spoil the color of the seams. They can be used point and, if necessary, remove rust.
- Before cleaning the glazed surface, treat it with a water-repellent means.
- Try to clean the porcelain stonework as possible (and in the case of the glazed tiles about them, it is better to forget it at all), rigid sponges and brushes.
Tile tiles
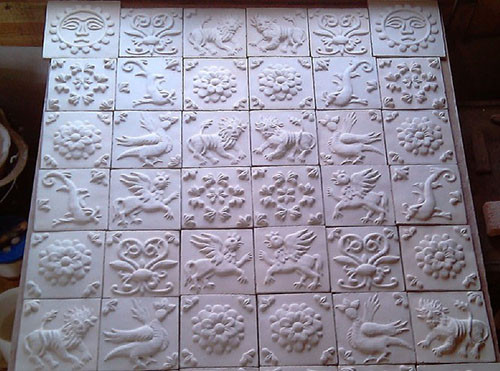
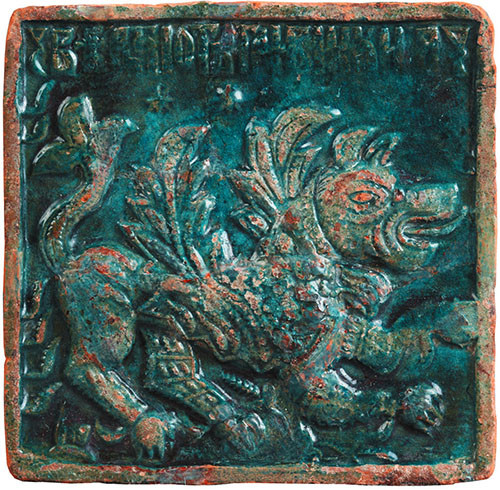
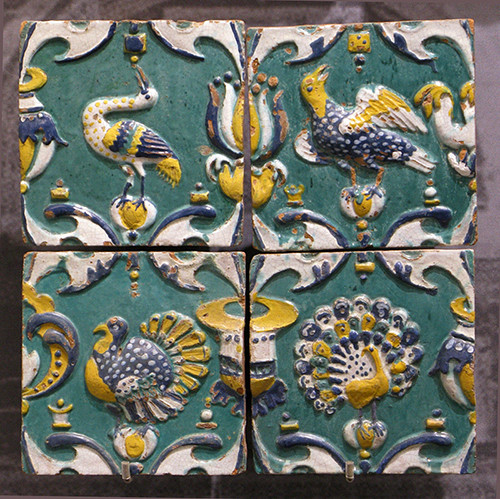
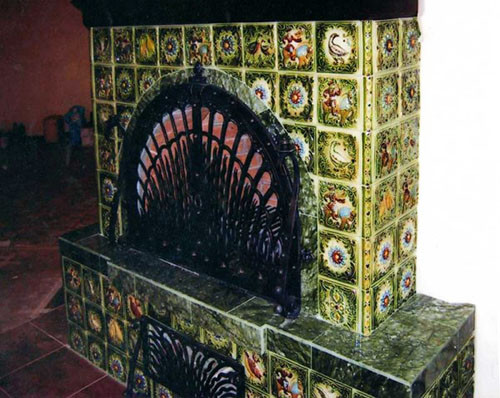
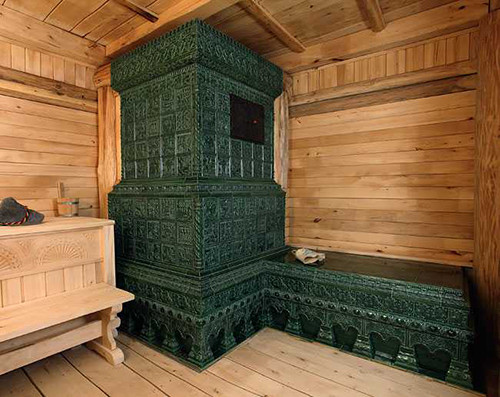
The finishing of furnaces of the tiles was popular for several more centuries ago, and so far many prefer this particular option, despite the difficulties associated with installation. In general, the tiles are not completely tiles, since they are not flat, but a box-shaped form. It is due to it that the material has high heat-saving characteristics. The front side of the tiles is covered with glaze with suitius patterns and all sorts of drawings. Until now, each drawing on the tiles is applied manually and sometimes is a real work of art.
Lining the furnace with tiles is quite difficult, especially if you have not previously worked with this material, so it is better to trust professionals. And if you consider that the cost of the tiles themselves is rather big, then it is better not to risk and do everything as much as possible. Installation of such a cladding is a fairly specific job, therefore specialists who can perform it, not so much, and the cost of work will cost a longer. This is the most expensive and luxurious view of the finishing of the furnaces today.
But for durability and operational characteristics, not a single finishing material for the furnace will not compare. It can be said that this is the perfect facing version, and not only because of practical data. Psychologists found out that the vintage fireplaces with tiles work as powerful natural attraction centers. If a person gets into a room with such a stove, he will definitely try to be as close as possible to it, it takes the finish with his hands, will admire the patterns.
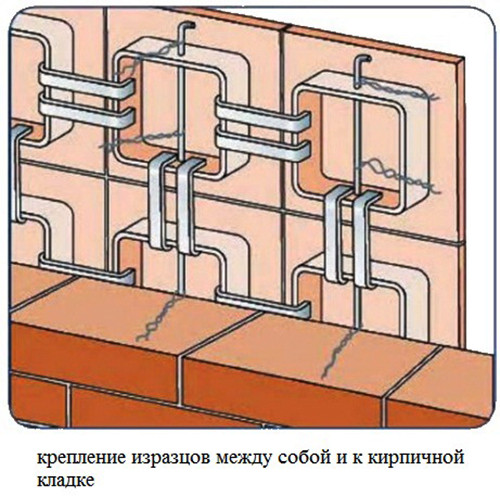
The box design of the tiles requires special laying technology, while it is necessary not only to plant tiles on glue, but also to bind among themselves and with the base of the metal wire. Since each tile is made separately and manually, it is necessary to thoroughly calculate the required number of tapes, and decompose them in size and colors before laying. Be immediately ready for the fact that the perfectly smooth surface will not work - this is the charming and authenticity of the finish. The difference in width or height of tiles can reach 10 mm, and a technological edge is provided specifically for fitting (5 mm on each side).
Tiles allow us to create a unique coating without exaggeration, whose value will only grow every year. If the financial capabilities are limited, you can combine several types of tiles, such as tiles with clinker, terracotta, or Metlach tiles. It is better to cover the surfaces to cover the surfaces that will most often get dirty - around the furnace, shelves, angles near the hob.
What to glue a tile?
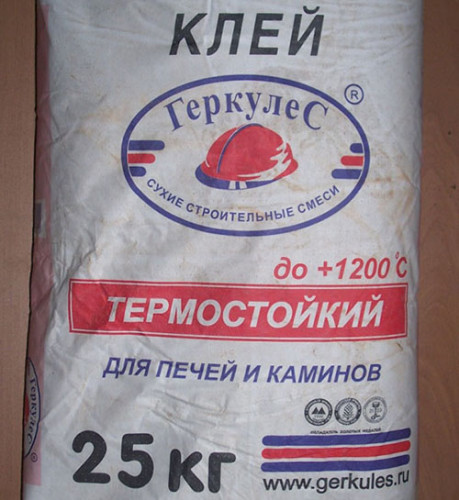
For fixing the tiles to a brick furnace using special adhesives. They have to be refractory to at the first igniting all your finishing is not fallen off. Most of the heat resistant adhesive solution prepared domestic production of refractory clay mixed with chamotte powder and high-quality cement. Sometimes this mixture is still present and perlite - he even gives a low thermal conductivity. In the packaging of adhesive must be specified temperature that it is capable of withstanding. Usually write 1200C or higher, but for a conventional home oven will be enough, and 300C, the more that you are not going prokleivat surface inside.
Very well, if present in the composition of the adhesive plasticizers, which make the solution flexible and malleable - so it fills all the fine pores and better secured. Also, the elasticity helps to cope with the deformations under load. By and large, durable finish furnace depends not only on the tiles, but on on which it is held.
Grout
In addition the adhesive must be reserved refractory grout between the tiles. And it should choose depending on the width of the seam and maximum heating temperature. If you plan to leave between the tiles is 3-5 mm, and the furnace is heated to a maximum of 70 ° C, you can use the most common inexpensive grout (better, of course, moisture resistant, in order to facilitate maintenance of the surface). The worst thing that can happen to them - they darken.
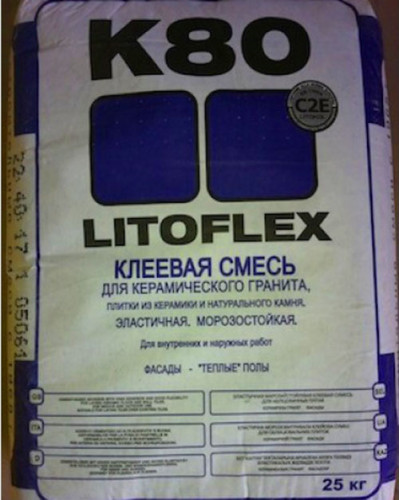
If the surface of the furnace warms up to 100C, and the seams are 7 mm, it is recommended to use dry dyes mixed with the adhesive K-80, for example, carbon black, red iron oxide, ocher or chromium. Such a solution can overwrite even fairly wide joints up to 15 mm, as it includes large grains are present, and hence there is no fear of cracking. White glue can be colored to your liking. Also used as a grout, adhesive K-80 provides an additional fixation of the lining. And the best part is that it costs mere pennies (a lot cheaper than the most mediocre grouting) and sold in any hardware store.
If the surface of the furnace is heated to 130C or higher, the dry colorants mentioned above, it is recommended to add a refractory glue "Profix" which can withstand up to + 700C or in a sand plaster - it copes with heating up to + 200C.
If you want to get beautiful smooth seams, use the chimney plaster CreativePutz. If you, on the contrary, more like the rough seams, buy a haftnerputz with a fine-grained structure.
Technology facing
The technology of facing the furnace tiled, described below, is suitable for all types of tiles, except for tiles (they are dedicated to a separate chapter). But whatever you are going to cover the furnace, in any case it is necessary to pre-prepare the surface.
How to prepare the surface to cladding:
Remove the old paint and varnish, plaster or blotch.
- If in some places they began to turn or bricks crackled, correct it, sailing holes or cracks with refractory cement mortar. Be sure to wait for a complete solution to dry before proceeding to the next stage.
- If the walls of the oven are curves, then no tile can stick to them - it is necessary to align. To do this, use the same cement-sandy solution that you close up cracks in bricks. Cement to take stamps is not less than M400, mixing with sand in the ratio of 1: 3. To check the smooth walls, use a plumb and construction level.
- Clean the walls from cement influx, and the seams between bricks are deepened by 10-15 mm. It is convenient to make a grinder with an abrasive circle on concrete or, if there is no proper technique, in the old manner - a hammer and chisel.
- Clean the in-depth seams with a metal brush so that the glue can completely fill them and firmly hold the tile.
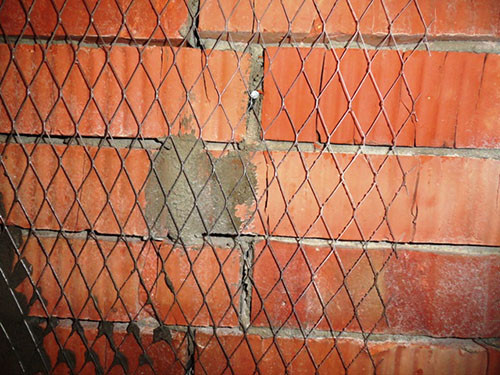
- It should be borne in mind that in the process of heating, any substances are tangible to expand, and when cooled, on the contrary, to narrow and take former volumes. So that as a result of these processes, the tile did not crack, it is necessary to attach a metal grid to the surface. To fix the Rabits, use a dowel, driving them in the seams every 50 cm. At the same time, the fasteners hats should look out over the surface of about 10 mm. As an alternative to the dowels, you can use nails 70-100 mm.
- When the grid is attached, treat the surface of the primer of deep penetration to improve the adhesive thermoclause. Look out 3-4 hours until the soil is completely drying and proceed to the facing.
When the primer is almost dried, you can proceed to the preparation of the adhesive solution, guided by the instructions on the packaging. If you have never been engaged in such work, it is better to deliver glue with small portions to "fill the hand." At first, you will do everything slowly, and a large batch of diluted glue can be frozen. For applying a solution on terracotta and porcelain tiles, use a toothed spatula. If you cover the oven with large plates, the adhesive is more convenient to apply on the wall.
Ceramic tile
Facing the furnace with ceramic tiles is not such a difficult task with which even inexperienced self-taught masters can be cope. This applies to porcelain stonework, terracotta, Metlah tiles, Majolika and Clinker.
How to build a ceramic tiles furnace:
- Start uploading the first row from the lower right or left corner. Check the evenness of each tile - the final result depends on this.
- Between the tiles, install special crosses that give the necessary width of the seams.
- Cut the tile of rubber xyanka to fit together or adjust the position.
- At first, lay out all the whole samples, and the remaining gaps and empties fill with pieces of suitable sizes - they can be cut by a tile.
- Immediately after laying, clean the tile from another unopened glue, if there are drums - after drying it, it will be much more difficult to remove it.
- Leave the furnace at rest for 3-4 days before the complete drying of the glue.
- Getting Starting seams.
At first glance, it may seem that in the facing of the oven tile there is nothing complicated, but this work requires complete concentration and skills. If you do everything according to the instructions, the tile will fall smoothly and will hold on for many years. Facing the furnace tiled in video format will give a more complete picture of the specifics of the laying:
Tiles - facing
Beautiful, dear, unique in its kind, durable and very complex installation material - tiles, however, is the most desirable and luxurious type of oven decoration. The main feature and complexity of the cladding is that first install a box-shaped tile, and then the housing of the heating structure is fixed to it. Thus, the master simultaneously performs and masonry, and finishing. That is why for such an extraordinary and painstaking work, specific professional skills and extensive experience are needed.
Before laying, the tile should be thoroughly prepared - make a "draft" assembly, adjust each element in size, stall horizontal edges. Before using the tile, you need to soak in water.
We describe the laying of tiles only in general terms, since this work is associated with an incredible number of subtleties and techniques, and learn how to launch tiles after reading the article is simply impossible.
How to lay the tile tile:
- Lay out the first lower row.
- On ½ filled with RUMPU (internal space of boxes) clay mixture.
- The filler is pressed into the clay (mostly river pebbles).
- Pebbles are closed by another portion of the clay mixture.
- Bricks pressed the mixture.
- When the masonry comes to the edge of the tiles, everything is tightened with a metal wire.
- The vertical rows be bonded with each other with steel brackets, watching the seams are at least 3 mm in thickness.
- When the furnace is constructed, clean the seams and washed the facial surface of the tiles.
- When the solution freezes, and the design will affect the strength, the seams are lined with a gypsum test - it is applied in between the plates, and after 10 minutes. Remove the surplus with a clean soft rag.
The tile furnace should dry at least 20 days before the fire can be breeded in it.
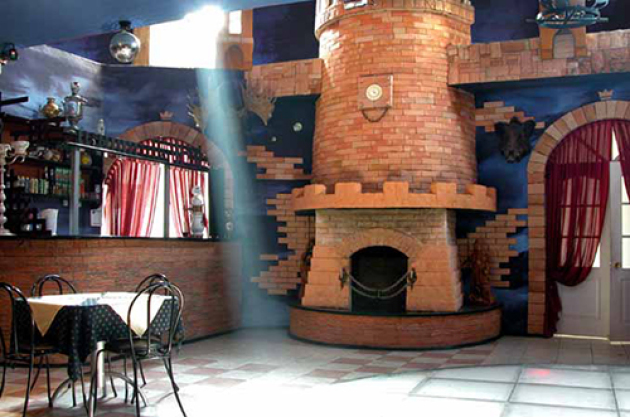
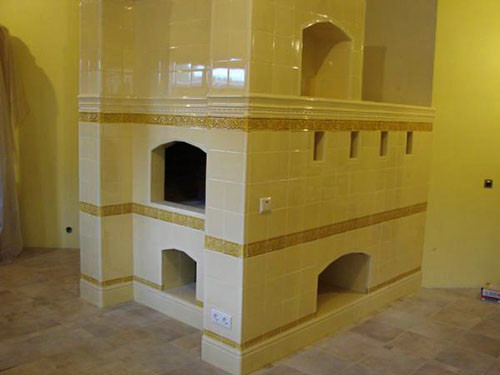
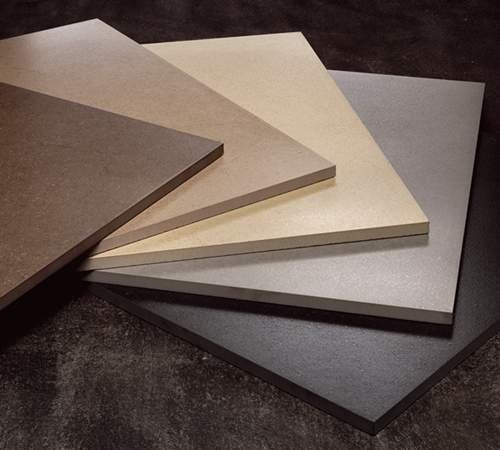
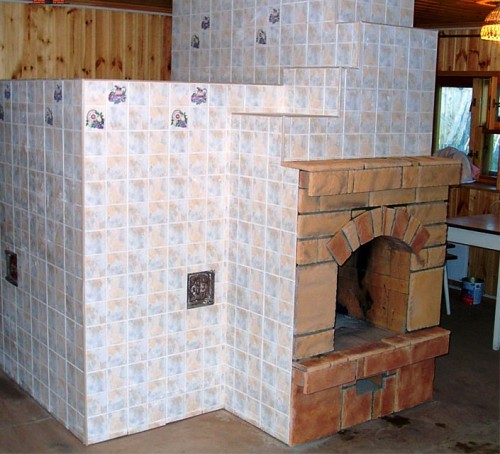
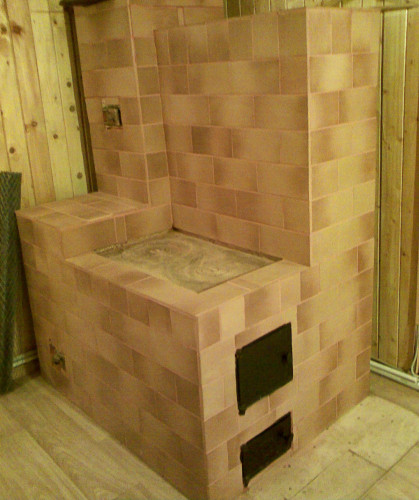
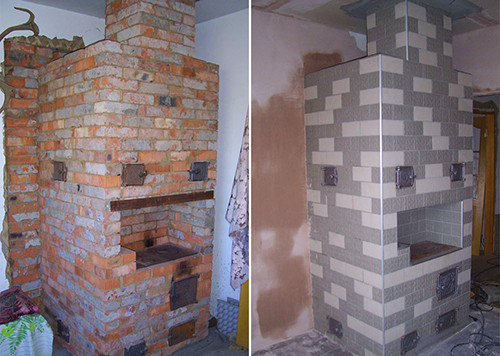
Facing furnaces with ceramic tiles, photo:

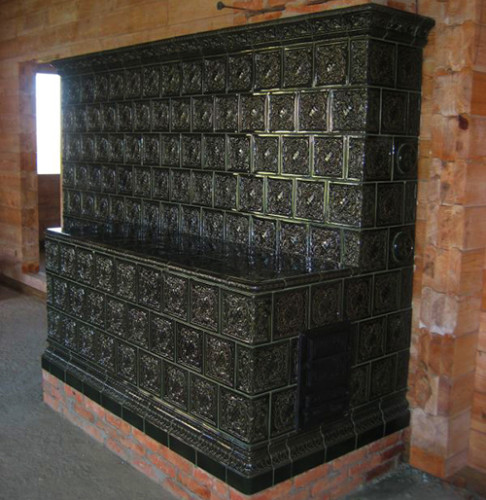
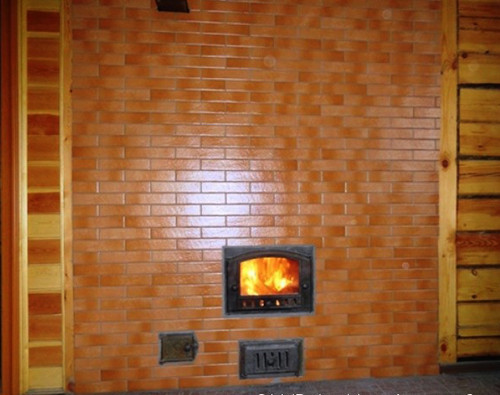
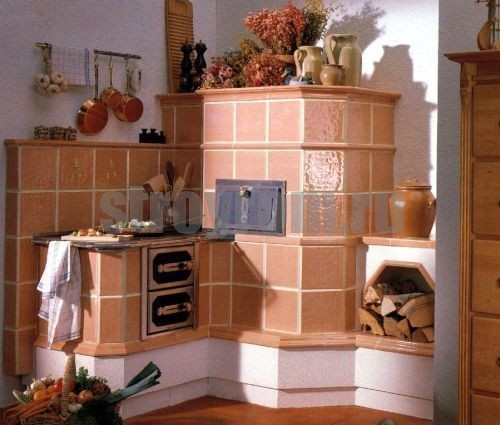
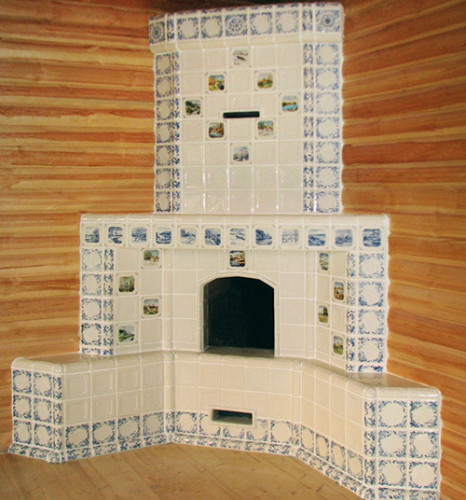







 Start a discussion ...