Almost in any country or private house there is a need for a third-party source of pure drinking water. And if we talk about the well, then it should also be cooled to equip it so that it becomes part of the design of the exterior of your land. And what will decorate the well better than the original and beautiful lid? Never mind! Therefore, today we will discuss how to make such a useful and beautiful accessory for your well.
General
Why do you need a lid for a well
It is no secret that the water in the well is very clean and can safely be used for human consumption, food preparation. But here is to keep an open-air well, allowing it to fall into the trash and dust - blasphemy, here's the reason for the need to cover.
But in order to fully answer the question of the order with which you want the cover, give a more detailed list:
- protection against dust, which is able to get on top of;
- stop natural sunlight, which must not fall into the well (it may cause algae in the water, and consequently - worsening its taste);
- a marked warming of the well during the cold periods of the year;
- the possibility of significant decorate your suburban area at the expense of properly chosen, the original cover.
Variety of covers for manholes
For the production of different caps for suburban wells used many materials, and given that they sometimes do, and personally, there is material for the production may depend only on the preferences of the owner. But the most commonly used materials are as follows:
- wood;
- metal;
- plastic;
- reinforced concrete;
- structure comprising several different materials in combination.
Do cover the well with their hands
As we have said, the well close to this sump, if you just can not accommodate a suitable cover for him. And we're not just talking about getting into the dirt, dust and leaves from trees, it also can fall toads, mice and even snakes. Think about it, it's nice to be drinking this water? No? Then proceed urgently for making cover for their source of clean drinking water.
Wood cover for the well
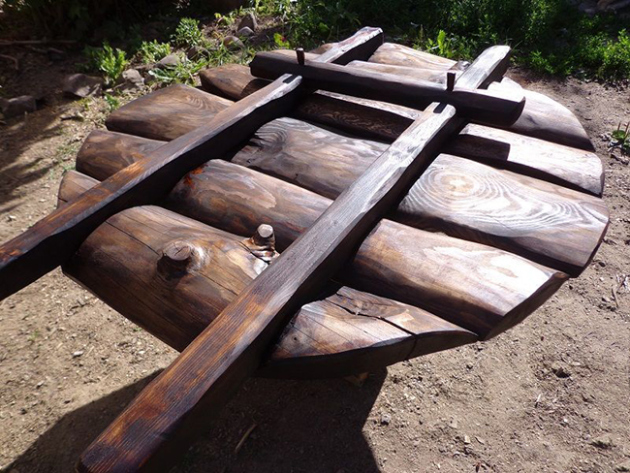
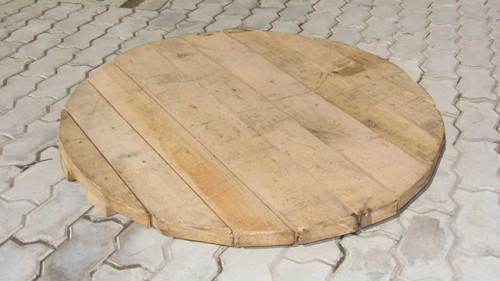
If we talk about ease of manufacture, the wooden cover-shield can be called the most lightweight design to preserve the purity of water in the well. Typically such a device has the same circular or square shape.
But on the properties of wood all certainly know and understand that, regardless of its simplicity, the wooden cover is able to decorate your well, like no other device.
With regard to the service life of such a product, it can last even longer than 5 years. No less - so that's for sure.
At the beginning of work to take care of the preparation of all materials and tools, and we will need:
- Bolts.
- Handles of metal.
- Special sealant for wooden products.
- Mordant.
- Linseed oil.
- Paint or varnish (your choice).
- The bars in an amount of 3 pieces, the size of which is 4 by 4 centimeter.
- Wooden boards of 2 centimeter thickness, with a width of 15 centimeters.
If we talk about wood from which prepared boards must be made, then here you can stop your choice on several options:
- linden;
- alder;
- birch;
- oak.
When all materials are prepared, you can start performing work. All is done according to the following scheme:
- At the initial stage, you will need to knock down a special shield from the boards. Take two wooden bars and score on them. Make sure that the boards are located as close as possible. The shield width will be the same here as the length of the bars.
- Now you need to add riffness edges, as you gain another ram in a diagonal position. This bar is stuffed with offline shield.
- The resulting design must be seized, after which - to knock with the places from it from it.
- In the event that the design of your well, or its form, require the need to have a round lid, the finished shield can be trimmed along the contour using a grinder.
- Further you need to work with a sealant, because the hatch lid is obliged to be completely without cracks. Close the sealant them. In addition, this device will allow you to save you from problems that are related to the behavior of the seasons. It is no secret that it is deformed from temperature drops. If you do not have sealant, use thin rails that can be fixed from the wrong side of the shield. They will also be able to overcome the troubles associated with the expansion of woody autumn and spring, as well as with its narrowing in the winter and summer period.
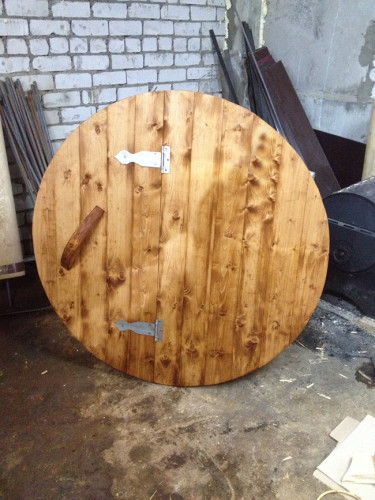
- Now you can take on decorative work. Cover the lid with an oil paint. This is done as follows: first cover the wood with one layer of olifa, after which - two layers of the veils most suitable in your case. If this is suitable for the design of your land plot, you can even open the cover with varnish, so it will look like luxuriously.
- Since this option of the lid rises not on the loops up, but entirely, it is necessary to provide handles on it. Clepping them in convenient places, which will make it easily manipulated by such a device.
- All is ready.
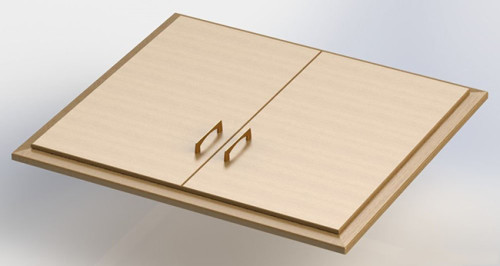
Wooden Cover with Double Folds
Before proceeding with work, you must prepare the following materials and tools:
- paints and varnishes;
- olife;
- sealant designed specifically for wood;
- bolts;
- 4 loops;
- nails;
- 2 metal handles;
- 4 bar sizes 40 by 40 millimeters;
- 4 Bar 20 by 20 millimeters.
Start the manufacture:
- Take two larger bars and put on them boards. Boards should be selected such that their length is different. This will help you to prepare a hole of the rectangular firm in the center of the future lid. It is it that will be a hatch. Do not forget to additionally nail the two bar along the walls placed on the side.
- Using smaller bars, as well as boards, make small shields that will eventually be used as closing flaps.
- Take the finished shutters on the pre-prepared loops, then fasten it all on the side walls of the finished hatch.
- Secure the metal handles on the sash.
- Use a tree sealant to shut off all available seams on the lid.
- Given the fact that the lid for the well was made, it should have waterproof characteristics. That is why it is necessary to carefully soak the lid of the oil.
- After drying, the olifa on the lid, open it with paint, a mourn or varnish to choose from.
Metal cover
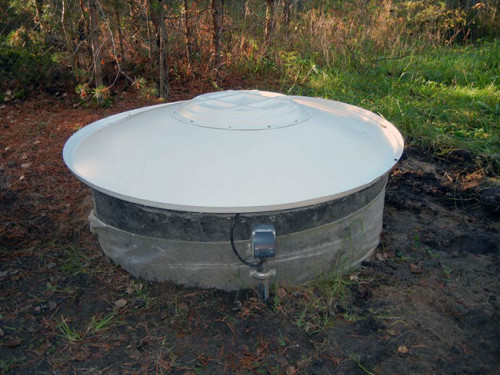
It will be completely rationally to perform a metal cover, since its mass will succeed in such a person who can manage to manage a person. Therefore, we consider the option of the lid made using a metal frame. In this case, the frame will be covered with textolite.
To make the lid assembled without problems and pretty quickly, you need to prepare the following materials in advance:
- pipes of a square cross section of metal;
- metal corners;
- the tape made of metal whose width will not exceed 4-5 centimeters;
- loops;
- dye;
- metal sealant;
- 1 sheet of textolite.
And, as always, everything is ready - it means, proceed to work:
- First of all, you need to choose the optimal length of the corners, cutting them into 4 pieces. At the same time, the ends need to be trimmed a strictly at an angle of 45 degrees.
- Finished corners need to be combined into a square, taking all ends using a welding machine. So that the seams were not so obvious, they need to be cleaned with a grinder. So you will receive a frame that ultimately will serve as a fixed part of the future lid for your well.
- Next, you need to collect the frame similar in your dimensions, but it will already serve as a closing part.
- Now you need to take profile pipes, cut into the appropriate parts and lay out them all over the perimeter, as well as lay cross-crosswise. As before, metal parts need to be copper with the welding machine. If desired, to achieve a more elegant appearance, the seams can be treated with a grinder and operate with primer.
- Now it came to the textolite, because it will open the framework. Prepare two plates whose dimensions will correspond to the area of \u200b\u200bthe upper frame of the lid. With the help of screws, you can fix the plates very reliable. By the way, if you wish, you can warm the lid, reflecting the space between the textolite and the iron frame, foam or cotton.
- To make an analogue of a concrete head, you need to bend the appropriately metal tape.
- Now you have to create a lower part for the lid. To do this, do not do without installing the formwork, which is made from the board and is installed outside the wellguard of the well. The lower frame should be fixed on the formwork, and the metal ribbon should be put on the diameter itself.
- Next, you need to pour a solution of concrete into the space formed between the tape on the ledge and the formwork itself.
- The prepared loops will be used at this stage, since it is that parts of the covers that are movable and fixed are connected.
- At the final stage, the handle on the surface of the textolite is fixed.
- The last stage will be the opening of the enamel of the concrete surface, as well as all metal parts of the lid. This forms a protective layer on the product.
Concrete well pad
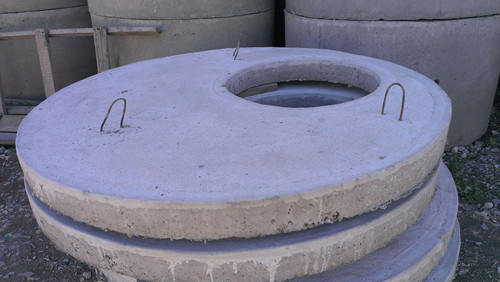
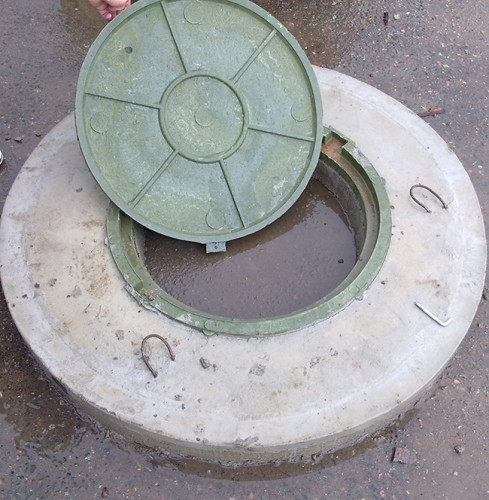
Many people have a well on dachas, which is made from the rings of concrete. Such wells do not have a special design in a decorative plan, therefore they do not require excessive sophistication relating to the lid. Often, similar sources with water are covered with concrete lids of two types:
- solid lid;
- lid with hatch or hole.
The most optimal option will be the lid of concrete, which will provide in its design the presence of a square shape hatch. It is its manufacture that we will look at it.
Luke will have 70 sizes to 70 centimeters, which forces us to provide for possible devices for its closure. They may be as follows:
- wooden door;
- metal door;
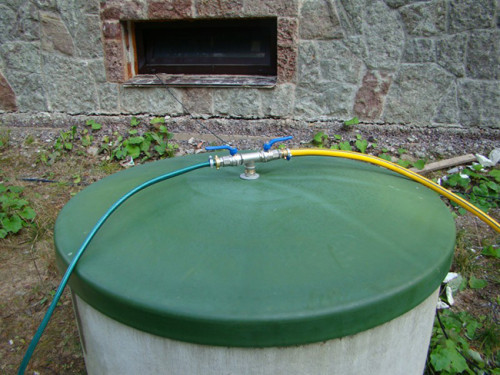
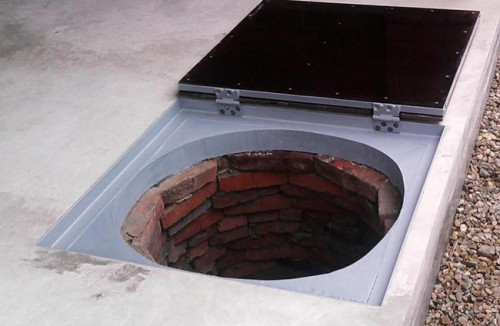
- plastic cover for well;
- brick house;
- door of wooden log cabin.
For the hardest cover, you will need fewer fixtures and tools, here they are:
- reinforcement grid;
- sand;
- cement;
- film;
- boards.
List of necessary work:
- First you need to prepare formwork. You will need to escape the pit, the depth of which will be 100 millimeters. As for the diameter, he must coincide with the concrete rings of the well on your land plot.
- A polyethylene film is laid in the finished pit, which should be covered not only the bottom, but also the walls of the pit.
- In the very center of the finished pit, a formwork is installed made of boards. It is not difficult to do so, you just should be made up four boards with each other, forming a square with a side of 70 centimeters.
- At the next stage, mixing the concrete solution is performed.
- The finished solution is poured into the formwork. Make sure that the layer of the solution is equal to 5 centimeters.
- While the solution did not harde it, laid the grid from the reinforcement into it.
- Follow the solution from above until it reaches the edges of the tied pit.
- Within 3-4 days, your new concrete cover will be ready, and it will be possible to free it from the film.
- The finished cover is installed on the well.
- Verification of existing seams is carried out, which can be formed in the space between the rings of the well and the lid itself. Found seams should be sealed using the cement mortar.
- At the final stage, the hatch is installed on the cover, which is more suitable for you, or which is available in free access.
Cover for sewer well
It is no secret that there is a sewer hatches on any summer cottage or in any courtyard of a private house, which do not always look beautiful and concisely fit into the design of the entire site. Therefore, you can always work on them. We will briefly look at what you can come up with.
Using vases with flowers
It is very interesting that to hide the sewer hatch is much easier than you could even imagine. For example, on the hatch cover, you can install a vase with any plants that you want to grow on your site. As a result, you will get a flowerub, which perfectly fit into your courtyard's design and hobs a hatch so that no one will notice. But you can not forget about the timely care of such a flower, watering it in time.
Installation of artificial boulder
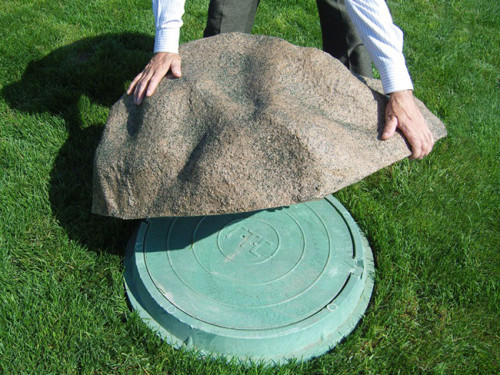
If you do not want to constantly water the flower leaf installed on top of the sewer hatch in the yard, you can close the hatch with boulder. Naturally, the valun needs to use artificial. This is a hollow decorative element that weighs very little, which will allow anytime at any time, if necessary, remove the decorative lining and use the hatch for its intended purpose. Of course, with a special desire, the platform next to the boulder can be planted with a beautiful gender and other plants that will create the perfect composition on your lawn.
Stone composition
A proper embodiment of the hatch is also a composition of stones that can be installed on top of the hatch. The only thing that may be uncomfortable here is the need for clearing space to access hatch. If desired, on such a composition of stones, you can even plant succulents.
Welder Cover - Video
Finally, we recommend you to view a small video in which Clerts tells in detail about how he made an excellent cover for the well on his land plot. He will state everything clear, and most importantly - very quickly. Do not regret the pair of minutes of your time and you will definitely work out.




 Start a discussion ...