It is difficult to argue with the fact that even a small aquarium indoors adds a room of comfort and calm. Small multicolored fish floating in clean transparent water, revitalize the design, attract the look, soothe and remove the nervous tension. If you have long dreamed of getting a similar interior element, but did not find anything suitable on sale, we suggest you make the aquarium with your own hands.
How to choose glass
First of all, I want to give advice: do not try to make an aquarium for free or somehow save on the quality of materials. This design should be very reliable - so you will avoid different problems in the future. So, the most important thing in creating aquarium is the correct selection of glass. This material is eight grades that are marked as follows: M-1 grade, M-2 grade, etc. The smaller the number - the better the quality of the glass. It is believed that for high-quality aquarium, varieties from M-1OD M-3 should be selected.
In addition to the correct selection of the brand, do not forget to inspect the glass for the presence of chips, cracks, scratches and other damage. After you have decided on a material variety, you must correctly pick it up with a thickness. To do this, there are special tables in which the optimal thickness of the glass for the aquariums of various dimensions is given. Here is one of these tables:
Cutting glass
The separation of material on the fragments of the desired size is carried out using glass cutter. This tool should be used with great care, observing safety equipment. If you are a novice in a similar matter, it is better to try to practice the glass segment that you unnecessary to you, but only after that it starts to cut the material for the design.
As for the glass itself, before cutting it should be dry and clean, have a smooth and smooth surface. The presence of bubbles or any inclusions can cause that the material will be broken not through the cut line - it can spoil the part and make it unsuitable for the design of the aquarium.
Before entering the operation of the glass cutter, it is necessary to outline the lines for which the tool will pass. You need to press the instrument much so that the incision turned out to be deep - so you will be sure that the material will break in the right place.
If you are afraid to work with glass yourself, you can order ready-made details of the size and form you need. They will be cut in the workshop as needed, but you will only be able to bore fragments correctly.
Selection of glue
It is also worth considering this issue with all seriousness. The fact is that only a certain adhesive composition is suitable for fixing the walls of thequariums - it must be a 100% one-component silicone sealant made on the basis of acetic acid. If you search for such glue on sale, then ask the seller Silicone for aquariums. Do not forget to check before purchasing the composition of the product. If you make a mistake and buy sanitary sealant, such as silicone for bathrooms, then hurt the future inhabitants of your aquarium. The fact is that such mixtures have in their composition various antibacterial additives that are dangerous to fish health.
How to make an aquarium with your own hands
Required tools
For the manufacture of this design you will need the following:
- grindstone;
- medical syringe with a capacity of 20 ml;
- clean dry napkins;
- stationery knife;
- degreaser.
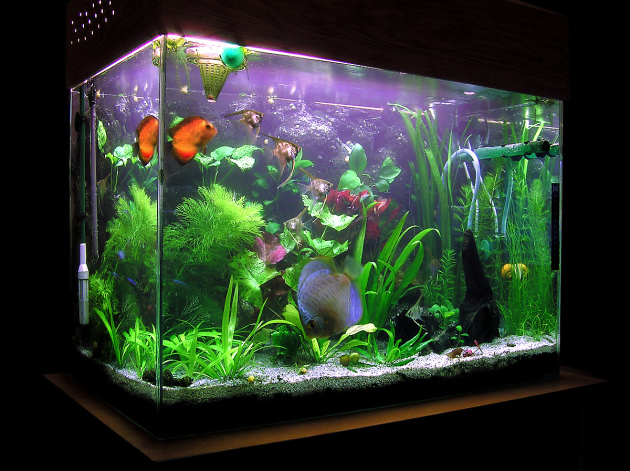
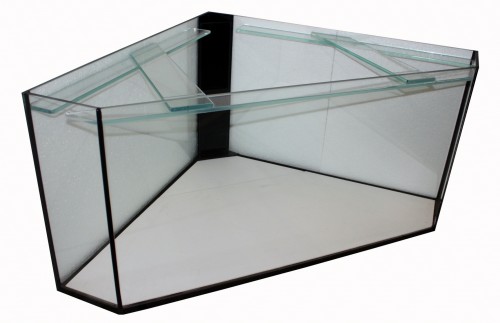
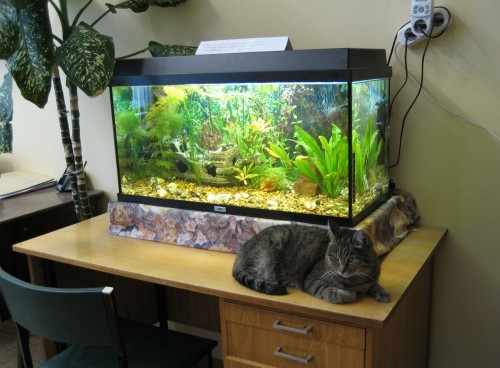
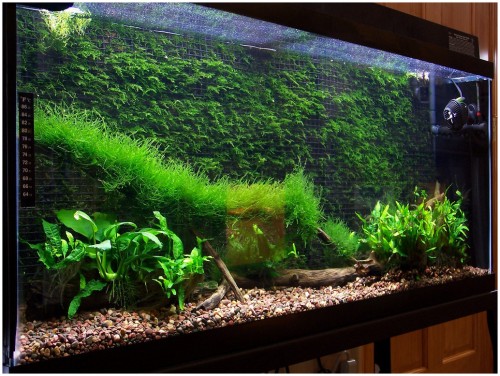
Aquarium, photo:
Work process
Below we will tell how to make an aquarium yourself. Consider the manufacturing process in the form of a sequence of stages:
- Regardless of whether you cut the glass yourself or used the services of the workshop, the edges of the fragments before assembling the design should be smooth. To do this, they need to be treated with a grinding stone. Type a small amount of water in the bath, put a towel on the bottom or any soft cloth and put the glass with a rib. Then wet the grinder and gently handle the ends of the fragment, removing everything too much. The smoother of the surface, the better Silicone will be held on it.
- After the work is completed, let the glass with a dry cloth, thoroughly dry and treat the ribs with a degreasing solution.
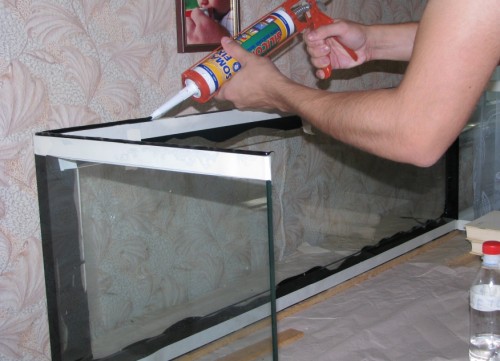
- At a suitable place, spread a large towel or several newspapers, put the bottom of the future design on them. Screw to a container with a sealant. Thin tip, cut off its edges in such a way that it turned out a small hole. If the glass is quite thin, then it is better to use syringe to apply glue. The ends of the anterior wall of the aquarium cover with silicone and put the processed side on the bottom of the design. Try to hardly press the wall - so the silicone layer will turn out to be thicker and durable, and besides, you do not have to cut a lot of speaking glue. Putting a fragment vertically, it must be fixed in this position using any suitable support until the sealant is completely dry. Cut out the surplus of silicone should not be wiped, after pouring them, they will simply have to trim the knife or blade.
- Similarly, all the other walls should be glued to the bottom of the aquarium. While working, keep the joints to be smooth. Try not to overdo it, pressing the walls one to another.
- After the whole design is assembled in a similar way, it must be left for a day until the silicone drying. Remember that it is impossible to shift aquarium from the place at this time, otherwise the integrity of the seams can be broken.
- After complete drying, the ribs can be glued to it. The need for them may occur if the aquarium has a fairly large capacity, although, if desired, can make ribs and on a small container. After committing this procedure, the design again needs to leave for a day for drying.
Important! The time of frozen of one or another sealant should be indicated on the packaging with the goods, so carefully read the instructions for use, before starting to work.
- So, when the aquarium is completely glued and dried, you can start aligning the seams. In those places where Silicone came out, it must be removed by the blade or acute stationery knife. Processing joints from within an aquarium optionally, errors under water will be invisible, especially if you worked with transparent colorless glue.
- After everything is ready, the design must be checked for tightness. Put an aquarium in a safe place: if it is small, then it can be placed in the bathroom, if the design has been labeling - you can take it out to the street. Fill the capacitance with water entirely and leave for several hours. Watch if there were no leaks somewhere. If everything is in order - it means the home aquarium is ready to use.
Aquarium, video:




 Start a discussion ...