Laying a stone of the tracks on the household site is no longer a novelty, but the right way to improve the territory to relax with their own hands. The stone track will become a worthy framing of any highlight of your garden - a small pond, a gazebo or fragrant rosary. Surprisingly, the path from a paving or wild stone always looks like just that the tales books have just descended. Give your garden to the garden of the magic is not at all difficult - make a stone track with your own hands!
Potential materials for laying elegant garden alleys today are a lot. The man-made path, paved from natural stones, looks perhaps more effectively and original. To create a nice track on your household plot, decide which material you like most. So, as a basis for a garden stone track, you can take:
- gravel;
- sandstone;
- flagstone;
- granite;
- paving;
- dolomite;
- sea pebbles.
Knuckle and tiled stones have all the necessary qualities to turn into a stylish garden path. But at the same time, the material has some disadvantages, the most obvious of which is the high cost. However, a long service life, a large percentage of strength, as well as amazing decorativeness with more than compensate for this nuance.
Benefits of natural stone tracks
Most often, such paths are built to be able to quickly and unhindered to the house. However, given the beauty and unavocalcy of ideas, stone alleys can decorate the garden or zone allocated to relax. Solid stones will make an excellent company with green lawns, flower beds, mountaineers and other objects of landscape art. Natural stone as the base for the garden track is difficult to choose a competitive material, since the stone is unsurpassed beauty, created as a result of the centuries-old painstaking work of natural forces.
In addition, the high strength of this natural material does not have to doubt. To create an alley in the garden, which will serve not one year, you can safely choose granite, sandstone, blocking, pebbles. In general, there are many options and everyone will definitely find that material that will have to do it. But the preliminary study of the characteristics of one or another stone will not prevent. For example, some natural materials react quite sensitive to regular change in climatic conditions. So, the shell and limestone left in the open sky, after a while will lose their strength, which will significantly reduce their life. But the garden tracks from wild stone, or dolomite, can be called a sample of practicality and durability. This natural multilateral material is very durable, and also known for enviable resistance to frost and moisture.
But if you lower all the nuances, it is impossible not to admit that the gardening alley paved by natural stone looks much more spectacular and more attractive than the path of artificial stone, such as concrete.
Garden tracks from stone: what to stop?
It is no secret that the creation on the territory of the residential area of \u200b\u200bthe stone alley will require solid financial investments, so the final result should demonstrate the increhensible species, quality, reliability and potential for a long service. This means that the choice of building material should be approached more than responsibly: to study, compare and evaluate the functional, high-quality and decorative properties of all available stones. For the paving the garden and the most popular, the following forms of natural material are considered the most popular:
- koltaya stroke. The stone is a mixture of granite and shungite fragments and is notable for characteristic crushing edges, due to which it has a form that is as close as possible to rectangular. Work with such a tile is quick and easy;
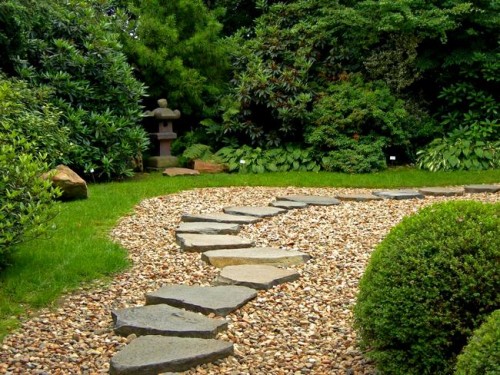
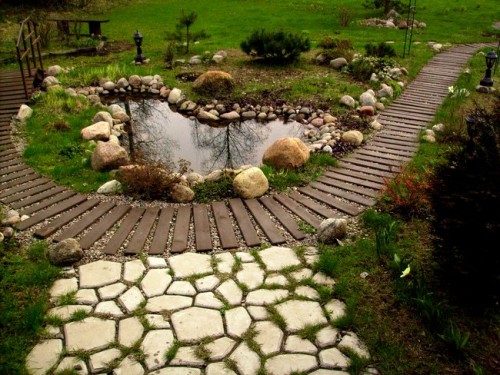
- flagstone. This material is fragments of various shapes and sizes, the use of which allows you to create a unique and very unusual track;
- saw stone. He does not come to the buyer immediately. Before it is cut and grind it: as a result, it turns out the stone of a rectangular shape, which is distinguished by a nearly smooth facial surface;
- cobblestone and boulders. Stones are distinguished by size: cobblestone - small, and boulders are relatively large. Similar these natural gifts makes them rounded form. The rich treasure palette of cobblestones and boulders opens unlimited perspectives for creating unique compositions and original panels.
How to make a stone path with your own hands
The creation of a garden stone alley begins with the designation of its future contours. The size, shape and fancy path are determined by your needs and desire, so first try to mentally imagine what you want to see on your household plot, and then begin to act.
The sketch of bending and shape of the garden alley can be made in different ways:
- apply the contour to the ground with water from a watering hose;
- pour the soil to flour;
- tighten the rope on the pegs covered in the ground.
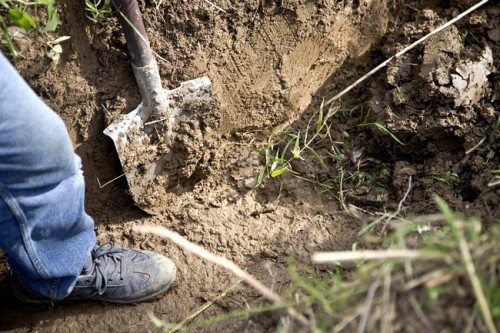
When you have an approximate outline of your future stone track before your eyes, proceed to digging the trench - its minimum depth should be approximately equal to the bayonet shovel. Do not hurry to discard Dern, which will appear after the trench is dug. This land can be useful in further work.
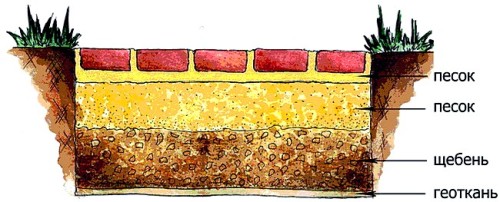
Fill out the deepening in the ground with a layer of pebbles, slag, broken brick or rubble - as a result you will have a drainage layer. Drainage is well compacted, with a force of pressing stones to the ground. The second layer, to create a wet sand, is also thoroughly tamped.
Methods for paving a garden track stone
When the drainage pillow is ready, it's time to go to laying the main natural material. This can be done in three ways.
Method number 1.
Put the stones that picked up for a path, on a sandy pillow. Now fragments of the alley need to press with force - for this, use the rubber hammer (Cyanka). Once this task will be finished, take care of the fixation of the stones. You will need a solution of sand and cement prepared at the rate of 3 to 1. Fill the cement bag with a fastening liquid, which will serve as a cone, and pour the solution into the slot between the alley fragments. This method of laying a garden path is considered less expensive, besides the time and physical forces you spend not very much.
Method number 2.
In contrast to the first method, the stones are laid out in the sand, but on a concrete solution. This is how to do it: prepare a concrete solution and fill in them with a trench throughout the perimeter. The thickness of the layer should not be less than 15 cm. Press the tile of stone for the track into the solution with the help of a pile. After a while, when the stone and cement are clicked, it will be necessary to close the slots between the fragments of the alley. Do it in the same way as in the case of laying a natural stone on the sand - with the help of a cone from a cement bag.
Method number 3.
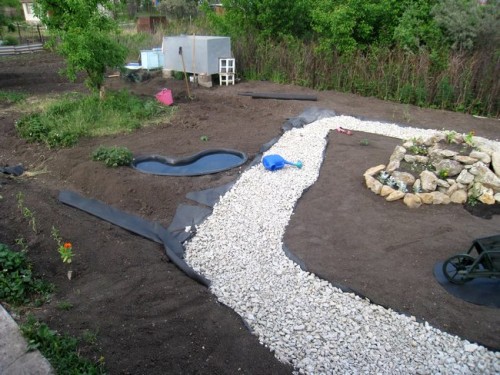
In specialized stores today, you can purchase material, thanks to which from laying a garden stone path to cement you can refuse. This is geotextile. Drop the trench in a depth of about 25 - 35 cm and remove all the roots, pebbles and other garbage from its bottom. Carefully tamped the soil at the bottom of the trench falls asleep with rubble, and the segment of nonwoven geotextiles is placed on top of it. Please note that the edges of the material at the same time should remain outside the trench, stretching for a length of less than 40 - 50 cm. From above, pour one more layer of rubbank and well compact it. Now take the edges of the geotextile and cover them with a chubne wing layer in the trench. All - the drainage system for the garden path is ready.
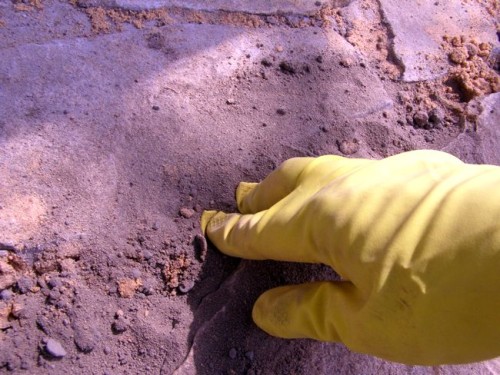
Now there are about 15 cm of wet sand onto the geotextile canvas, and the fragments of the garden path are put on top, after which they are pressed into the sand using the Cyonya. The slots between the stone plates are filled with sand. Be prepared to wait - the natural material shrinkage may take about 2 weeks, during which you need to carefully follow the status of the track. When individual elements of the paths are loaded into the ground more than others, they are raised to glue the required amount of sand. Then the fragment is returned to the place and compacted with a rubber hammer.
Useful recommendations
Getting Staged to laying a garden path from a natural material, you should know or remember some nuances relative to this simple, but labor-intensive process. To rush to nothing: otherwise, you will not get the result that I expected, and the time spent and the money will be sorry. So, what should be considered when laying a garden path from a natural stone:
- The track you created will ultimately be slightly higher than the level of the Earth. Compliance of this condition will not allow the slabs of the "Sound" track in water - the extra liquid will be easily passing through the drainage layer of gravel and sand, absorbing the earth. Quality drainage is a pledge of a strong and unbreakable design for many years.
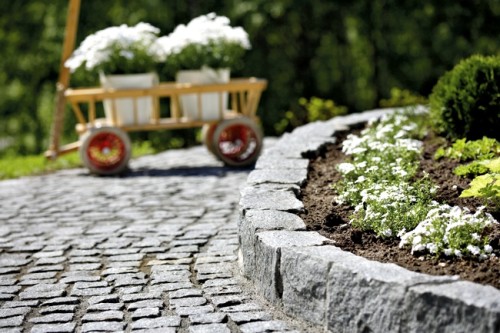
- The finished track is advised to equip the border from the same natural stone - the workpiece you will find in a specialized store. This device will save stone slabs from the spreading and the initial view of the alley will retain the initial look.
- Refuse the idea of \u200b\u200bchoosing a garden marble path, since moisture and low temperature make this material extremely slippery.
Pebbles - natural stone for tracks
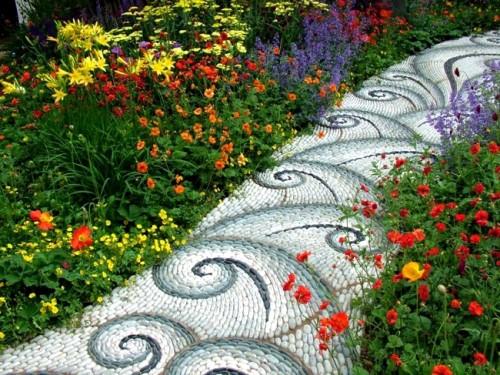
Smooth pebbles, kissing by the sea, consider one of the most successful materials to create a stone path in the garden. The results of the independent paving path of the pebbles will exceed all your expectations! Non-triviality and uniqueness are the fundamental features of the garden pebble alley.
Pebbles - universal material. It will cost you cheaper than other natural stone, and will serve a long time to decorate your garden, despite the nature of the climate. In addition, the peculiarities of the soil and relief when creating a track from pebbles do not matter. In any case, you will get a convenient path for walking the path of incredible colors and highlight. Particularly effectively looks like a union of pebbles of black and white shades.
For work, you can stock up pebbles extracted in the river or the sea. The sea stone to create a walkway is attractive to its rounded shape and smoothness, but the track is more convenient for river pebbles. Middle and large pebbles are suitable, but if you are distinguished by enviable patience and preferably, you can use small stones. Usually, the pebbles are obtained by amazing beauty ornaments, since the skeleton palette of this natural material is rather wide: you can choose white, coffee, cream, black, gray, terracotta and bluish-blue fragments.
Tools and materials for creating a pebble path
- Pebbles, selected in accordance with the necessary parameters.
- Sand and cement for kneading concrete solution.
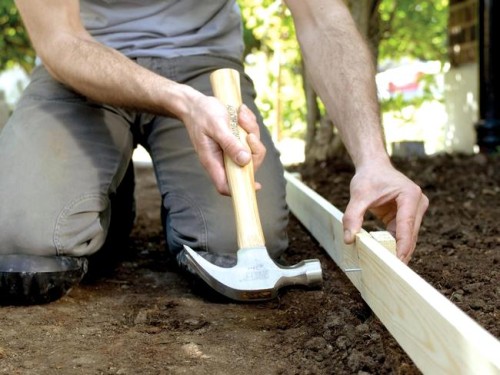
- Boards to create a template of the future track (height - 5 cm, width - 30 cm).
- The reinforced metal grid, the dimensions of which are made by 1 cm less than the template.
- Pegs, rope.
- Geotextile.
- Tarpaulin.
Technology for creating a track of pebbles
Direct path is the best option for those who know the subtleties of working with stone for the first time.
- I designate the outline of the future track with wooden spikes with a rope stretched between them.
- Be sure to remove the 25 - 40 cm of the turf from the soil, otherwise the grass will sprout through the pebbles and violates the integrity of the ornament. At the bottom of the trench, put a stone crumb, put 2 - 3 layers of geotextile on top to prevent weed germination. Geotextile can be replaced with the Tole or Ruberoid.
- In the deepening, pour several layers of sainted sand (a total of 10 cm), carefully tamping each of them. From above, fall asleep the sand with a dry concrete mixture with a thickness of at least 5 cm (the mixture is prepared from 1 bucket of cement and 3 - 4 sand buckets). Then pour a little water from above so that the upper layer acquired a loose consistency.
- Go to the direct laying of pebbles. First of all, pick up stones, the color and size of which corresponds to the overall idea. What a walkway turns out, depends solely on your imagination and the desire to create. For the first practical experience, a simple geometric pattern is suitable combined from pebbles 2 - 3 colors. Apply a schematic representation of a future pattern of stones to the wet concrete. The deepening in the trench should not be less than 15 cm. Remember that laid stuffing should be located slightly above the ground level, which will allow water freely to drain, and not accumulate on a stone path.
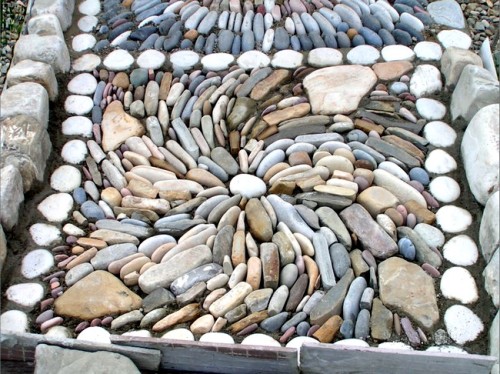
- Pebbles laid closely to each other vertically, almost to half deepening it into a concrete layer. When the conceived drawing is ready, I will confuse and align the level of pebbles with a rubber hammer.
- Gaps between pebbles need to be filled with a concrete mixture to 2/3 of its height. Now moisten the stone canvas with water and cover the rod of the tarpaulin on top. This protective shelter can be removed in 2 days to maximize the concrete coating between pebbles for greater saturation. After 1 hour with the help of a rigid brush, give the final shape to the gaps between the stones.
- At the edges of the paths, install curbstones, aligning them with a building level. The space between the stone edge and the walls of the trench will fill with concrete.
- So that your man-made creation is finally dried, cover it with a tarpaulter for another 3 days. After 2 weeks, you can safely wipe the stones of the pebble path with a wet rag to remove traces of concrete solution from them.
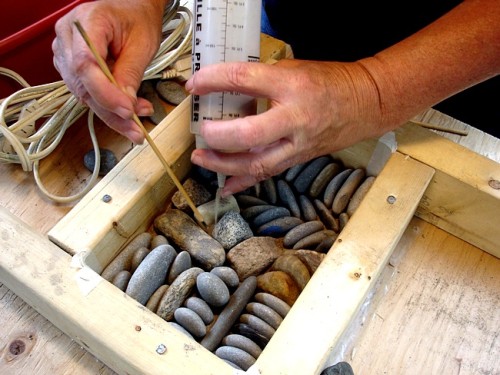
It is interesting! There is another way of laying pebbles, which will maximize the process of collecting a garden stone track. To do this, make separate parts of the track from the pebbles and separate them to the place allotted for the future alley. To assemble a trail fragment, build a formwork - this is a capacity of 4 incomplete bars. At the bottom of the formwork, fasten the dense polyethylene and the reinforced metal grid. Fill part of the tank by some cement mortar, and then lay the pebbles there. Pebbles are installed on the edge, and not put plastics. For a better clutch of materials, pebbles wet. When the finished fragment of the pebble mosaic will freeze, remove it from the tank and put on the place allotted for the track.
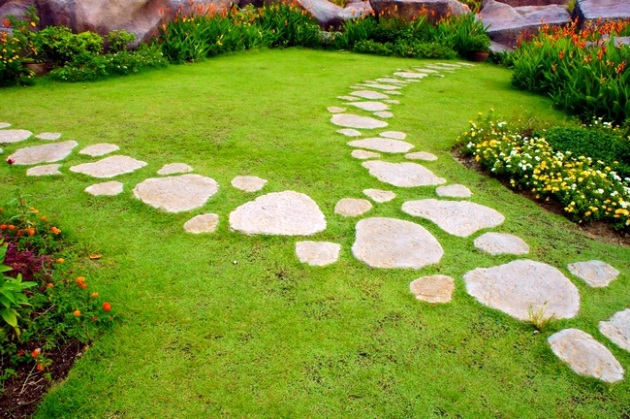
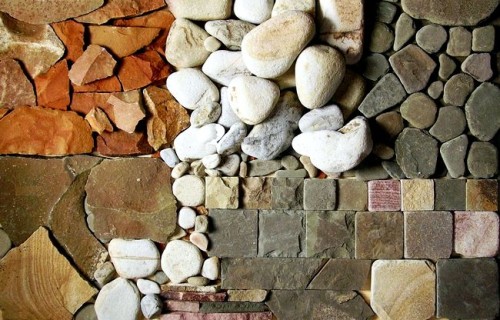
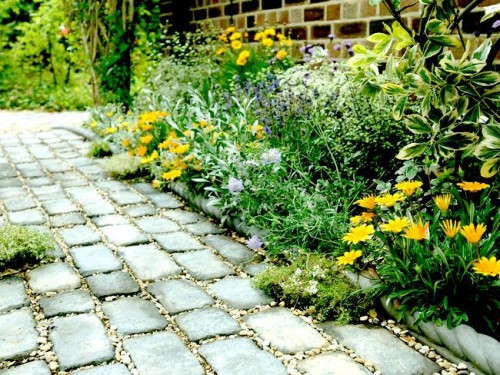
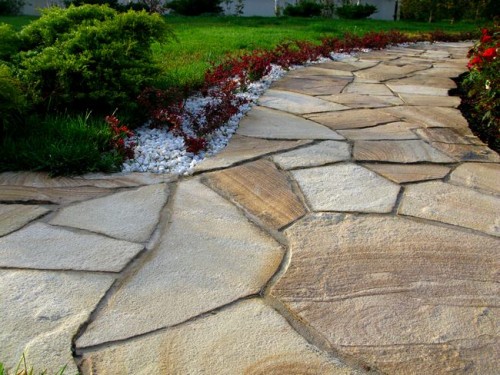
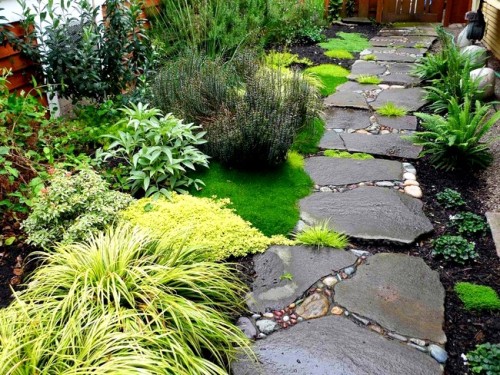
For inspiration, we offer you a selection of photos of stone tracks.




 Start a discussion ...