Country plot, this is the place where you can relax in the shade of trees, grow your favorite vegetables and greens, admire the colors and collect the harvest every year. And the summer cottage is a wonderful opportunity to realize their creative abilities and work outdoors. Even at the initial stage, the development of the landscape of the garden plot, you can make a highlight and decorate the site with garden figures. You can make a sculpture of wood yourself, if you arm yourself with the necessary tool, material and get acquainted with the recommendations for creating sculptures from a tree.
Before proceeding with the work, you should familiarize yourself with the rules for choosing figures for the garden plot.
What you need to know:
- The figure (one or several) must "fit" in the garden design. If it will cause a contradiction, then you should not expect harmony, even if sculptures look very pretty.
- If you doubt whether there will be a harmonious sculpture, then make the layout of your summer cottage paper and cut the cardboard figures. Place them in suitable in your opinion. If you do not like how the sculpture looks, it can be moved or change the figures in places. Such visualization will help you decide on the choice of place.
- You do not need to bargain a few massive figures in a small area. It only complicates perception. It is better to set 1-2 pieces to decorate the site and achieve harmony with nature.
- It is not necessary for the sculpture to occupy a central position. It is better to arrange several small wooden sculptures that will be harmonized with plants. The location of one wooden sculpture in the garden is not excluded, but then it is desirable to arrange it with other decorative elements - curly plants, a shoulder or arch.
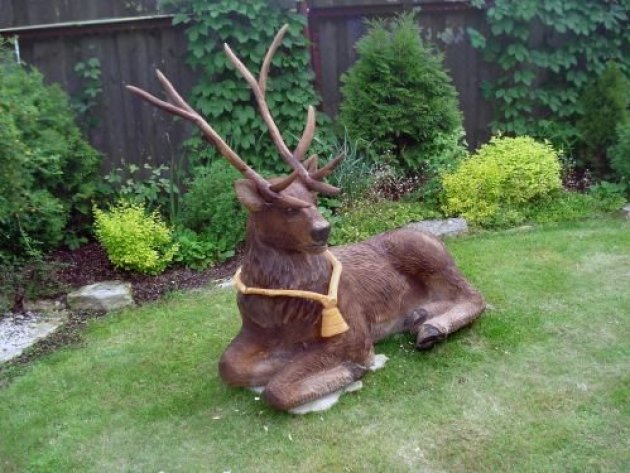
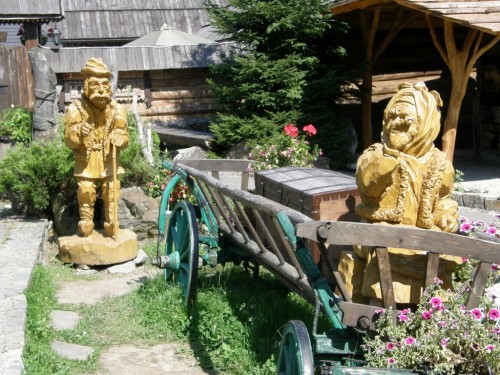
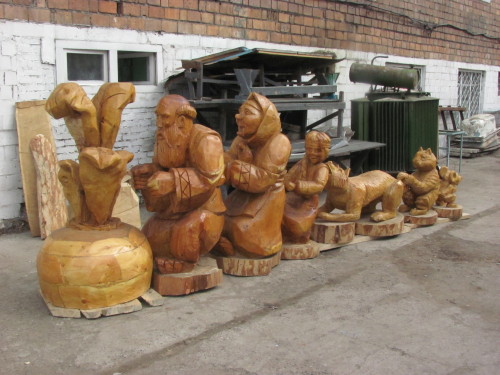
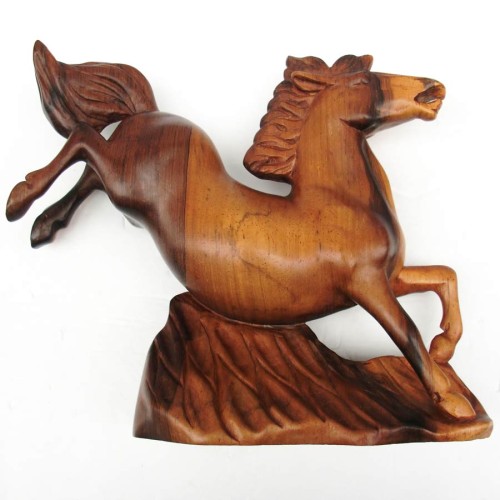
Wood sculpture photo:
Material for creating sculpture
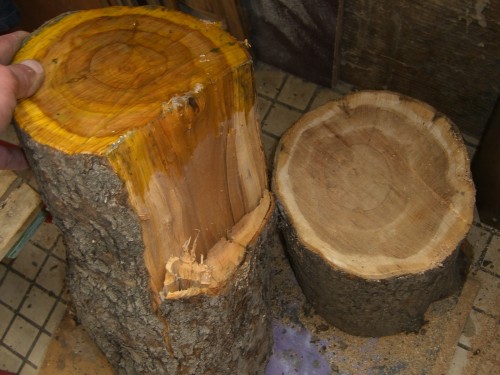
To create garden sculptures, you can use different material: stone, gypsum, cement, mounting foam. But the most suitable and plastic material for garden sculptures is a tree. Since this natural material can be taken anywhere, it is still better to go to the forest and find a suitable tree there. For large sculptures, it is better to take a massive log. Large branches or small logs are suitable for small figures.
Before picking up a natural material with you, carefully inspect the wood - it should not be traces of mold, rotting and "moves" from insects. Such a natural material is better to leave in the forest, because the sculpture of the tree will not last long.
If you have conceived to make a small tree figurine, then first the material must be prepared - rinse with water and separate the bark. Chips, Cora and even sins do not rush to send to a landfill - this material can serve for decorative compositions or need when finalizing a wooden sculpture.
In the process of work, you will have a large amount of fine chips and sawdust - this auxiliary material is useful for repair work and restoration of wooden sculptures as a natural melting of cracks and holes. It is necessary to mix with varnish of sawdust until the mass becomes viscous and immediately fill the holes. You do not need to do too thick or vice versa, a rare smear, as it will be inconvenient to work with such material.
Sew the harvested material is better in a dry warm place (you can get into the house) and wrap with polyethylene. So you can protect wood from deformation and cracking.
In the process of work, waste is desirable to immediately collect in a separate container and also stored in a dry place.
For a small carved figure, sculptors recommend using such wood species:
- apple tree;
- cypress;
- birch;
- leschina (forest walnut);
Such wood rocks like the brushes and the rosewood (especially black) are difficult to process, so newcomer is better working with soft rocks of wood. In rare cases, wood cutters will recommend working with solid wood, since inaccurate movements on the surface will not be so noticeable. But if you "spoil" the soft material, then all inaccurate movements will be noticeable as on the palm.
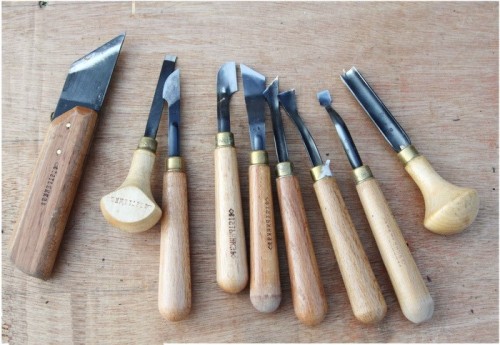
Required tool:
Where to start
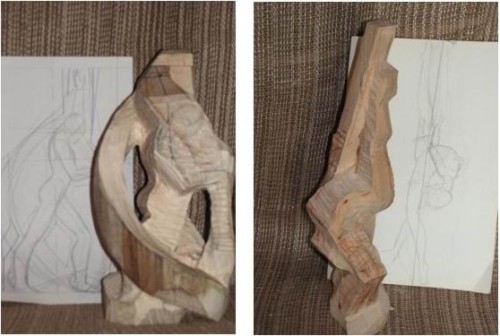
The material you prepared, the sharpened tool also lies beside, you can start. But first you need to start with a pencil and sheet of paper. Do not be lazy, make a sketch of your sculpture.
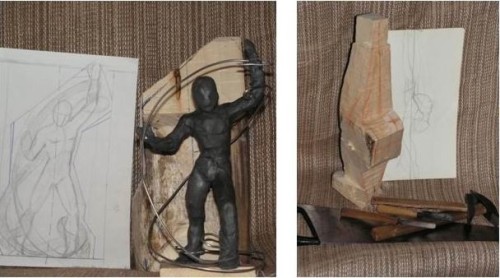
It is not necessary to possess the talent of the artist to transfer the layout of the future figure on the paper. Draw out contours and basic sculpture details. And now you can transfer the contours to the billet itself. So do all wood cutters. In some cases, you can change a simple pencil on the marker to spend a clear line of the contour. And this is not all - in the process of preparing after creating a sketch, make a plasticine copy of your garden sculpture from the tree. Then it is necessary to build a scheme in several projections. If it seems difficult to you - skip this stage. The wood cutters often cost even without a sketch, because it is easier for them to immediately cut the shape of the tree than to draw her exact copy on paper.
Sculpture of wood with their own hands
1st stage
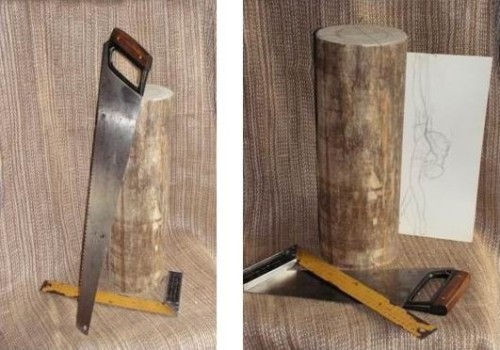
We proceed to coarse processing and the "drawing" of the main form of the figure. First you need to define "legs" and the base. Take advantage of a saw with medium teeth to cut off the workpiece. Keep the tool perpendicular to the workpiece center.
If you have turned out to sleep, it can then be carefully fired. Rehend to this stage very responsibly, as the result will depend on it.
Now take a billet center and draw auxiliary lines. Corp. Check the markup correctness. In the process of operation of these lines, it will not be visible, as they will gradually cut.
This part of the work is better to perform such a set of tools:
- roulette;
- ruler;
- as a carbon;
- schunzirkul.
If you make a large sculpture made of wood, instead of a pencil is better to use a bright marker, as it is not so quickly erased like a pencil.
2nd stage
At this stage it is necessary to perform rough processing of the workpiece with the ax, and small items can be cut down Tesla. During operation, it is better not to go deep and leave the stock material, so you could modify and amend. During operation, use measuring instruments.
First, cut down the part that requires the most attention, and then restored the line and drawn strokes. For example, if your sculpture will be made in the form of a bear or other large animal, then begin to work with the head, gradually doing wood carving from top to bottom.
Look at this picture to understand the principle of operation:
To complete this part of the work you need the following tools:
- hand saw (with small or medium-sized teeth);
- polutoporik for carpentry;
- semicircular and direct adze.
Third stage
Cutting down to four faces figure. At first glance it will seem a daunting task, but it is very simple - you need to use carpentry tools "draw the" divide and arrays - the torso, arms and legs. At this stage, as long as it is not necessary to round billet. This part of the work can be done by large chisels.
4th stage
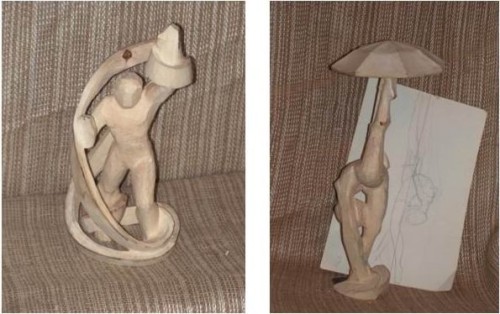
You will get an angular billet - now you need to perform trimming and topography make no small parts. It is important to "revive" the future figure and do not miss the highlights. Refine and rounded sculpture of wood is still too early. To work it is necessary to use a set of small chisels and knives-jambs.
5th stage
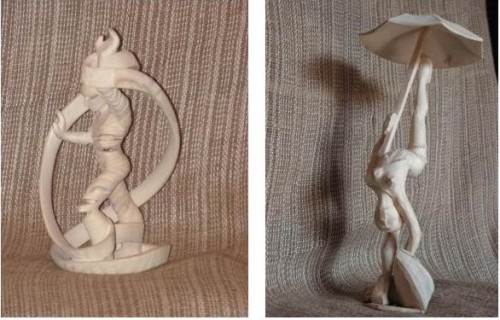
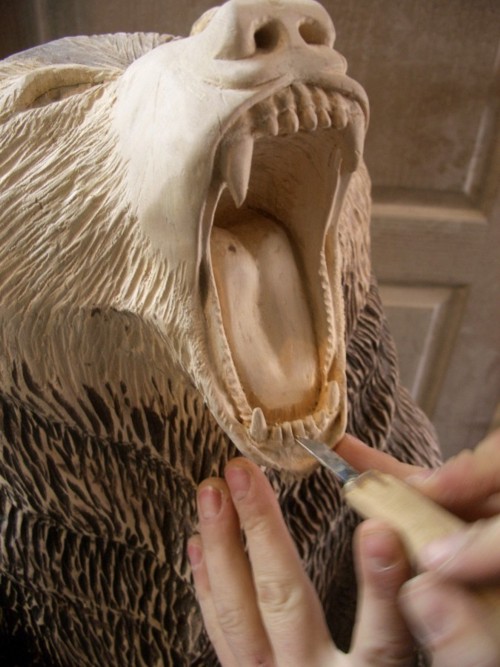
Finally, you can proceed to the most interesting - detailing and rounded sculpture. You can remove the face and work out the fine details - drapery, facial features, fur animals. Limit your pencil on the figure, as it will remove it and can only be fine-grained sandpaper. This important part of the work entrust such tools: knives, jambs, scalpels and tsezarikam.
When the work is completed, a figure must be sanded with emery cloth and a thin layer of vegetable oil. In some cases, sculptors on wood cutouts are advised to boil in the oil. When heating oil will start to polymerize and the wooden surface is resistant to moisture and dirt. This advice applies only to a small wooden sculptures.
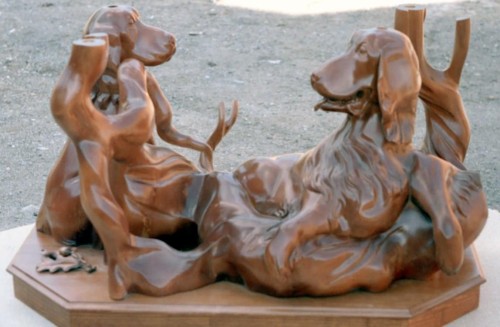
The same principle can be cut animal sculptures from wood:
Treatment of wood sculpture
Depending on the coating material, there are several ways to finish the sculpture.
Consider more each way:
- Using the veil. Light wood species: linden, birch and maple need toning. It is possible to achieve a certain color in different ways, including natural. For example, use aniline dyes, and you can cook the veil on your own.
How to cook a veil:
- iodine. Take a small plastic cup and fill up to half with water. Add 3-5 iodine droplets, mix. Try on white paper, what a shade turned out - if it is too saturated, you can dilute with water, weak - add iodine. If you cover the product with one layer, you will get a beautiful "honey" hue, and if you apply 3-4 layers - then the color of the ocher;
- brown verson are prepared from the water and crystals of mangartee on the same principle;
- to prepare the simulat on alcohol, prepare coffee (soluble), you can take the cheapest. In a plastic cup, pour 1 tbsp. Coffee and add as much boiling water. Fill alcohol (half a cup) and mix. Such a veil is useful to cover the volumetric thread, it will not work for relief surfaces.
- Petrol coating. There are several types of varnishes for wood: on an oil basis, nitro and pentaphthalic varnishes. The underlying condition for buying a varnish - take only colorless. Store varnishes are very thick, so they need to be dissolved by solvents to such a consistency as water. Milk oil varnish can only be chipidar, and nitrolac - acetone. To find out what solvent your varnish is needed, look at the label - manufacturers provide detailed recommendations. A small figurine from the tree can be fully "redeemed" in varnish, and a large sculpture of wood is covered with a tassel.
- Viscous and solid wood, such as a pear, apple tree and birch, are subject to oil processing. Cooking the figurines are very simple: pour oil into a pan, put on fire and after 5 minutes when it gets warm - omit the cradle. She will swim in oil. If you have a lot of small figures, then it is better to boil separately. Each time the oil needs to be changed in fresh, otherwise it can light up. The processing duration of the product depends on the desired shade when the figure starts dark, it can be removed. Oil-processed figures are Okum and polish.










 Start a discussion ...